
Linux permissions are really about two things; users and the permissions they have. Let’s look at creating a user and then we’ll take it further.
Creating a user
Linux provides us with three commands to add modify and if necessary delete a user. These are: useradd, usermod and userdel.
There are three types of users in Linux: system users created by the OS, regular users and a super user known as root.
We are going to create a regular user called tux. Named after the Linux mascot, a penguin.
useradd tuxSeems simple enough, but there is a lot more happening here than meets the eye. Home directories are being set and various other options are being defaulted as we did not provide any.
Let’s try this command again with the -D option which lists the defaults used when we created the user tux:
useradd -d
GROUP=100
HOME=/home
INACTIVE=-1
EXPIRE=
SHELL=/bin/sh
SKEL=/etc/skel
CREATE_MAIL_SPOOL=no
These are the default values that were assigned when we added the user tux. There are a number of options available when adding or modifying a user. Some of these are listed in below.
| -d | Sets users home directory |
| -D | Displays the defaults. |
| -g | Sets the users group |
| -m | Creates users home directory if it does not exist |
| -M | Does not create the users home directory |
| -m -k | Sets the skeleton directory e.g. .profile file. The default as can be seen above is /etc/skel |
| -e | Sets the account expiration date |
| -f | The number of days the account remains active after the password has expired |
| -u | Sets the user ID |
| -p | Set the users password |
| -s | Sets the users shell |
Ok, so now we’ve added the user tux, but we need to add him to a group and should really provide him with a user ID too. We need to add him to an existing group. You can either create your own or fund the existing groups in /etc/group
useradd tux -g staff -u 212Almost there, but unfortunately we have not provided tux with a password yet. So let’s do that next. For this we will use the passwd command. The system will prompt us for the password and ask us to confirm by retyping it.
passwd tux
Enter new UNIX password:
Retype new UNIX password:
passwd: password updated successfully
So now we have used useradd, usermod is very similar and can be used to modify most of the options provided in the table above. So you can play with the various options and get a feel for what’s available.
The final user-related command we are going to use is userdel, which is what we use to delete a user, in our dear friend Tux.
$ userdel tux
So now we have an idea of users, and while we did not go into creating groups, we did add our user to a group, so you get the idea. Here you also use a similar approach with the following three commands: groupadd, groupmod, and yep, you guessed it, groupdel. I think this will give you a better understanding of users and is the starting point for this article in the first place: Linux permissions, or more specifically, Linux file permissions.
Linux Permissions Categories
There are three different categories of users that can have access to either a file or directory in Linux. These are the owner, the group and anyone not belonging to the group.
The owner is the user who created the file. When you create a file you own it. You may also allow a group to have access to the file. Users are often in groups for specific reasons and without groups administration of users and the like would become a fine grained nightmare. You can also grant access or permission to any user outside of the group. So you have owners permission, group permission and others those users that are not members of a particular group.
Read, Write and Execute
Files and directories may have read, write and execute permissions. When a user creates the file they as owner are automatically granted read and write permissions to the file. Otherwise you wouldn’t be able to see or change it at all. Of course you could also change this to read-only if you don’t want it to be modified.
Each permission category has its own set of read, write and execute permissions. The first is the owner access. The second is the group access and the third is all other users access.
Next let’s create a directory called test_dir and have a look at the default permissions.
ls -als test_dir/
total 0
0 drwxr-xr-x 1 root root  0 May 25 11:03 .
0 drwxr----- 1 root root 30 May 25 11:03 ..
The directory was created as the root user so that we could see all available permissions as they are represented in the terminal. Empty permissions are represented by ‘-‘. The d indicates that this is a directory. The r, stands for read, w for write and x for execute.
There are ten positions drwxr-xr-x represented. The first three are the owners permissions, the second three, the group and the final three are the other users’ permissions.
Now let’s create a file and see how those permissions are represented when compared to a directory.
ls -als test_file
0 -rw-r--r-- 1 root root 0 May 25 11:27 test_file
As mentioned earlier the file is automatically assigned read and write permissions. The first permission is empty and not a d which tells us it is a file and not a directory.
While the symbols r, w and x can represent file permissions. There are corresponding numeric values for these permissions too. The numeric values are also known as the ‘binary mask’. These allow us to calculate the value of a set of permissions for either the owner, group or other users.
| Symbol | Numeric |
|---|---|
| - | No permission |
| x | 1 |
| w | 2 |
| r | 4 |
So a newly created file with the following permissions:
-rw r--r--
has a numeric weighting or value of 644. So the maximum value you could have is: rwxrwxrwx which has a numeric or ‘binary mask’ value of 777.
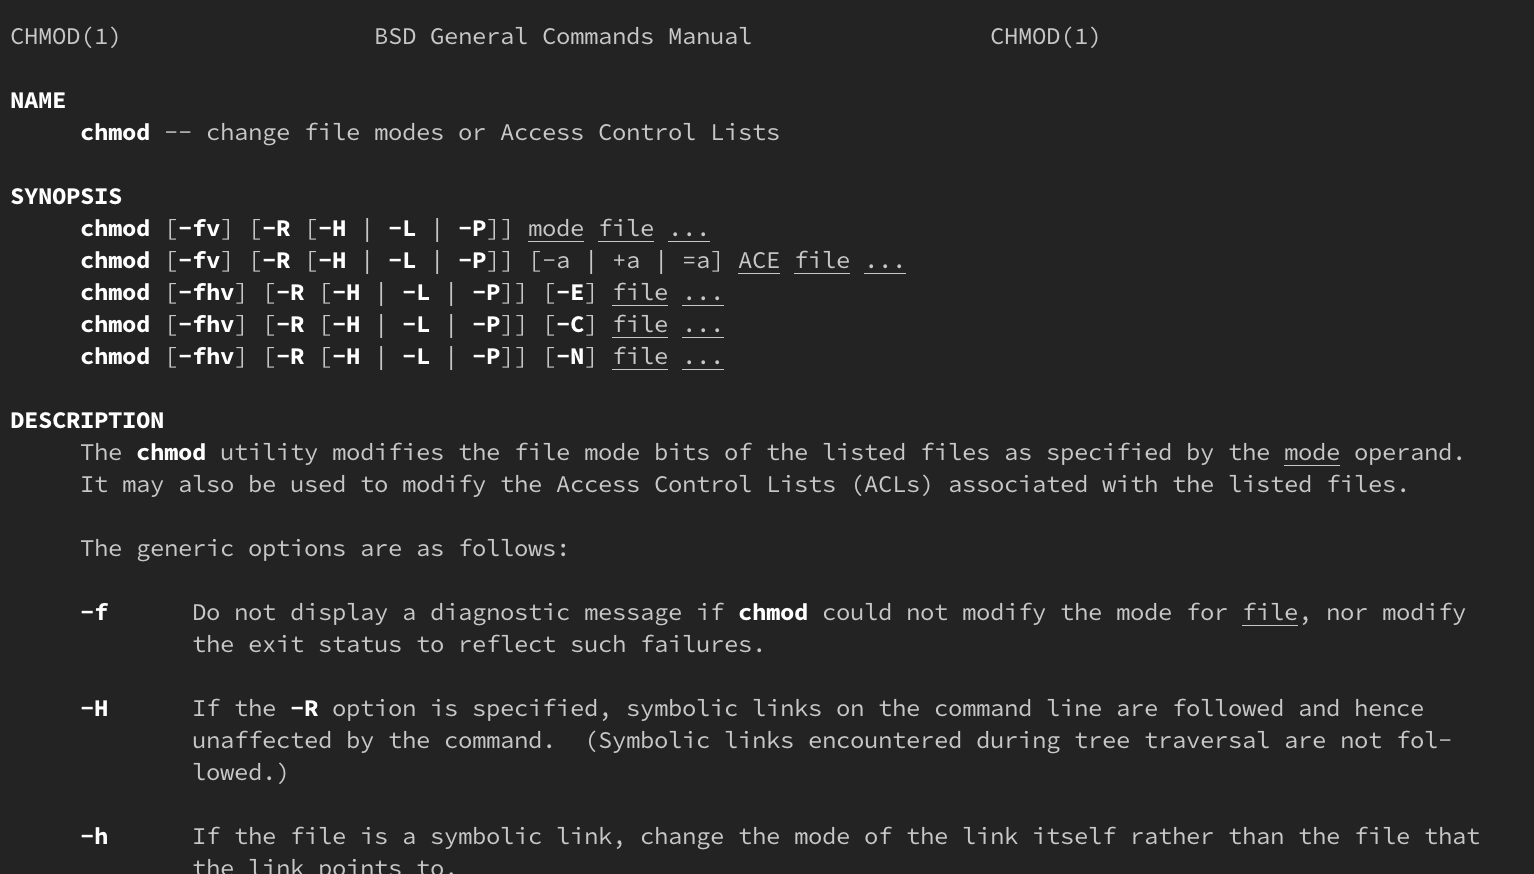
How to Change Permissions in Linux with chmod
In order to change file permissions in Linux we use the chmod command. We can use chmod either with the ‘symbolic method’ or the ‘binary mask’. The following table represents some, of the more common options available as switches for the chmod command.
| chmod Switch | Description |
|---|---|
| + | Add permission |
| - | Remove permission |
| = | Assign a set of permissions |
| r | Read |
| w | Write |
| x | Execute |
| u | User |
| g | Group |
| o | Other |
| a | Set permissions for all. User, Group and Other |
Let’s take chmod for a spin. I’ll create a file and then change its permissions in Linux to add execute to owner, group and other.
ls -l test_file
-rw-r--r-- 1 root root 0 May 25 12:27 test_file
chmod a+x test_file
ls -l test_file
-rwxr-xr-x 1 root root 0 May 25 12:27 test_file
As you can see the initial file was created with the standard read and write permissions for the owner. Then by using the ‘a+x’ switches with the chmod command we assigned execute to owner, group and other.
Now let’s do add the execute permission to user, group and other using the numeric approach.
ls -l test_file
-rw-r--r-- 1 root root 0 May 25 12:27 test_file
chmod 711 test_file
ls -l test_file
-rwx--x--x 1 root root 0 May 25 12:27 test_file
By using chmod 711 we have added the necessary execute permission to the owner. If you wanted to add read, write and execute to all you could go with chmod 777.
How to Remove permissions in Linux with chmod
Let’s say we want to remove the execute permission for all categories to our file.
ls -l test_file
-rwx--x--x 1 root root 0 May 25 12:38 test_file
chmod ugo-x test_file
ls -l test_file
-rw------ 1 root root 0 May 25 12:38 test_file
Changing File or Directory Ownership or Group using chown and chgrp
Much like chmod you will undoubtedly encounter the need to change either file or directory ownership at some point when working with the Linux from the terminal. For this we use the chown and chgrp commands respectively.
While other users may access and interact with a file, only the owner can change it’s permissions. In order to allow another user to change permissions on a file you will need to grant them ownership of that file. In the next example we will change the ownership of a file using the chown command
ls -l test_ownership
-rw-r--r-- 1 root root 0 May 25 13:24 test_ownership
chown jimi test_ownership
ls -l test_ownership
-rw-r--r-- 1 jimi root 0 May 25 13:24 test_ownership
Here we have changed the ownership of the file from root to the newly created user jimi. The problem however is that jimi belongs to the staff group and the file still reflects the group root. Let’s use chgrp to sort that out.
chgrp staff test_ownership
ls -l test_ownership
-rw-r--r-- 1 jimi staff 0 May 25 13:24 test_ownership
As you can see the file now belongs to the staff group.
There is another way of doing this by combining the chgrp command with chown.
chown jimi:staff test_ownership
ls -l test_ownership
-rw-r--r-- 1 jimi staff 0 May 25 13:24 test_ownership
This command adds the user to the group specified after the ‘:’ at the same time as changing the ownership to the new user.
In this article, we looked at a number of things relating to permissions in Linux. We created, modified and deleted users. We created files and learned about the various permissions and how to alter permissions. We also discussed permissions from a user and group perspective and looked at changing ownership of files as well as the groups they belong to.
Enjoyed this Linux permissions tutorial? Consider signing up to BitLaunch to support us.