
The chown command is an essential tool in any Linux server admin's toolkit. It is an abbreviation of "change owner" and has been in continual use since its release in 1971. This article will explain what it does, the different ways to use it, and the essential safety and security tips you should keep in mind.
Quickstart: How to chown recursive and non-recursive
Guide last updated: May 2026
chown -R user:group directorynamechown recursively, affecting sub-folders and files.chown user:group directorynamechown non-recursive, affecting only top level files and folders.chown user:group yourfile.txtchown a specific file in your current directory
What is chown?
The chown command allows users to change the owner of a file or directory to a specified user or group. You can specify any username or group name present in their databases or type a user or group ID.
What does chown do?
By changing the ownership of files and folders, chown can allow or deny certain applications or users to read and write to them. It's therefore an important security and usability tool. In an ideal setup, you would ensure that applications, users, and services only the ownership required to function.
How to use the chown command
The basic chown command syntax looks like something like this:
chown [OPTIONS] USER[:GROUP] Name of file/directoryThis may not make sense to you right now, so let's break it down into parts:
- Chown: The base command.
- OPTIONS: Flags to modify the behavior of chown (for example
-vto give a verbose output. - USER: As you would expect, this is the name of the user you want to be the new owner of the file. It can be expressed as a username (
bitlaunch), or a User ID (1). You can enter just the user if you want them to become the user of a given file or files without any changes to the group ownernship. - :GROUP: Changes the group ownership of the files. If only group is used and there is no
USER, only the group ownership will be modified. - USER:GROUP: The user ownership is changed to the specified user and the group to the specified group.
How to chown recursively with chown -R
In many instances, you'll want to chown recursively, instructing the command to apply the changes to all files and directories under your given directory.
To give an example, chown bitlaunch directory would affect the following:
directory
↪ file1.txt
  |file2.exe
  |file3.png
  | subdirectory
    ↪ file.exe
     | file.jpg
     |  subdirectory2
        ↪ file.png
If you wanted to chown the sub-directories and their folders, you would need to chown recursively (-R). This should be placed in the command syntax before your specified user or group. The full command to chown a directory recursively—including its subfolders—is therefore:
chown -R user:group directorynameThis would affect the entire file structure, as shown above. Or, if you wanted to affect symbolic links rather than their target, you could use chown -hR.
directory
↪ file1.txt
  |file2.exe
  |file3.png
  |subdirectory
   ↪ file.exe
      |file.jpg
      |subdirectory2
How to chown recursively using the find command
The commands above are all well and good, but they're a blunt instrument. Sometimes it doesn't make sense to recursively chown every file, and manually typing out every file that matches your criteria would be far too time-consuming. In these instances, you can combine chown with find to search for files that meet your criteria and then change their owner.
It almost goes without saying, but please be careful when you do this and double-check your commands. One typo and you could end up unintentionally changing the owner of important files. We recommend running your find command on its own first, checking the output, and then going ahead with your find + chown combo after. For example:
find . -name '*.txt' -printOutput: ./test.txt ./subfolder/test2.txtAnd then:
find . -name '*.txt' -exec chown -Rv user:group {} +We won't get into all of the different ways you can use find to filter files in this guide — that's best saved for our dedicated find guide below.

How to chown recursive with verbose output
In production scenarios, it's a good idea to use chown's verbose output option when using it recursively. This allows you to see exactly which files and folders are affected and which user or group they're changing to and from.

To achieve this, we combine the -R and -v flags:
chown -Rv user:group directorynameHow to check file ownership in Linux
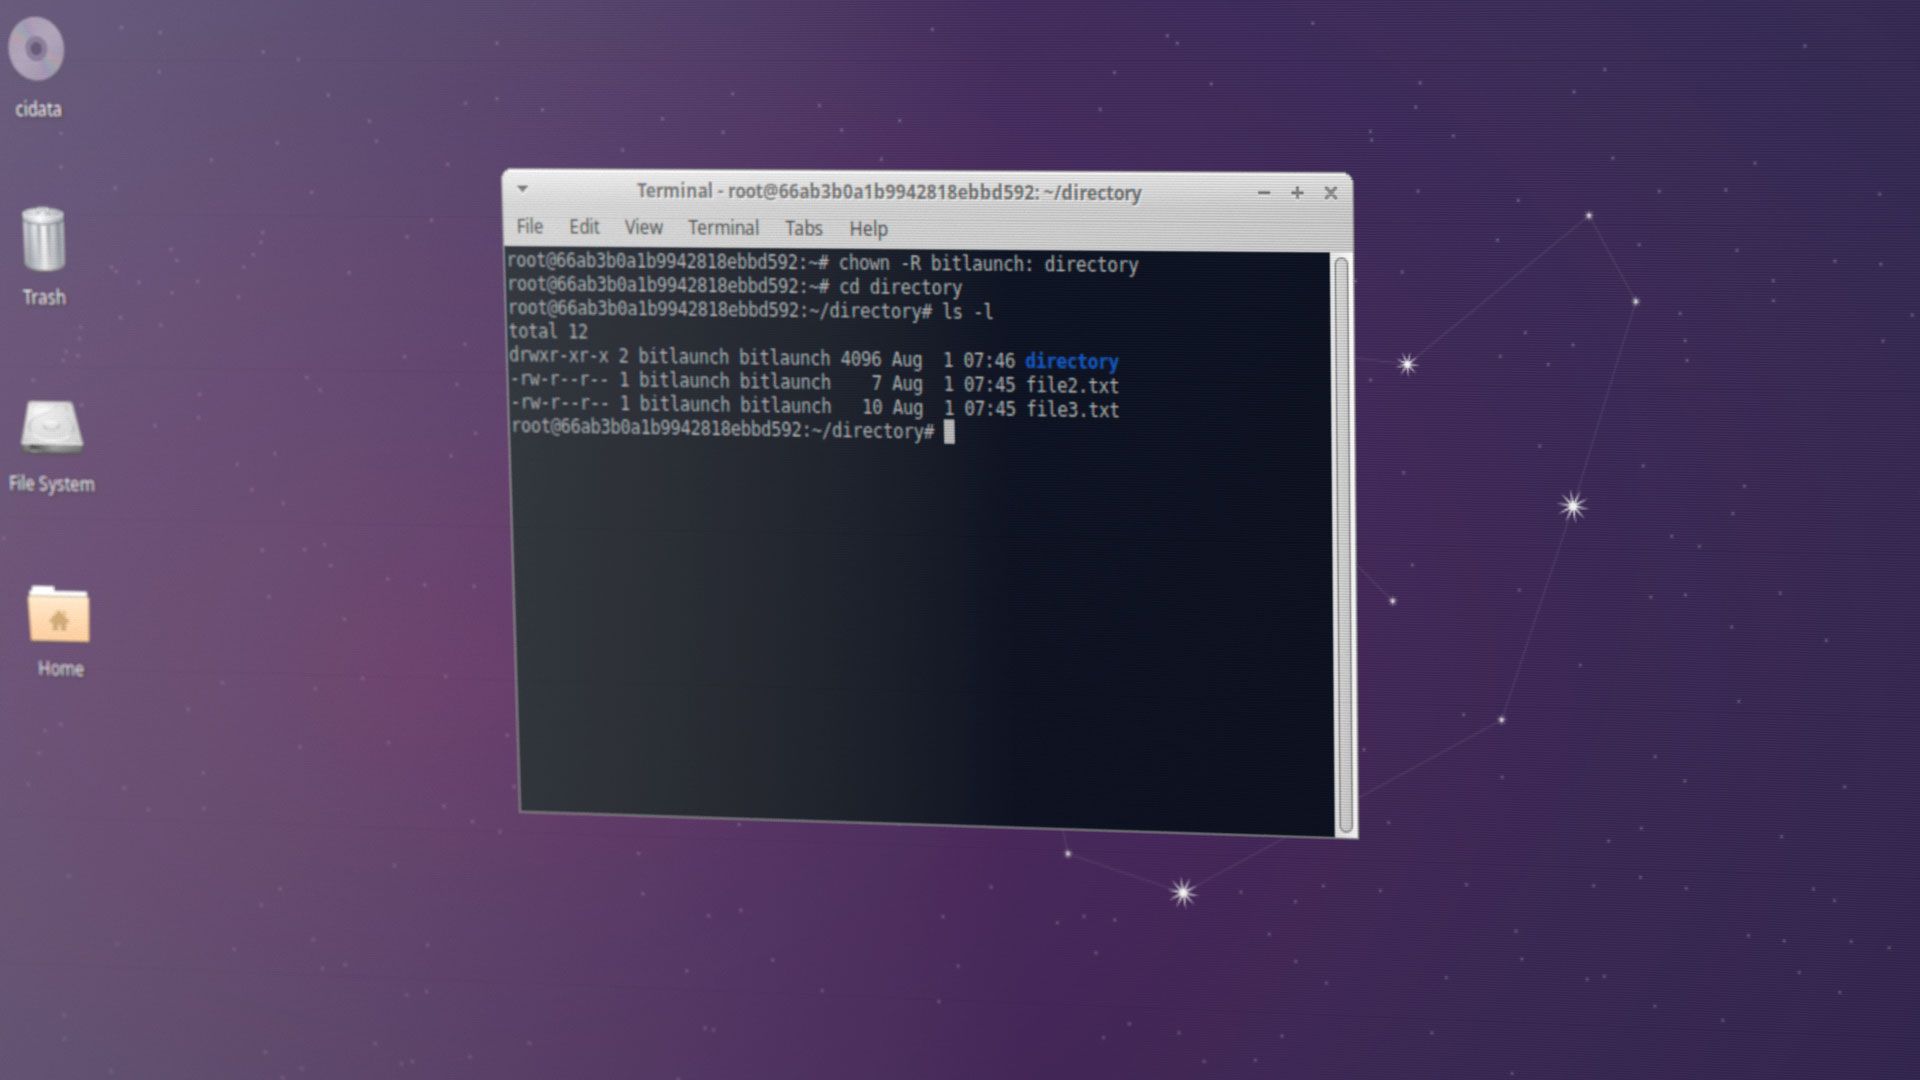
If you forget to use -v, you can always check file ownership after with ls -l in the chowned directory. The output will look similar to this:
total 16
drwxr-xr-x 2 bitlaunch bitlaunch 4096 Aug 1 07:20 directory2
-rw-r--r-- 1 bitlaunch bitlaunch 8 Aug 1 07:20 file
-rw-r--r-- 1 bitlaunch bitlaunch 5 Aug 1 07:20 file1.txt
-rw-r--r-- 1 bitlaunch bitlaunch 9 Aug 1 07:20 file2.exe
For context, the first column denotes permissions, followed by the links to the file, owner, group file size, last modified, and finally the filename.
| Type and permissions | Links to file | Owner | Group | File size | Last modified | File name |
|---|---|---|---|---|---|---|
| -rw-r--r-- | 1 | bitlaunch | bitlaunch | 8 | 01/08/2001 07:20 | file1.txt |
Common chown flags
Aside from -R and -v, chown has several flags that you might find useful for certain use cases:
| Flag | What it does | Example |
|---|---|---|
-R |
Applies the ownership change to the target directory and everything inside it, incl. all subdirectories and files. Without this, only the top-level item is affected. | chown -R bob:admin /var/logs |
-v / --verbose |
Prints each file and directory to the terminal as its ownership is updated. | chown -Rv sam:developers /home/sam |
-h / --no-dereference |
Changes ownership of symbolic links themselves instead of following them and changing the target file. | chown -hR root:sysadmin /opt/projects |
--preserve-root |
Prevents chown -R from operating on the root directory (/), acting as a safeguard against accidental system-wide changes. |
chown -R --preserve-root admin:staff / |
--from=user:group |
Only changes ownership on files that currently match the specified owner and group. Everything else is skipped. | chown -R --from=john:devs mary:admins /var/www |
Common chown use cases
Now that you know the basics of using chown recursive and non-recursive, it's worth covering some common use cases and examples to really solidify the understanding. Let's start with the difference between changing user, group, and user + group ownership.
How to change user and group with chown
Linux users are separated into groups, each of which gives different sets of permissions. You can view all of the groups on your system and the users they're associated with using cat /etc/group.
A lot of the time, users change just the owner or just the group. However, this can lead to security gaps. For example, if you change the owner from developers to john, but leave the group as developers, John might own the file, but his colleagues in a different group (e.g., ops) still won't have the group-level access they need. Meanwhile, the developers group still retains permissions to a file they may no longer be supposed to see.
While you can run two separate chown commands, it's more efficient to use a single one, for example:
chown john:ops new-feature-assetsNeed to manage which sudo commands groups have access to? Read our guide on how to give users access to specific sudo commands.
How to change only the user with chown
While the above scenario can occur, if you're just a single person changing permissions on your home network, you probably don't need to worry about groups too much. If you just want to change access to a new user you created, the following command will work:
chown newuser yourfolderHow to change the group of a file with chown
Changing the group of a file is simple, too. You can view groups in Linux using cat /etc/group. Then run the command:
chown :yourgroup fileordirectoryAlternatively, change the owner and group using:
chown bitlaunch:group fileordirectoryHow to change only the group with chown
Changing the owner group of a file is simple, too. You can view groups in Linux using cat /etc/group. Then run the command:
chown :yourgroup fileordirectoryHow to chown a specific file
If you don't need to change the owner of an entire directory, chown allows you to specify a file instead. Just type the path to the file, including its extension.
chown youruser:usergroup /etc/hosts/yourfile.txtHow to chown multiple files or directories at once
You can alternatively change the owner of multiple files and directories in a single command:
chown user:group yourfile1.jpg /etc/hosts/yourfile2.txt yourdirectory1 /etc/hosts/yourdirectory2Important safety tips & common errors
Chown is a powerful command that can mess up your system if you use it incorrectly. A misplaced recursive command or a wrong path can break file permissions across your entire system and potentially make it unbootable. Always try to keep the following in mind to save yourself a lot of headaches down the line.
Safety tips
- Don't run chown as root/sudo unnecessarily. Running as root bypasses all permission checks, so there's nothing to stop a mistyped command from affecting files it shouldn't.
- Preview before executing. If you're using
findor modifying mission-sensitive files, do a dry run first. Either by runningfindby itself, or by printing the-Rvoutput to a text file first. - Be careful with -R (recursive). It follows symlinks by default in some implementations. Use
chown -hRif you want to change the symlink itself rather than its target. - Back up permissions before bulk changes. On critical directories, snapshot current ownership before making changes so you can reverse mistakes using
find /path -printf '%u:%g %p\n' > /tmp/perms-backup.txt. - Use absolute paths. Relative paths often resolve unexpectedly, especially in scripts, where the working directory might not be what you expect. Use full paths like
/var/www/htmlrather than../html.
Common errors
- Operation not permitted. You need
sudoor root privileges. Non-root users can only change group, and only to a group they belong to. - Invalid user / Invalid group. The user or group doesn't exist. Check with
id usernameorgetent group groupnamebefore runningchown.
Closing words
These are the basics of using the chown command to manage ownership on your Linux or Ubuntu PC or server. Remember, you can always find additional options and information by typing chown --help in the command line of your distro of choice, just as you would when you list services or check iptables.
We recommend practicing these techniques on some sample or non-important files before using them on mission-critical directories. Alternatively, sign up to BitLaunch and use a free trial of one of our Linux VPS servers. This will allow you to test these commands without affecting your local PC.
FAQs
Can I use chown -R in combination with wildcards like *?
Yes, but exercise extreme caution. Using chown -R user:group * will expand the command to match everything in your working directory. If you therefore accidentally run it in / or /etc, you've just changed the ownership of important system files. It's better to use an absolute path, but if you must use a wildcard, make sure you use pwd to check your working directory first.
What happens if I make a typo in the path of a target directory?
It depends on the typo. Usually, you'll just get a "No such file or directory" error. The main danger is if your typo creates a different, valid path. For example, accidentally adding a space between chown -R /etc /ssh would target both /etc and /ssh recursively, changing the ownership of many more files than intended.
Can I use tree to preview ownership instead of ls -l?
Yes. If you have tree installed, tree -pu /path will display the full directory structure along with permissions and ownership for each entry. It's much easier to read than ls -lR for deeply nested directories. Install it with sudo apt install tree on Debian/Ubuntu if you don't have it.
What's the difference between chown and chmod?
This is a common confusion. chown changes who owns a file. chmod changes what the owner, group, and others can do with the file. They serve different purposes but are often used together.