

If you're planning to host more than one domain on a single VPS server, Nginx server blocks are essential. Similar to Apache virtual hosts, they allow you to create a virtual server for each domain and have traffic route to the correct site based on URL, port, and IP address the user enters.
The main advantage of using Nginx server blocks is cost. Rather than paying for two separate VPS servers, you can pay for one. It can also simplify management – allowing you to manage everything from a single command line rather than jumping between multiple VPS's.
Caution is also advised when using Nginx server blocks, however.You'll run into issues like Nginx 504 errors if you don't make sure your VPS server has the resources to handle the traffic from both domains. This can be a difficult balance to strike, so some familiarity with performance monitoring tools may be in order.
With that disclaimer, let's jump into how to set up Nginx server blocks in Ubuntu 20.04.
Pre-requisites
First, the pre-requisites. You'll naturally need an Ubuntu 20.04 server with Nginx installed. If you don't have one, you can use our one-click LEMP app when you set up a server or follow our quick Nginx installation guide. You can follow along on another Linux distro if you wish, but you may have to modify some of the discussed commands.
It may also be useful if you have domains to test with and point them to BitLaunch's nameservers. We'll be using examples domains throughout this tutorial, though, so you can always switch them out later. You can point any domain to your VPS server in your operating system's hosts file for testing purposes.
Step 1 – Creating directories for your domains
A default Nginx installation comes with one server block by default, /var/www/html. However, this isn't particularly useful to us if we want to host multiple sites. We instead want to create two new directories in the www folder that match our domains:
sudo mkdir -p /var/www/firstdomain.com/html
sudo mkdir -p /var/www/seconddomain.com/html
With the directories created, we can assign ownership to a regular user so the sudo command is not required to write to them:
sudo chown -R $USER:$USER /var/www/firstdomain.com/html
sudo chown -R $USER:$USER /var/www/seconddomain.com/html
For dynamic sites, you may need to adjust the ownership to give some access to the www-data user. The exact requirements will vary depending on the service you're trying to run, so check its documentation. WordPress, for example, may require you to run sudo shown -R www-data:www-data /var/www/yourdomain.com before you can update themes and plugins.
Step 2 – Creating test pages
Eventually, you'll install WordPress or whatever service you plan to host in the directories we just created. For now, though, let's create some quick test pages. It's better to verify that everything is working correctly with these before doing any time-consuming work.
We don't need anything fancy for this, so a very simple page made with html will do. Create one for your first site with:
nano /var/www/firstdomain.com/html/index.html
In the text editor paste the following:
<html>
	<head>
		<title>Hello World! This is FirstDomain!</title>
	</head>
	<body>
		<h1>Hello World! This is FirstDomain!</h1>
		<h2>If you're seeing this, then the firstddomain.com server block is working. Good job.</h2>
        <p>However, if you're seeing this on seconddomain.com, you may want to check your server block file in /etc/nginx/sites-available/ and make sure it's pointing to the right place</p>
	<body>
</html>
Save and close the file with Ctrl + O and Ctrl + X.
Now let's do the same for our second domain:
nano /var/www/seconddomain.com/html/index.html
Let's change the HTML to reflect that we're visiting our second domain:
<html>
	<head>
		<title>Hello World! This is SecondDomain!</title>
	</head>
	<body>
		<h1>Hello World! This is SecondDomain!</h1>
		<h2>If you're seeing this, then the seconddomain.com server block is working. Good job.</h2>
        <p>However, if you're seeing this on firstdomain.com, you may want to check your server block file in /etc/nginx/sites-available/ and make sure it's pointing to the right place</p>
	<body>
</html>
Save and close the file with Ctrl + O and Ctrl + X.
Step 3 – Creating Nginx server block files
The content we have now isn't particularly interesting, but it's something for the webserver to serve visitors. What we don't have are Nginx server block files, which are what will tell the webserver what to serve to which domain.
As we're using Nginx to create multiple server blocks, we can cut down the busy work by simply copy-pasting config files and modifying them. Even better, the default Nginx directory already has a config that we can steal to provide a good starting point.
Nginx server blocks are defined in /etc/nginx/sites-available/ folder. Let's copy the default config for use with our first domain:
sudo cp /etc/nginx/sites-available/default /etc/nginx/sites-available/firstdomain.com
Now to edit the file to suit our preferences:
sudo nano /etc/nginx/sites-available/firstdomain.com
Output:

server {
        listen 80;
        root /var/www/html;
        index index.php index.html index.htm index.nginx-debian.html;
        server_name _;

        location / {
                try_files $uri $uri/ =404;
        }

        location ~ \.php$ {
                include snippets/fastcgi-php.conf;
                fastcgi_pass unix:/var/run/php/php7.3-fpm.sock;
        }

        location ~ /\.ht {
                deny all;
        }

        include /etc/nginx/sites-available/*.conf;

}
First things first, the root /var/www/html; value is pointing to the wrong place. We want it to fetch content from /var/www/firstdomain.com/html instead. Change it to match the directory you defined earlier.
Now for our server name. As you may have guessed, you'll want to put your domain here, firstdomain.com. However, you'll also want to add a space, followed by www.firstdomain.com, so it looks like this:
server_name firstdomiain.com www.firstdomain.com
Without this, users may not be directed to your site if they put www. in front.
Now let's talk a little about index pages. You'll notice the line index index.php index.html index.htm index.nginx-debian.html;. This is the order Nginx will use when looking for index pages. If you aren't using the test index file above then, you may want to re-order. index.php is common for WordPress installs, for example.
If you didn't use the one-click LEMP install, you may also have the following lines in your config:
listen 80 default_server;
listen [::]:80 default_server;
You can only have one default_server. This is what Nginx will default to if someone tries to visit your IP without using one of your specified domain names. You set this as one of your domains or simply delete default_server from both to keep the default Nginx page specified in /etc/nginx/sites-available/default. This is what we'll do today.
Your final config, then, should look something like this:
server {
        listen 80;
        root /var/www/firstdomain.com/html;
        index index.php index.html index.htm index.nginx-debian.html;
        server_name firstdomain.com www.firstdomain.com;

        location / {
                try_files $uri $uri/ =404;
        }

        location ~ \.php$ {
                include snippets/fastcgi-php.conf;
                fastcgi_pass unix:/var/run/php/php7.3-fpm.sock;
        }

        location ~ /\.ht {
                deny all;
        }

        include /etc/nginx/sites-available/*.conf;

}
Now to do the same for the second Nginx server block, this time copying our firstdomian config:
sudo cp /etc/nginx/sites-available/firstdomain.com /etc/nginx/sites-available/seconddomain.com
Edit it with sudo nano /etc/nginx/sites-available/seconddomain.com until it looks something like this:
server {
        listen 80;
        root /var/www/seconddomain.com/html;
        index index.php index.html index.htm index.nginx-debian.html;
        server_name seconddomain.com www.seconddomain.com;

        location / {
                try_files $uri $uri/ =404;
        }

        location ~ \.php$ {
                include snippets/fastcgi-php.conf;
                fastcgi_pass unix:/var/run/php/php7.3-fpm.sock;
        }

        location ~ /\.ht {
                deny all;
        }

        include /etc/nginx/sites-available/*.conf;

}
That should be all we need for now. Before we go forward, let's just double check that there aren't any typos. sudo nginx -t will check for syntax errors.
We should also edit nginx.conf to enable a hash bucket size of 64. This will help to prevent hash bucket memory problems, which can happen when you have multiple server names. Run:
sudo nano /etc/nginx/nginx.conf
Look for the line that reads server_names_hash_bucket_size 64 and delete the hash before it to enable it. Save and exit.
With that, restart Nginx to apply the server block changes:
sudo systemctl restart nginx
Step 3 – Testing your server blocks
If you've been using your own domains, you can verify everything is working by visiting them in an incognito browser tab on your local PC.
If you're using our test domains, you can instead modify your local hosts file. This force your PC to believe that the domains point to your server even if they don't. Bear in mind that this won't work for anyone who hasn't modified their hosts.
If your local PC is Linux or macOS, modifying hosts is simple. Just type sudo nano /etc/hosts and add the following (switching your.server.ip for the IP address of your VPS server):
your.server.ip firstdomain.com
your.server.ip seconddomain.com
In Windows, the easiest method is to download the open-source Hosts File Editor by Scott Lerch. After installing the program, just add the entries above to your hosts file, tick them, and press Save.
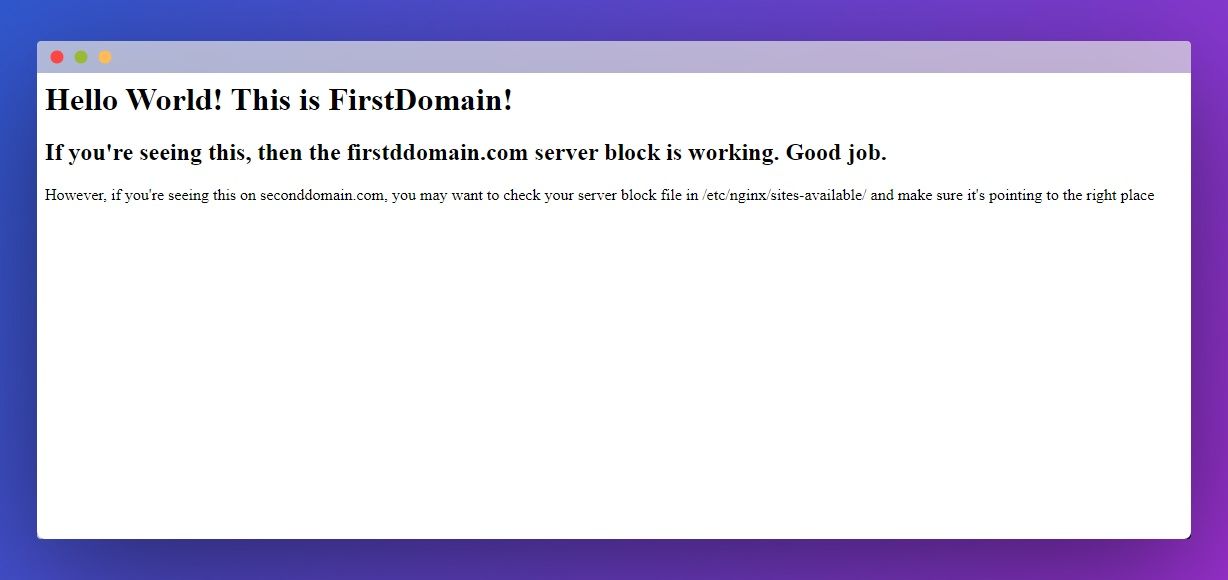
Visit the domains in incognito mode in your browser to verify your Ubuntu virtual hosts are working as intended. Incognito will ensure you don't run into any caching issues, but it isn't strictly necessary if you've never visited the domain before. You should see something like this:
Once you purchase a domain to replace the test ones, don't forget the delete the entries from your hosts file. Feel free to add additional server blocks as needed, but remember to be mindful of your server's resources.