
We’ve covered various self-hosted Google search alternatives here on the blog before, but somehow missed Whoogle, an ad-free, tracker-free version of Google that was released shortly before we wrote the article. Today we’re going to remedy that by showing you how to deploy and use Whoogle on a BitLaunch VPS.
There are various ways to deploy Whoogle, including through services like Heroku, Repl.it, and Fly.io. However, we’ll be focusing on the manual methods so that you don’t have to sign up for any third-party services. There are two main manual methods: regular and Docker. Both have their use cases, so we’ll be covering each of them below.
Thankfully, whichever you choose, the process won’t be too difficult. Whoogle was designed to be used solely for private use, unlike competitors like Searx. As such it has taken pains to make the installation process as simple as possible and implement a limited scope by showing only Google search results.
Pre-requisites
Before we get into the main guide, you’ll want to make sure that you have all of the dependencies required to run Whoogle. These include Python 3 and openssl.
Before you do anything, however, we recommend making sure your Ubuntu server is up to date with:
sudo apt update
sudo apt upgrade
You can then check if Python is already installed with `python3 –version`. If you’re on a BitLaunch VPS, this should be the case. If python 3 isn’t installed, you can run:
sudo apt install python3.8
sudo apt install python3.8-venv
sudo apt install pip
You also need to install openssl if you haven’t already. You can do so with:
sudo apt-get install -y libcurl4-openssl-dev libssl-dev
There are no specific hardware requirements for Whoogle, as it naturally depends on how many users will be searching with it simultaneously. In our experience, however, it performed just fine on a 1 GB/ 1 CPU VPS in a single-person use-case. As privacy is important to you, it may also be wise to pay for an anonymous vps server rather than one from major providers.
How to deploy Whoogle manually
Installing Whoogle manually is a little slower than the Docker version, but you can still get things up and running pretty quickly. After installing the pre-requisites, run the following:
git clone https://github.com/benbusby/whoogle-search.gitcd whoogle-searchpython3 -m venv venvsource venv/bin/activatepip install -r requirements.txtOnce the requirements have been installed, just type
./run
This will start your Whoogle instance. You’ll be able to access it immediately via http://your.server.ip:5000.
How to deploy Whoogle with Docker
Installing Whoogle with Docker only requires a single command. First, though, you’ll need to make sure Docker is installed:
apt install docker.ioOnce the setup is complete, just run:
docker run --publish 5000:5000 --detach --name whoogle-search benbusby/whoogle-search:latest
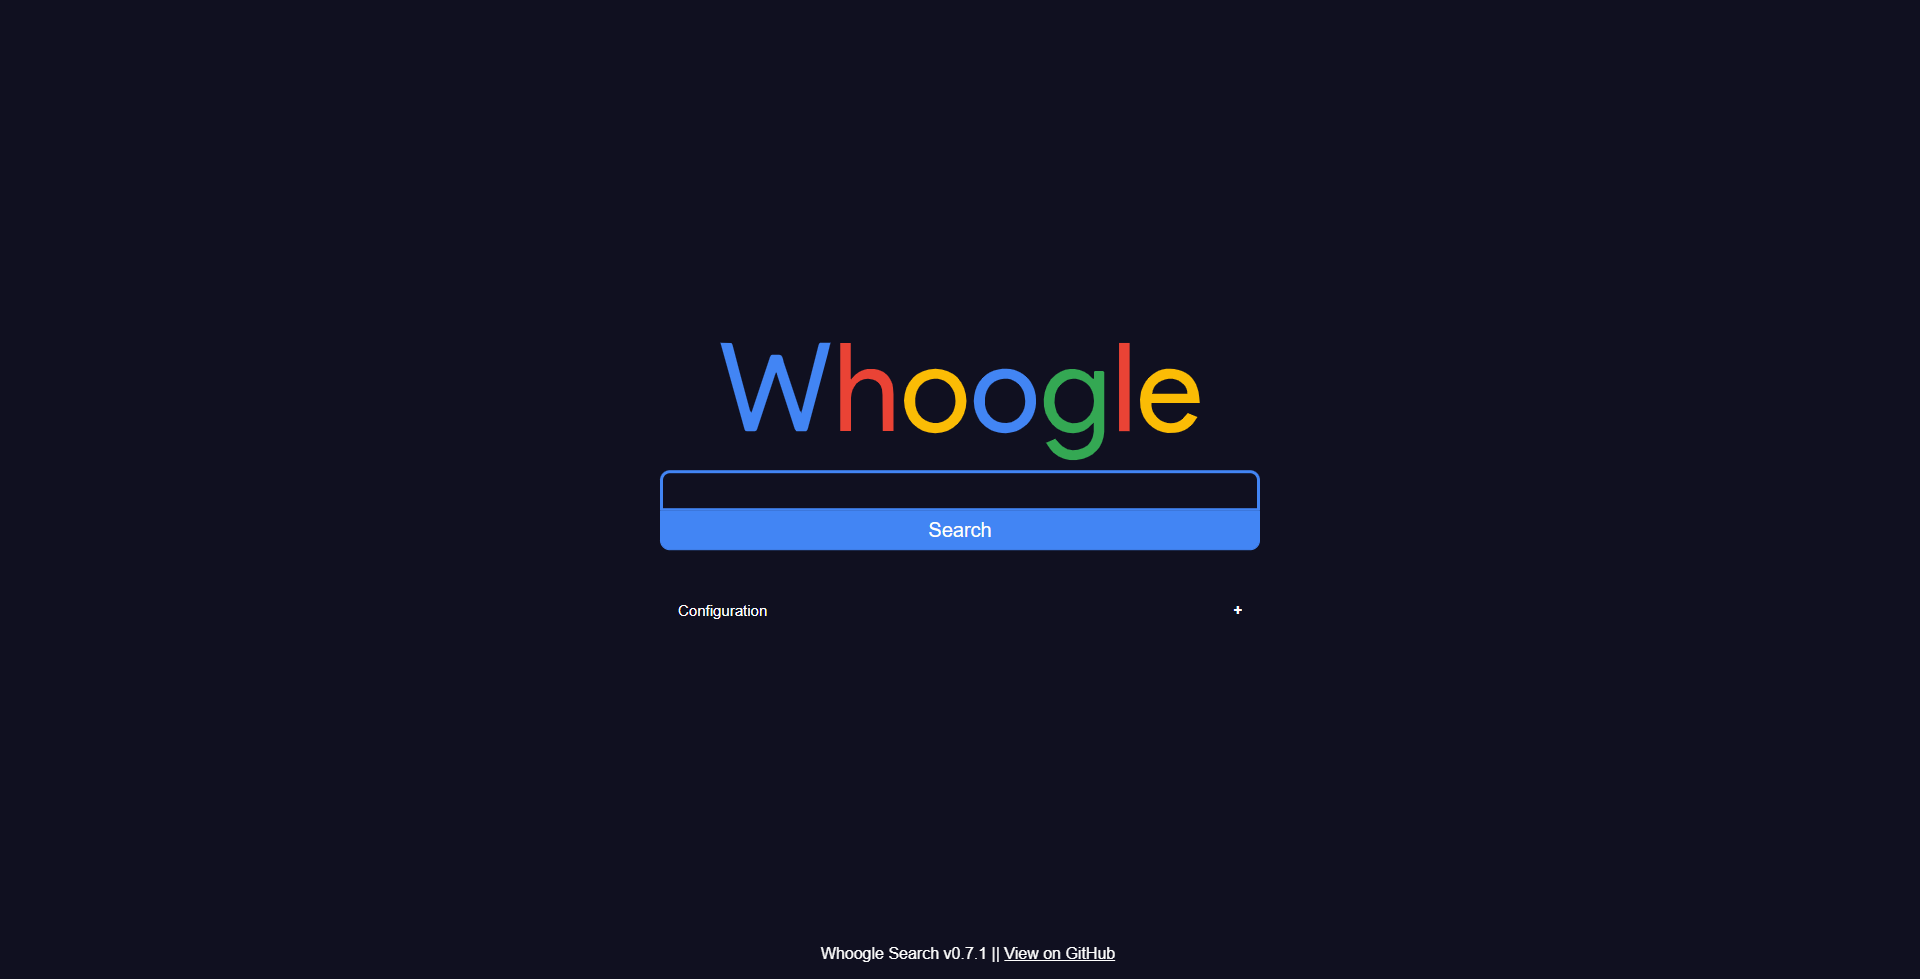
You can then access your Whoogle instance on your local pc by visiting http://your.server.ip:5000 in your browser. You should see the Whoogle home screen below if you were successful.

Press the Configuration button to change some Whoogle settings, such as the country your results are from, the language, safe search, and its theme.