
OpenClaw is an exciting, boundary-pushing tool, but its security implications have been widely reported. Researchers recommend using OpenClaw only on devices and accounts completely separate from your daily driver. Of course, most people don't have a spare PC lying around — and that's where a private VPS server comes in. For a monthly fee, you can rent dedicated cloud hardware to run OpenClaw.
What many users don't realize, however, is that securely setting up OpenClaw on a VPS isn't as simple as running the regular installer and calling it a day. You'll want to make a few minor but specific tweaks to your configuration to prevent attackers from accessing your OpenClaw control panel, data, and associated API keys.
This step-by-step guide walks you through securely installing and configuring OpenClaw on a BitLaunch VPS. We'll cover the specs you need, the installer options you should select, setting up messaging, and hardening your install against hackers.
Not yet a BitLaunch customer? Sign up and talk to our support for some free credit.
Recommended VPS specs for OpenClaw
While OpenClaw's official documentation states that you can get away with a 1GB/1CPU VPS, we found this to be insufficient. In our testing, the installation failed to complete due to memory errors. Our spec recommendations for VPS use are as follows:
- Minimum specification: 2 GB RAM | 1-2 vCPU | >500 MB+ SSD
- Recommended specification: 4 GB RAM | 2 vCPU | 5 GB+ SSD
- Local LLM specification: 1 GPU 12 GB+ VRAM | 30 GB+ RAM | 6+ vCPUs
Note that even on the minimum specification, you may still encounter memory issues when using features such as browsing automation, node tools, etc.
How to install OpenClaw on a Ubuntu VPS
Installing OpenClaw on a BitLaunch VPS starts with launching your server:
- Press "Create a Server" in your BitLaunch control panel and select an Ubuntu VPS with 4 GB RAM/2 CPUs/100 GB SSD. Enter a password or (preferably) create an SSH key to use with your server before launching.
- Connect to your server via SSH using the command
ssh root@<your.server.ip>. - Update the server OS using
apt update && apt dist-upgrade. - Set up a new, non-root user for security
sudo adduser openclaw: You can press Enter to leave the fields blank.sudo usermod -aG sudo openclaw: This will give the user sudoer (admin) permissions, which is necessary to install OpenClaw on a VPS.su openclaw: This switches to your new user.
- Run the OpenClaw installation script using
curl -fsSL https://openclaw.ai/install.sh | bashand choose the following options:- Yes to "I understand this is powerful and inherently risky. Continue?"
- QuickStart to "Onboarding mode"
- Anthropic API key as default model/auth provider. (You can choose a different provider, but this works best).
- Telegram for "Select channel (QuickStart)"
- On your Telegram app, open a chat with @BotFather
- Message
/newbot - Copy the provided token (looks like 123456:ABC...)
- Paste the token into the installer when asked
- No to "Install Skills", unless you want to set up nano banana, whisper, etc. now
- Yes to bash shell completion. This finishes your OpenClaw commands for you for better ease of use.
- Npm as the preferred package manager for skills.
- Run
openclaw open gatewayso that you can connect your bot - Open a chat with your bot via the link in your botfather chat and message
/startto configure it
How to secure OpenClaw on a Ubuntu VPS server
That's the basic setup for OpenClaw complete. However, you still need to take additional steps to secure your server. These are mandatory and non-negotiable if you don't want your API keys or personal data compromised.
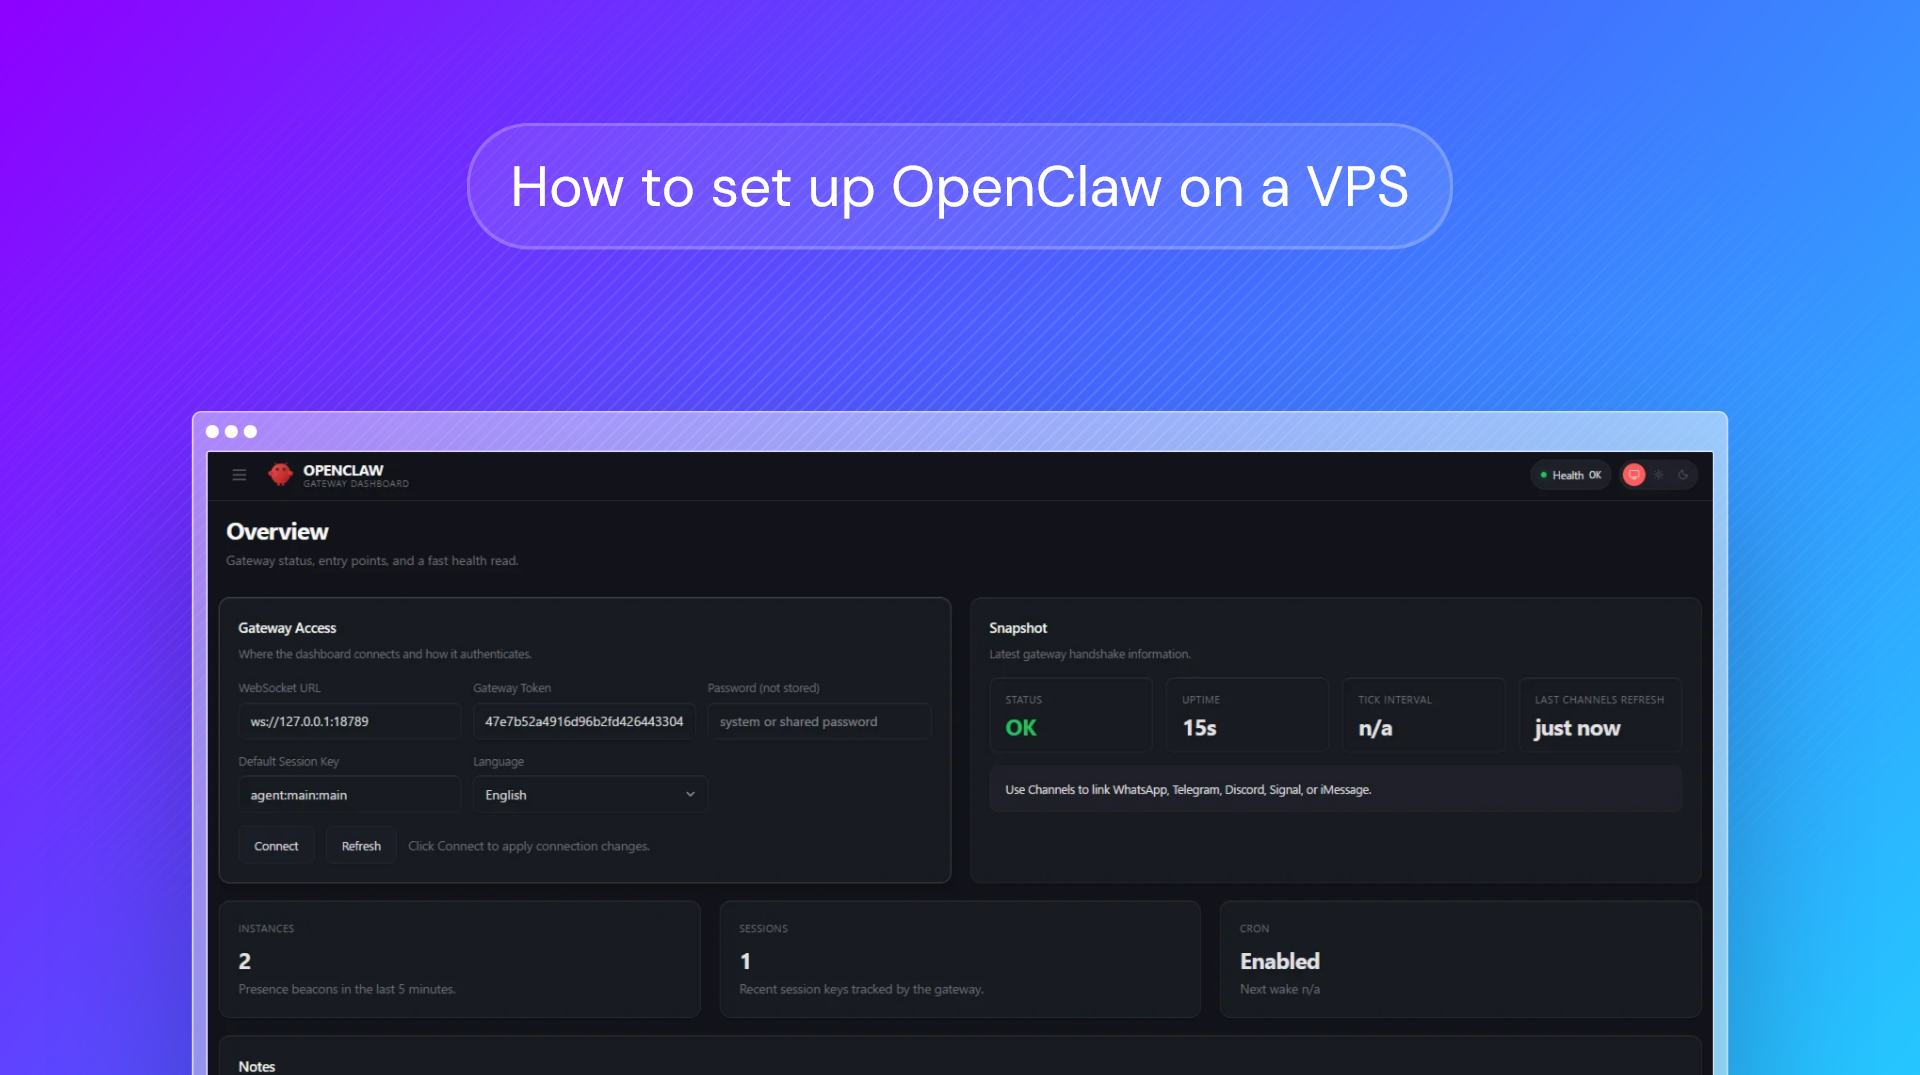
Ensure your gateway is private
The first and most vital tweak is to ensure that your gateway is bound to localhost only. The most user-friendly way of doing this is by running openclaw configure and selecting Local (this machine).
ss -tulpn | grep 18789You'll want the response to be 127.0.01:18798 rather than 0.0.0.0:18789.
Configure your firewall
You'll want to reduce the attack surface of your server by configuring your firewall to only open the ports required for SSH. To do so on Ubuntu, run the following ufw commands:
sudo ufw default deny incoming
sudo ufw default allow outgoing

sudo ufw allow 22/tcp
sudo ufw limit 22/tcp

sudo ufw enable
sudo ufw status numbered
If you're hosting other applications, you may also want to allow traffic on ports 80 and 443 (i.e.sudo ufw allow 80/tcp)

Set up a private tunnel with Tailscale (optional)
Using a private tunnel like Tailscale allows us to connect to OpenClaw remotely without exposing its gateway port. We choose Tailscale because it's very easy to configure. Just install and activate it with:
curl -fsSL https://tailscale.com/install.sh | sh
sudo tailscale up
After following the steps in your browser, you can then run the following command to ensure the gateway is only served via Tailscale:
sudo tailscale serve --bg https:18789 http://127.0.0.1:18789If you run into issues, check the official documentation here for more guidance.
Setting up OpenClaw locally? Follow our dedicated guide above.