

Sign up to BitLaunch and quickly spin up multiple anonymous servers for use with Cockpit
One of the pain points in VPS server management area is that there are not a great deal of free management tools to manage multiple Linux servers or installations.
We will explore Cockpit project, a multi-server management tool sponsored by Red Hat which includes several advanced features.
Here is our setup:

1. Prerequisites
Any recent Ubuntu server should work (except 14.04 which is not recent) with all the commands provided.
Cockpit also supports many other Linux distributions; please check their installation page to see more.
In this aritcle, we are using an Ubuntu 20.04 LTS VPS server from BitLaunch.
2. Preparing our servers
Let's prepare our servers for our setup. We will update the local package index and upgrade any packages that are outdated on both server.
$ apt-get update
Hit:1 http://security.ubuntu.com/ubuntu focal-security InRelease
Hit:2 http://archive.ubuntu.com/ubuntu focal InRelease
Hit:3 http://archive.ubuntu.com/ubuntu focal-updates InRelease
Hit:4 http://archive.ubuntu.com/ubuntu focal-backports InRelease
Reading package lists... Done
Reading package lists... Done
Building dependency tree
Reading state information... Done
Calculating upgrade... Done
The following packages were automatically installed and are no longer required:
....
....
3. Installing Cockpit
Installing Cockpit is quite easy as it is already included in the default package repositories. Both servers should be installed as follows.
We will mention Cockpit Master server, however, the installation and configuration is same for both. Master is the instance that we will use the GUI and use to connect to other Cockpit instances.
$ apt install -y cockpit
Reading package lists... Done
Building dependency tree
Reading state information... Done
The following additional packages will be installed:
....
....
4. Checking Cockpit service status
$ systemctl status cockpit
● cockpit.service - Cockpit Web Service
     Loaded: loaded (/lib/systemd/system/cockpit.service; static; vendor preset: enabled)
     Active: inactive (dead)
TriggeredBy: ● cockpit.socket
       Docs: man:cockpit-ws(8)
5. Configuring firewall to allow port 9090
We need to allow port 9090 for external access to our Cockpit master server. It is always better practice to only allow from your own IP addresses that it's restricted to others.
Please note that we only need this on Cockpit master as Cockpit instances will talk over SSH.
$ sudo ufw allow 9090
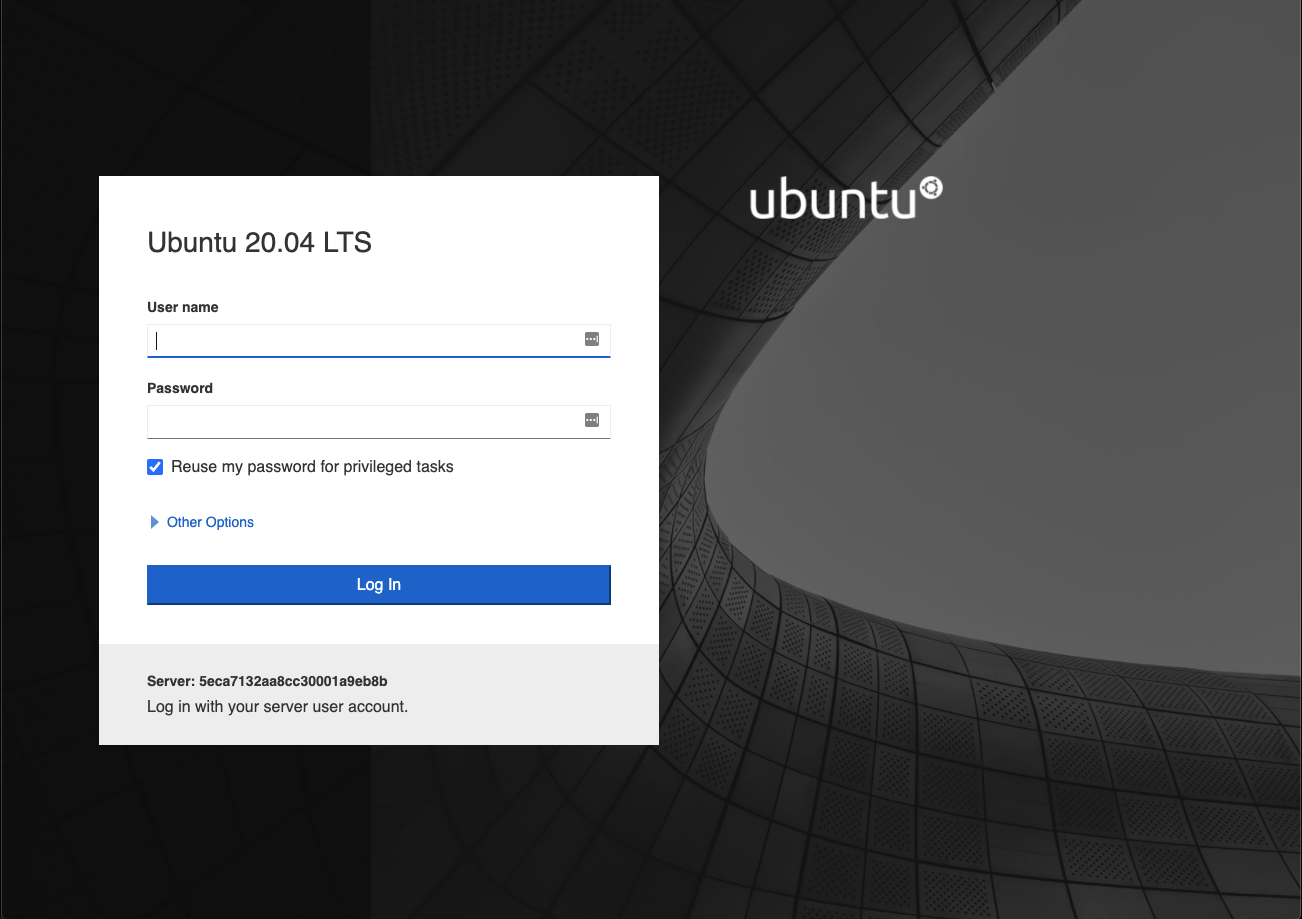
6. Connecting to Cockpit
Cockpit web server listens on port 9090. It listens with a self-signed sertificate so the "Your connection is not private" dialog will appear. Click advanced and proceed. (Names may change depending on your browser)
7. Cokpit screens
Here we are going to explore the screens provided by Cockpit.
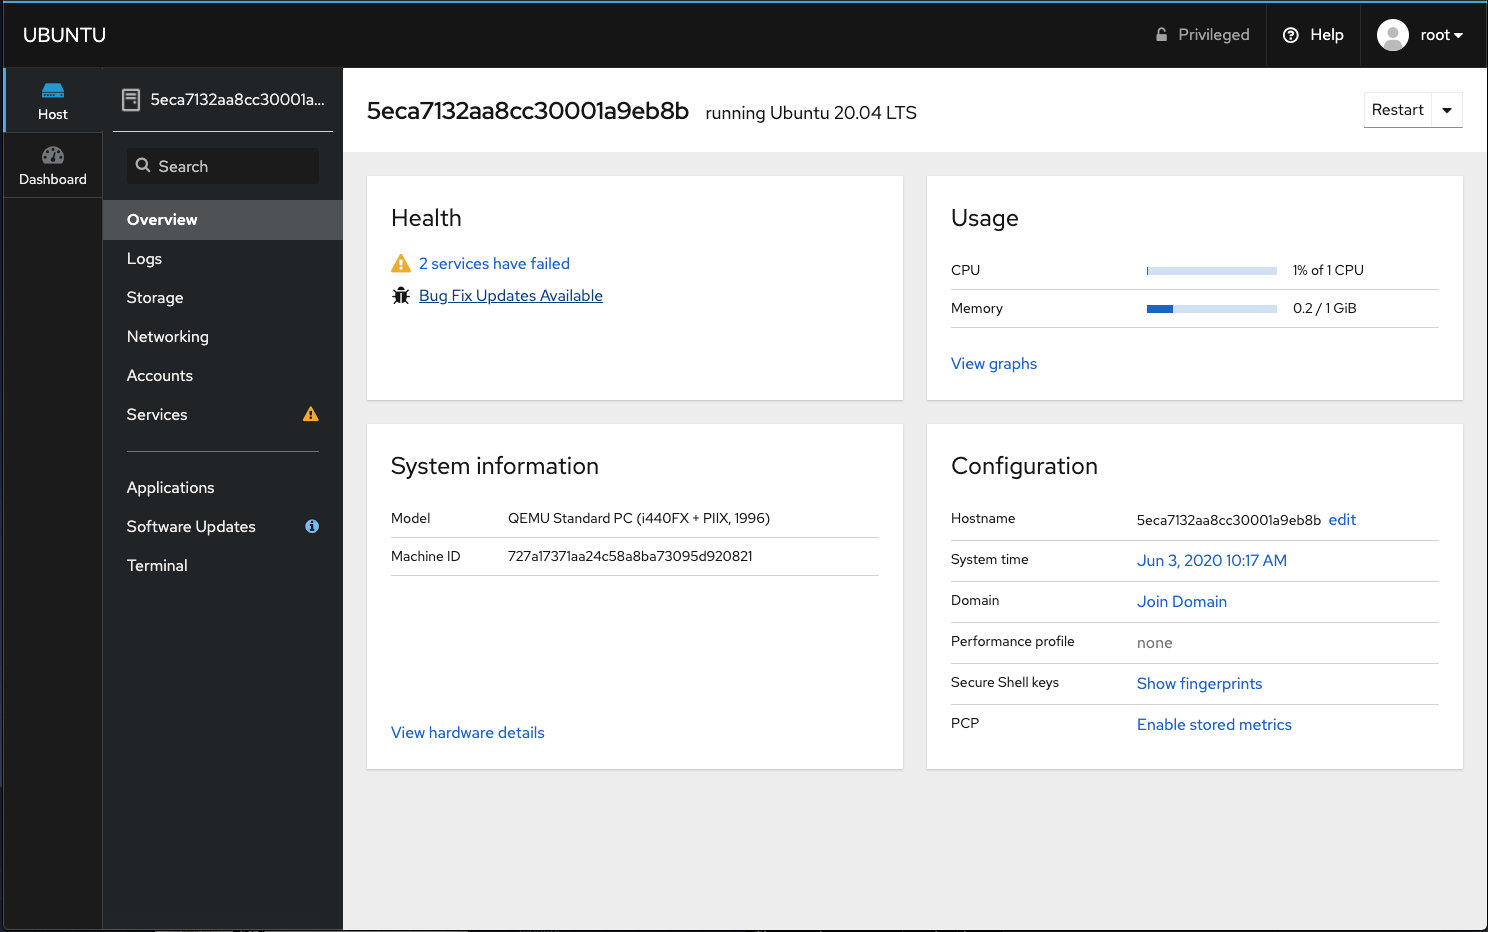
Overview
In the overview screen, we can see general health and system information / configuration as well as cpu and memory usage.
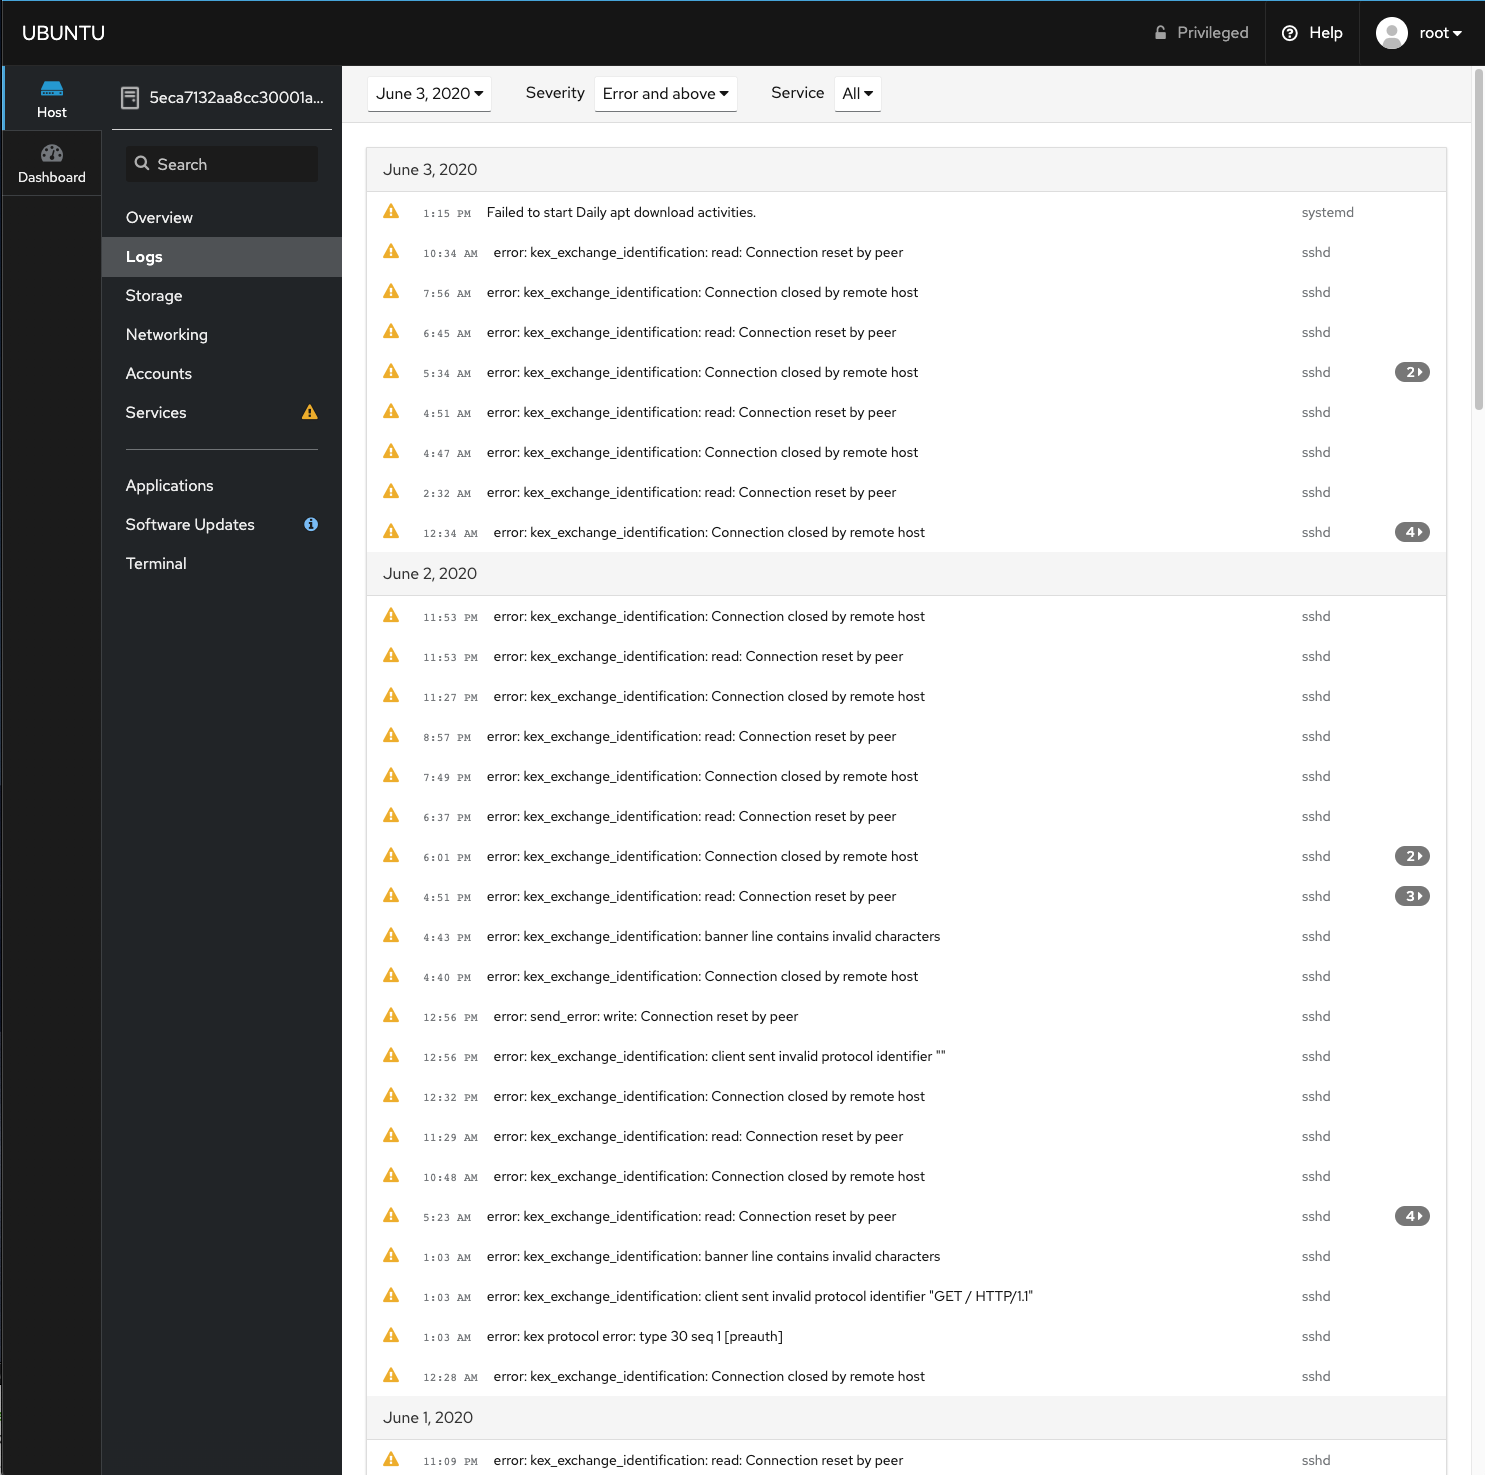
Logs
Here we can see our system logs, it can be filtered by date, severity and service.
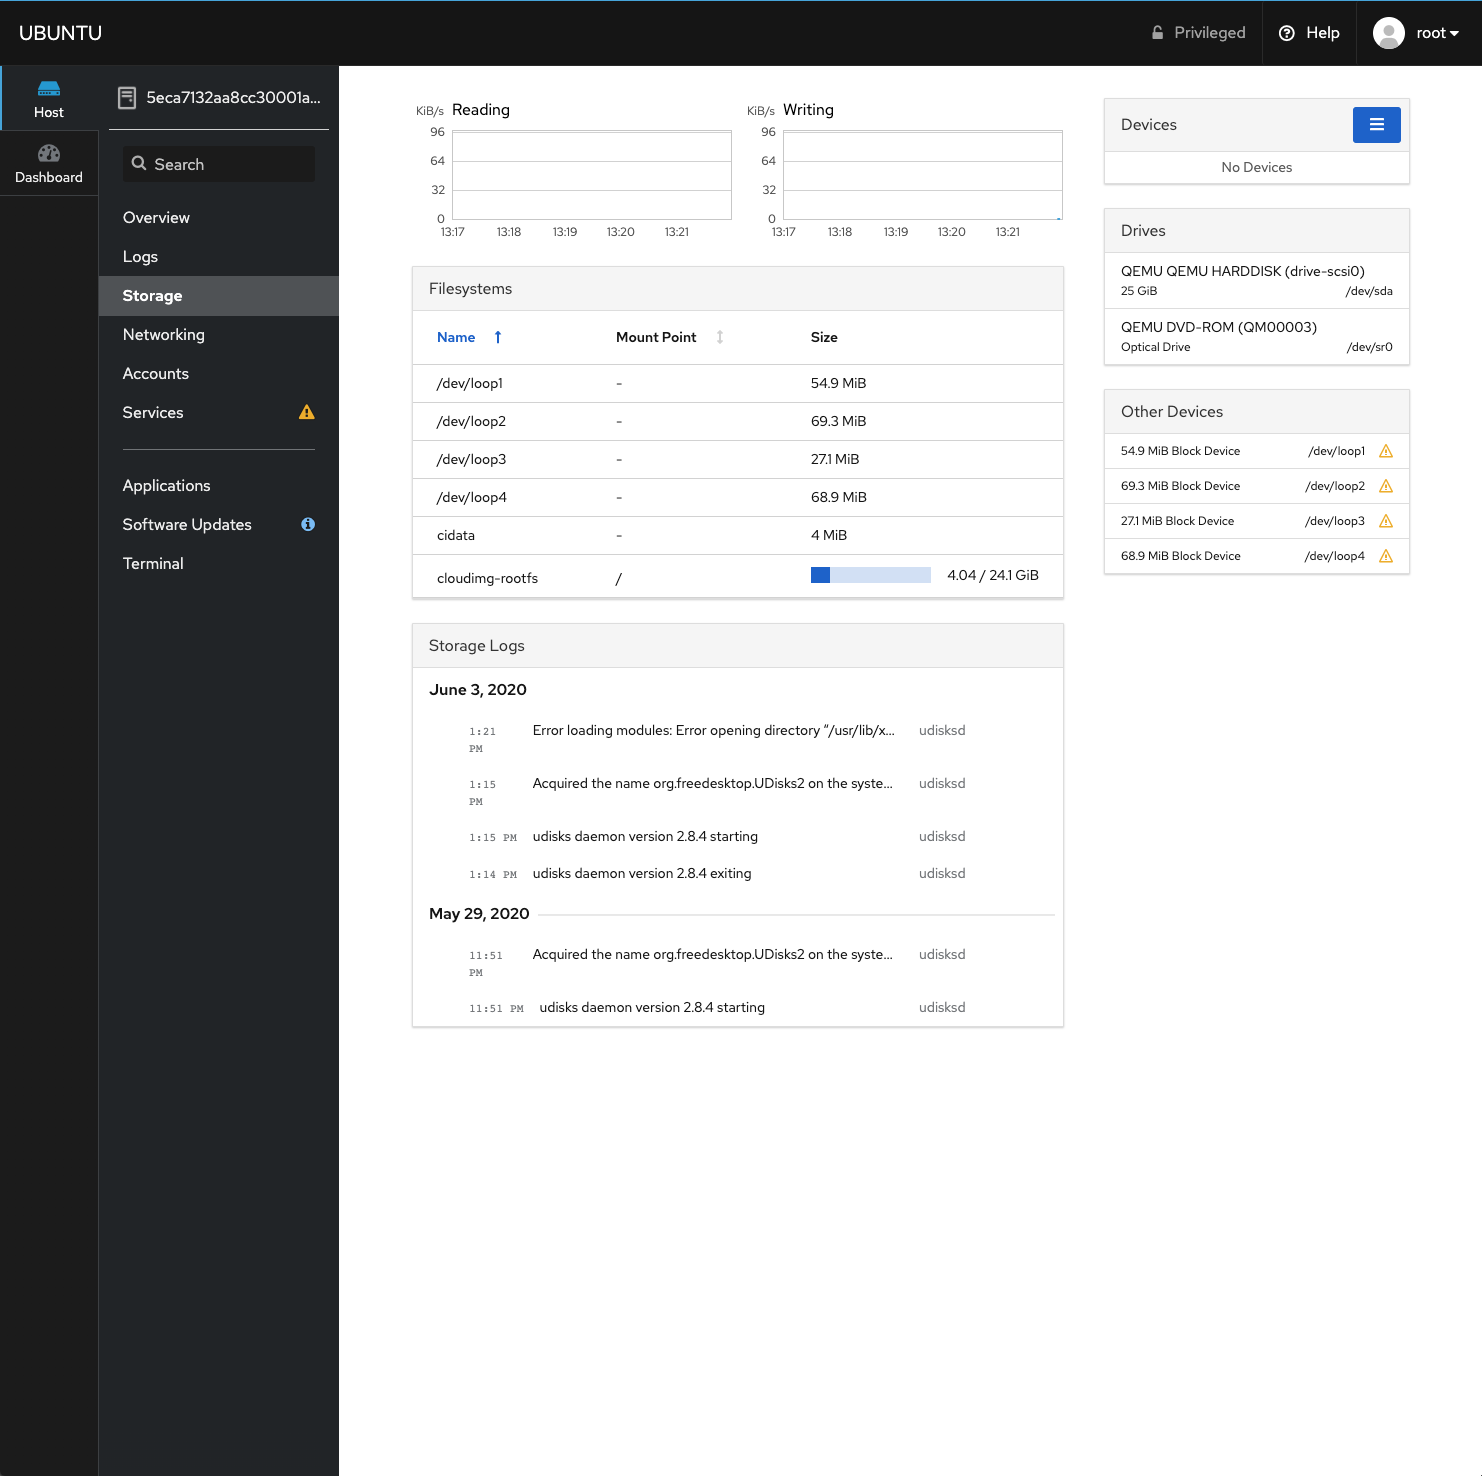
Storage
The storage section shows our disks and related information. A read/write graph is shown as well.
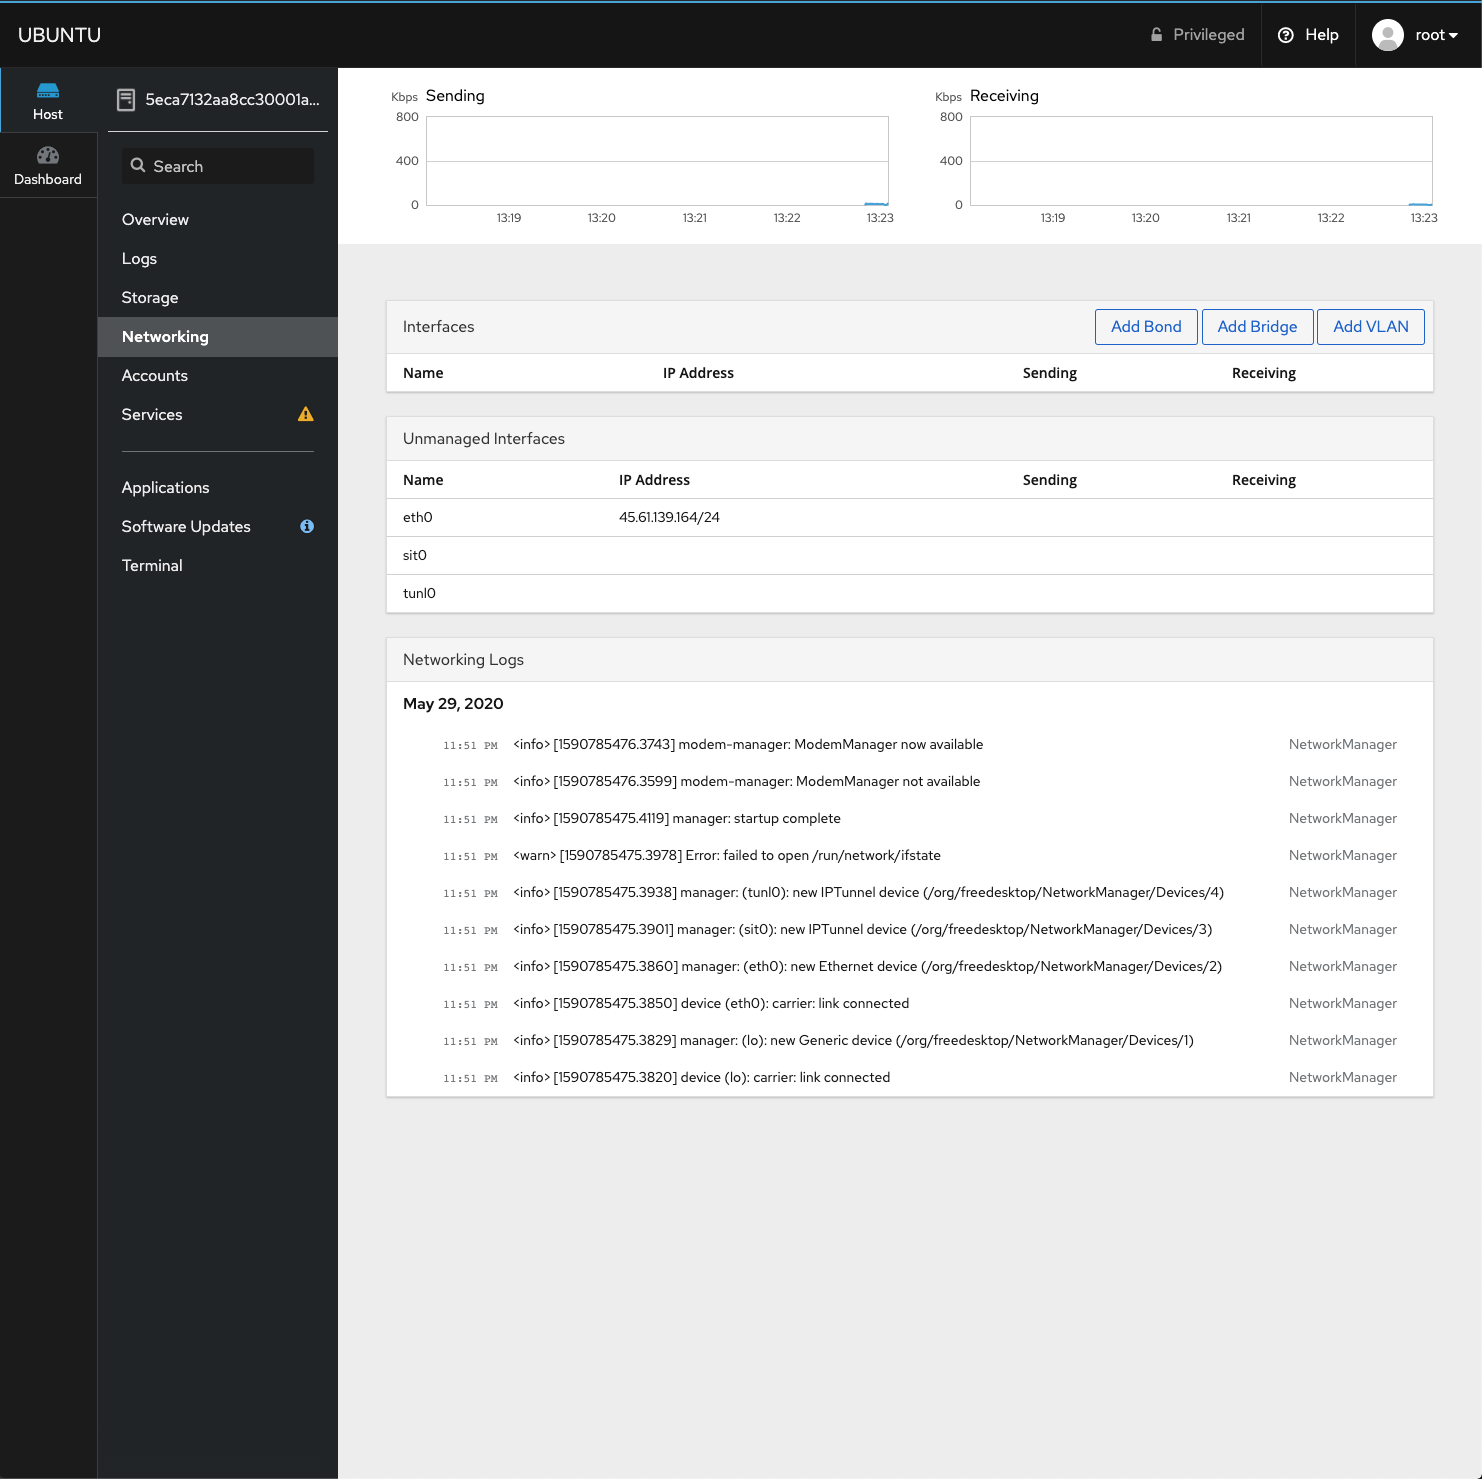
Networking
We can see our network interfaces here including rx/tx graphs.
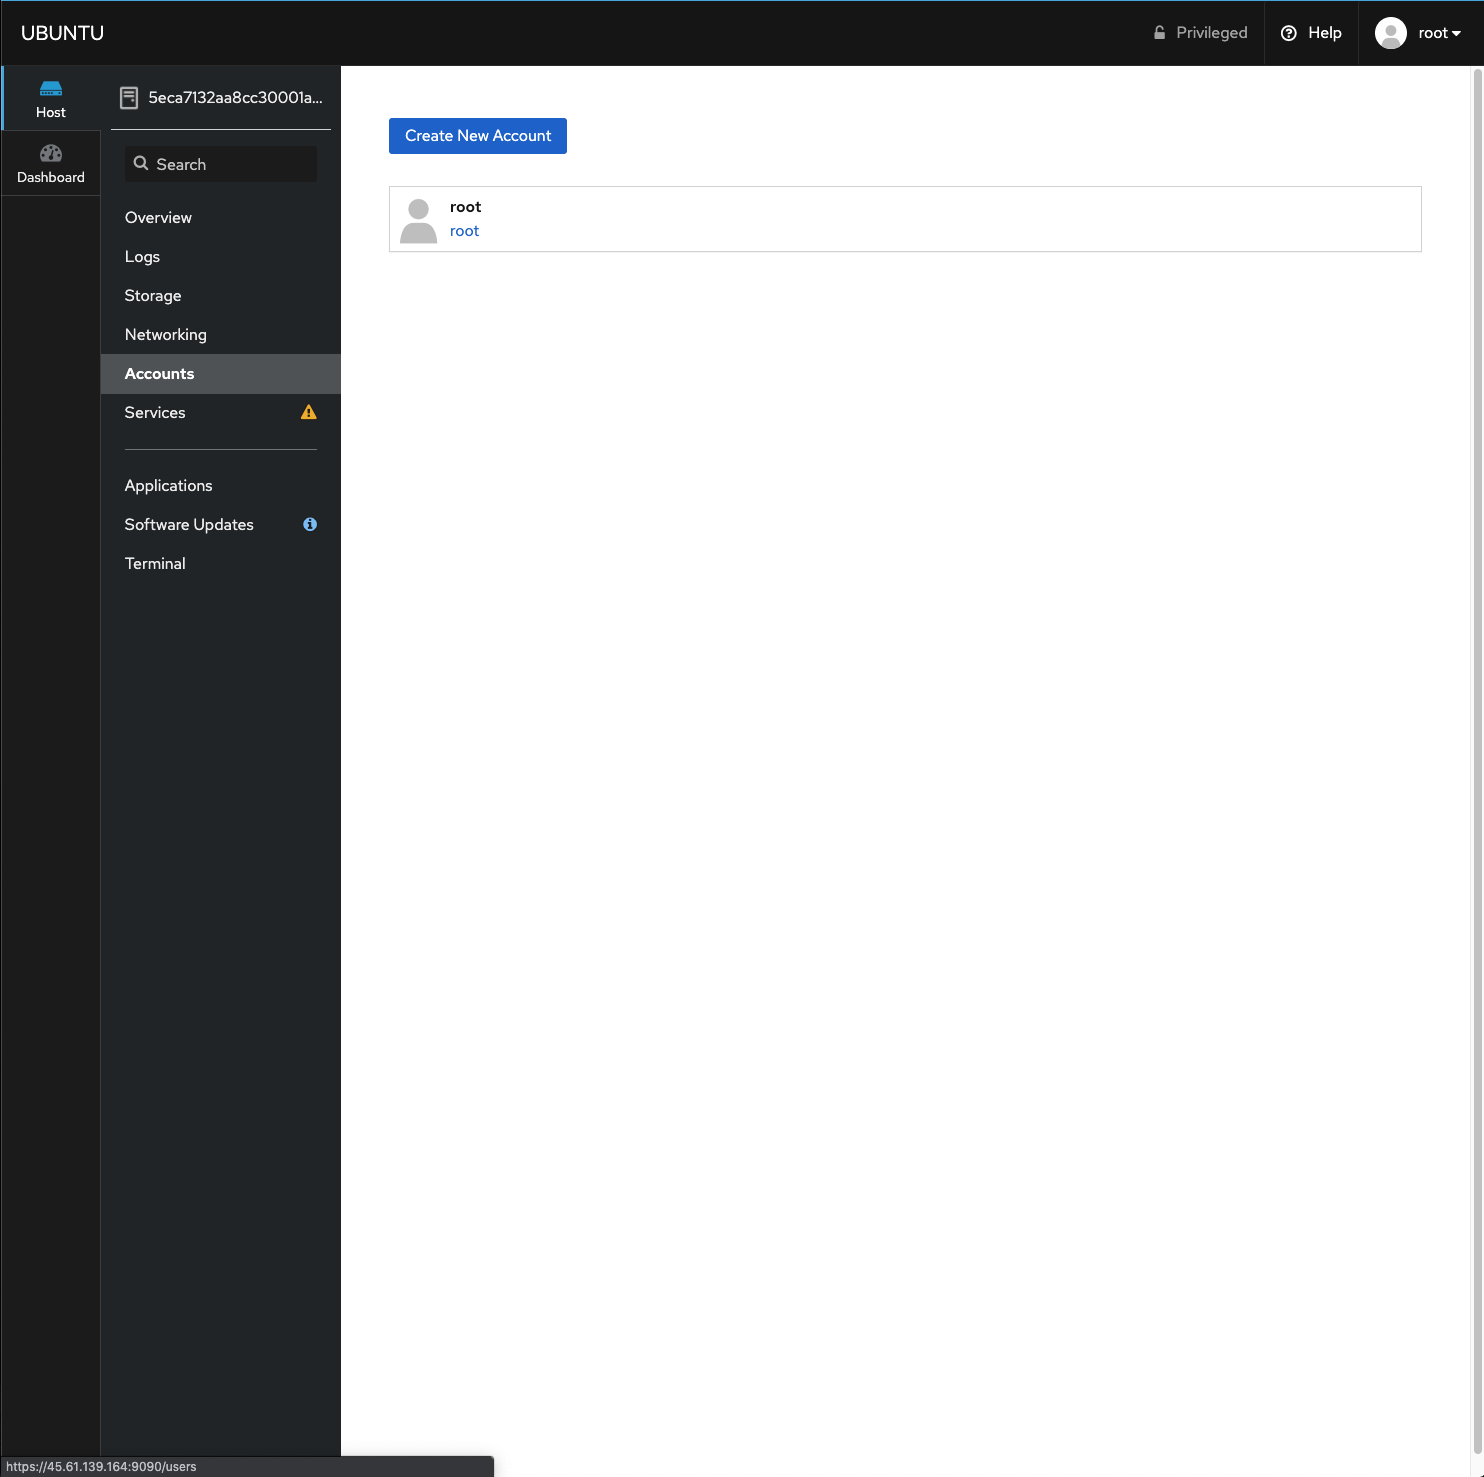
Accounts
In accounts, we can manage the accounts in our system. We can create accounts, change account setings and add Authorized Public SSH Keys as well.
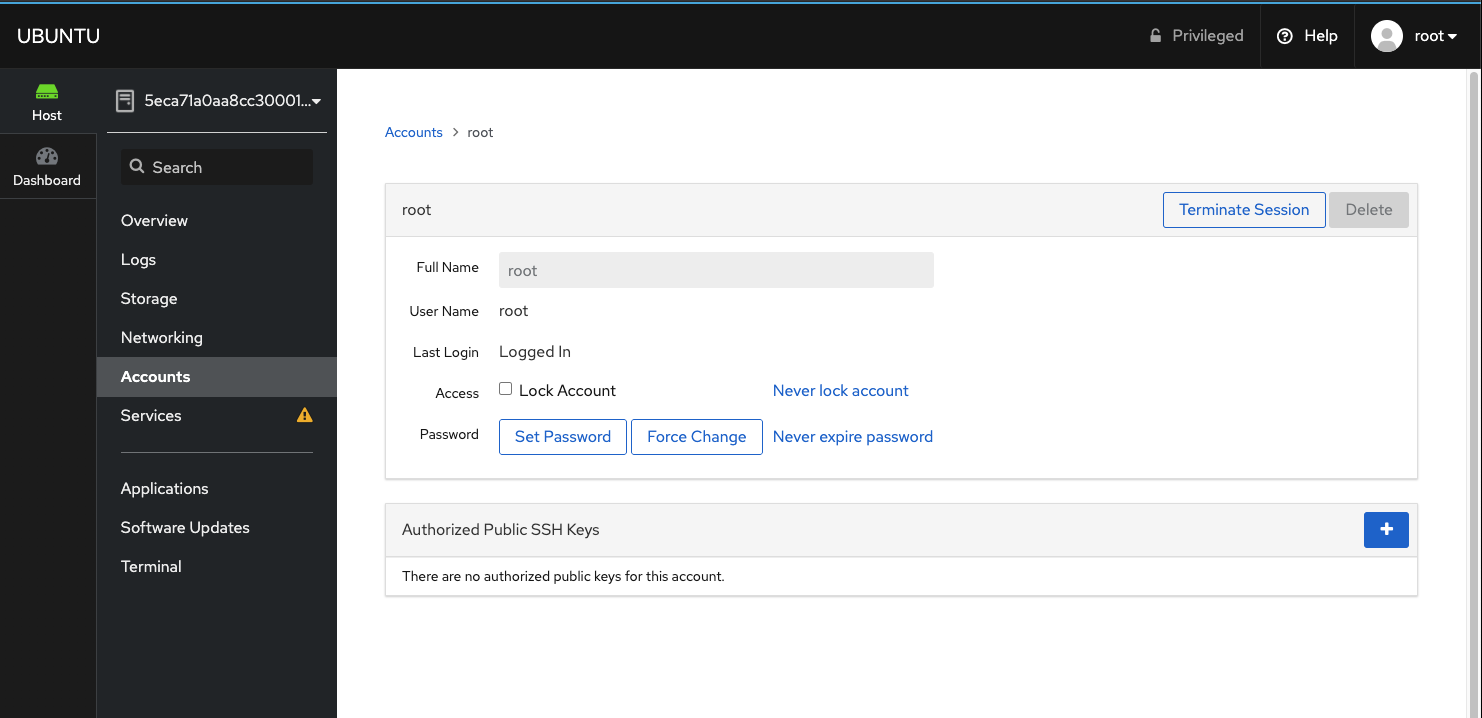
This is the account detail page, where we can change password, lock, and add authorized SSH keys.
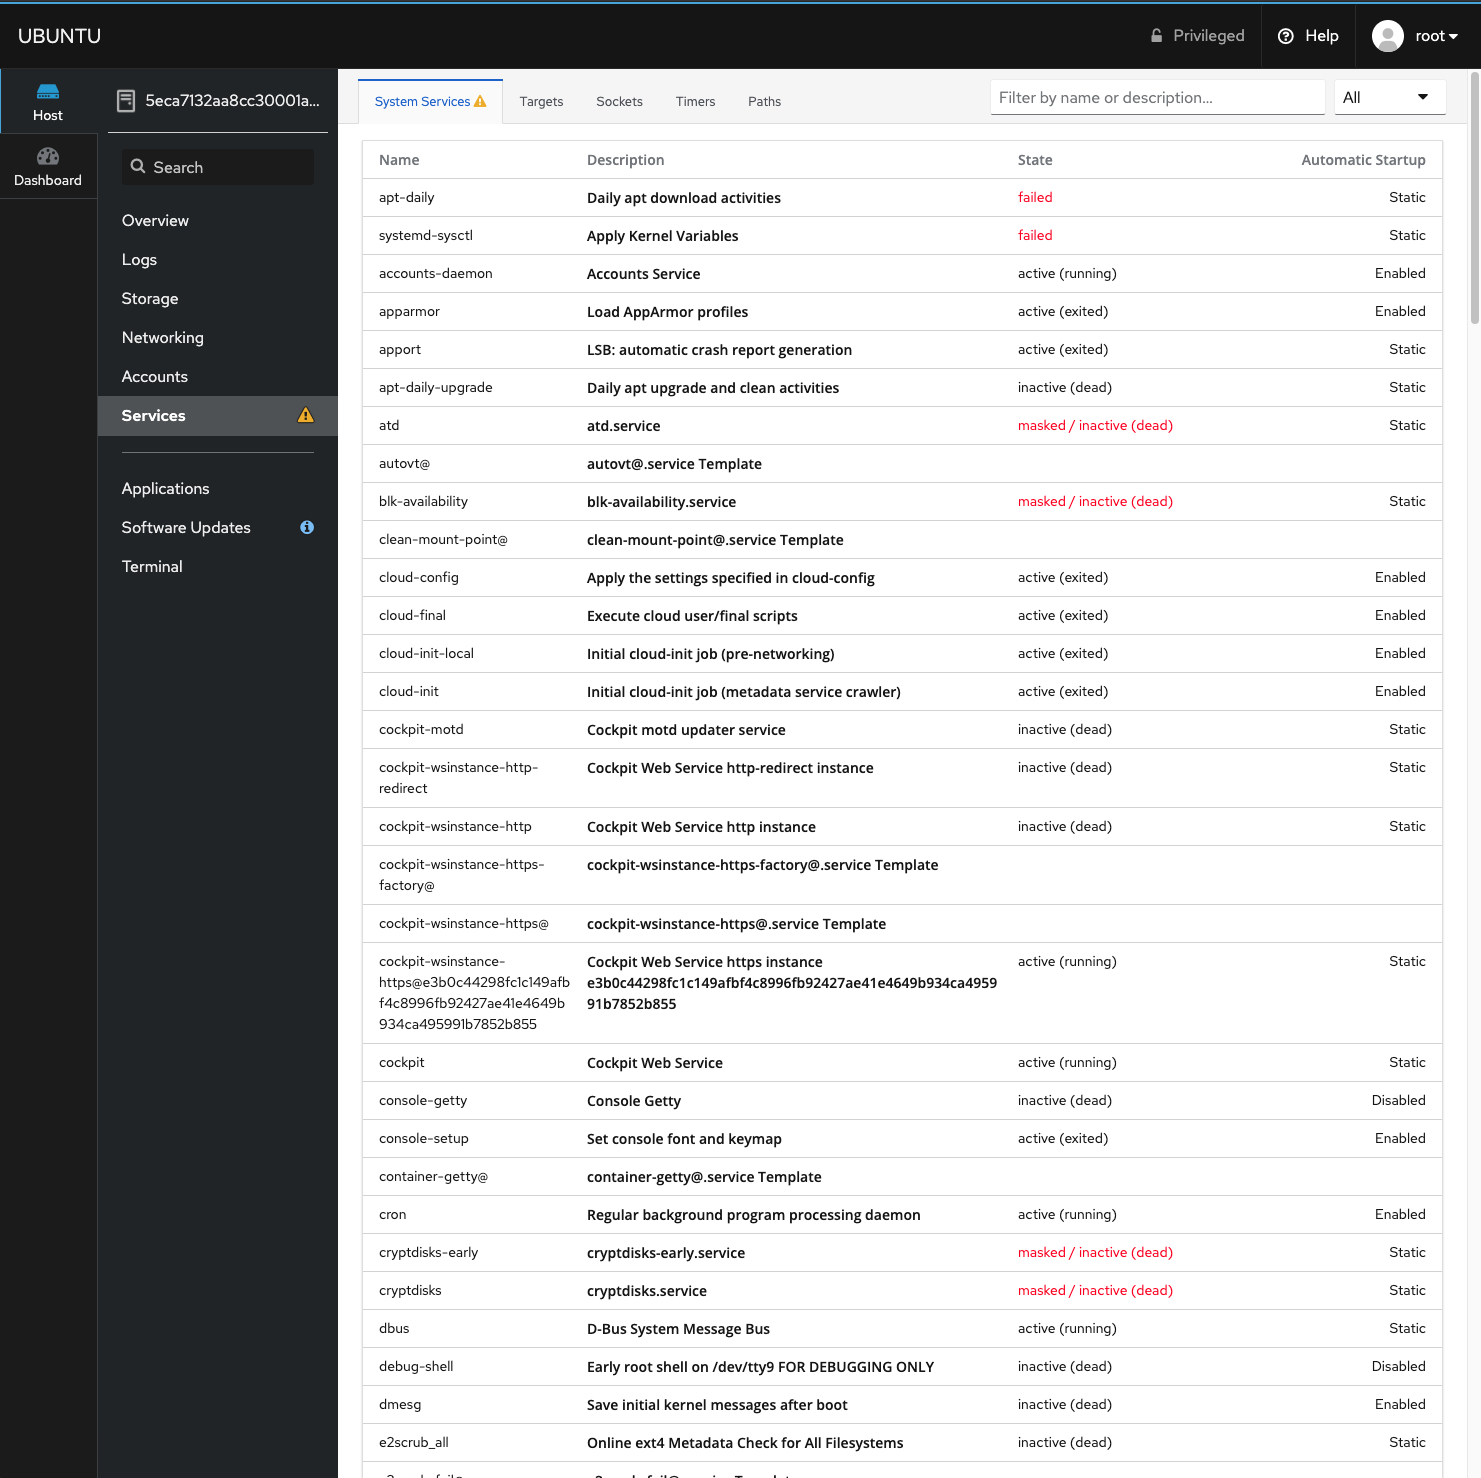
Services
We can view all system services in this screen. Click the service to see additional information and actions you can perform on the service.
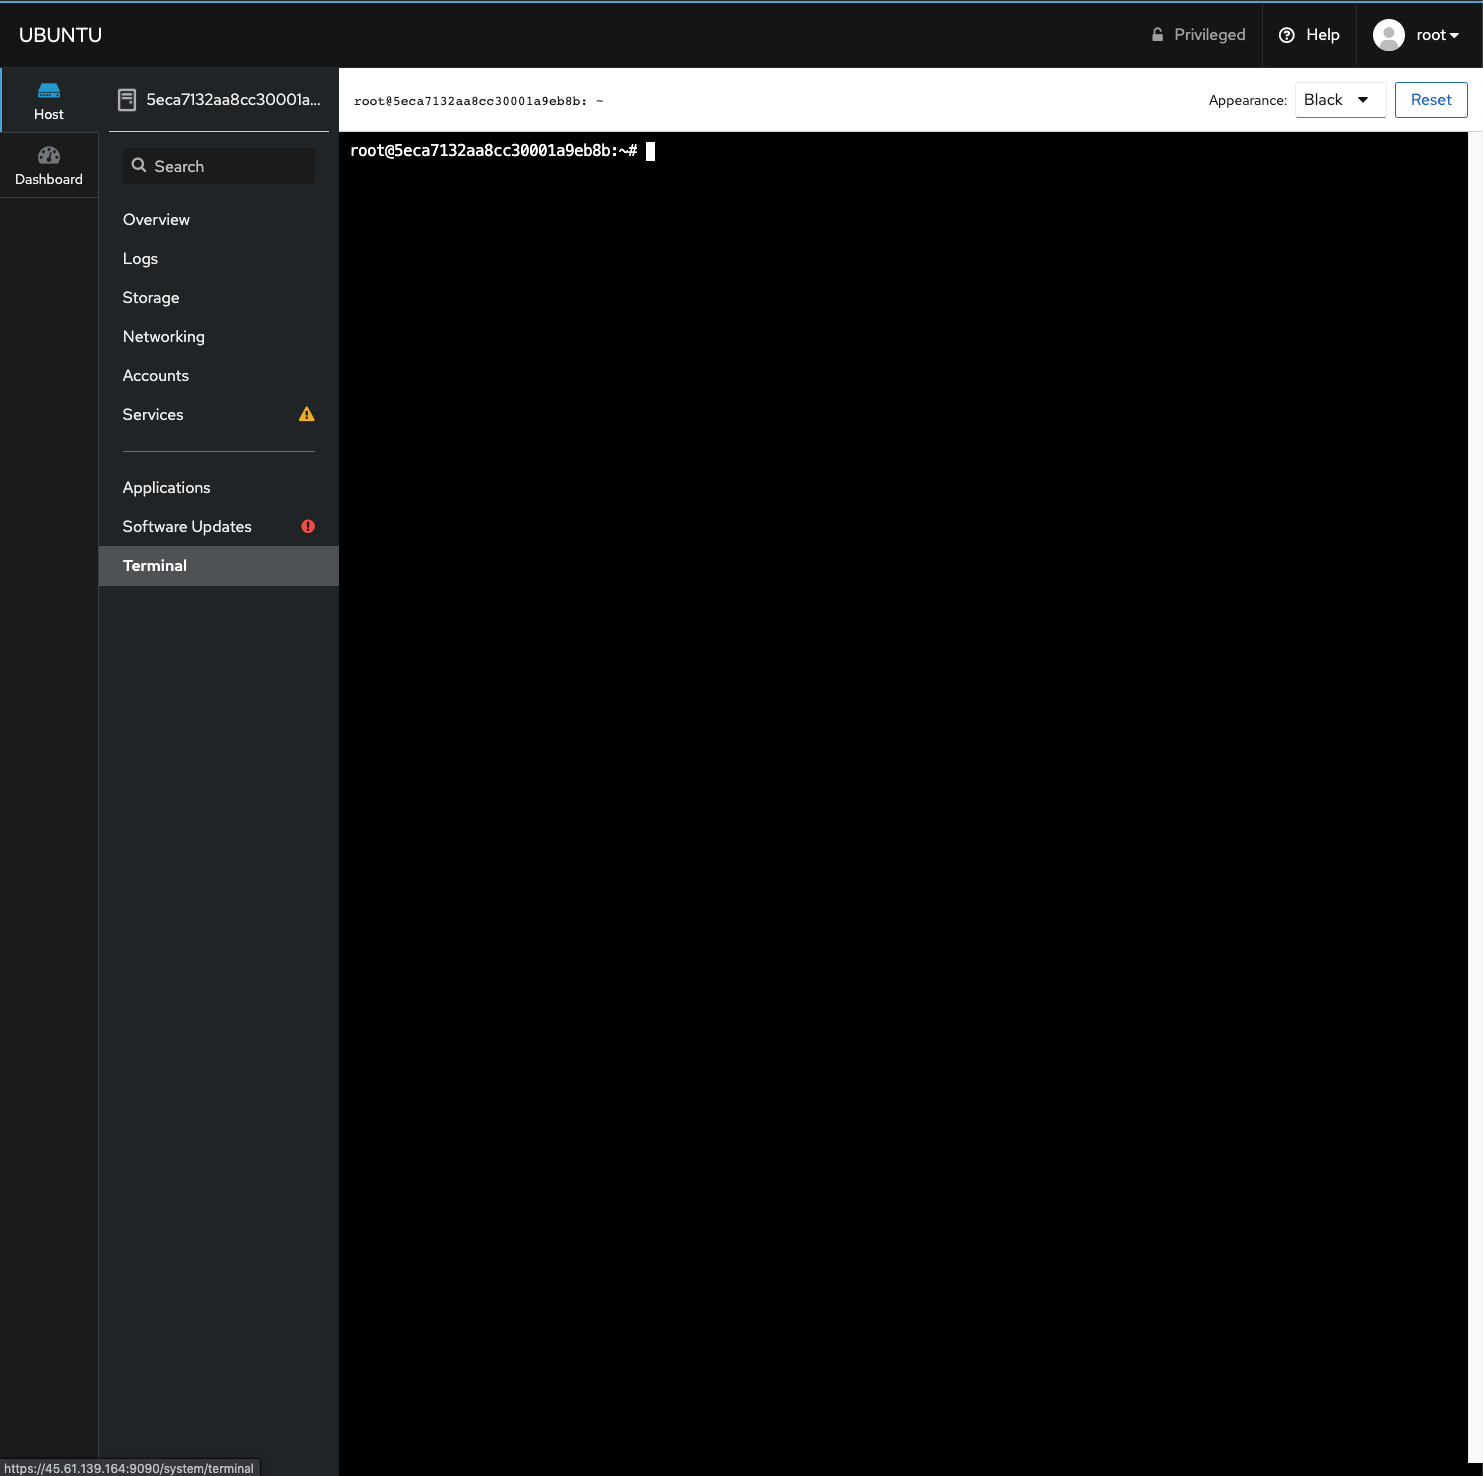
Terminal
One of the great features of the Cockpit, we have terminal access to all our servers.
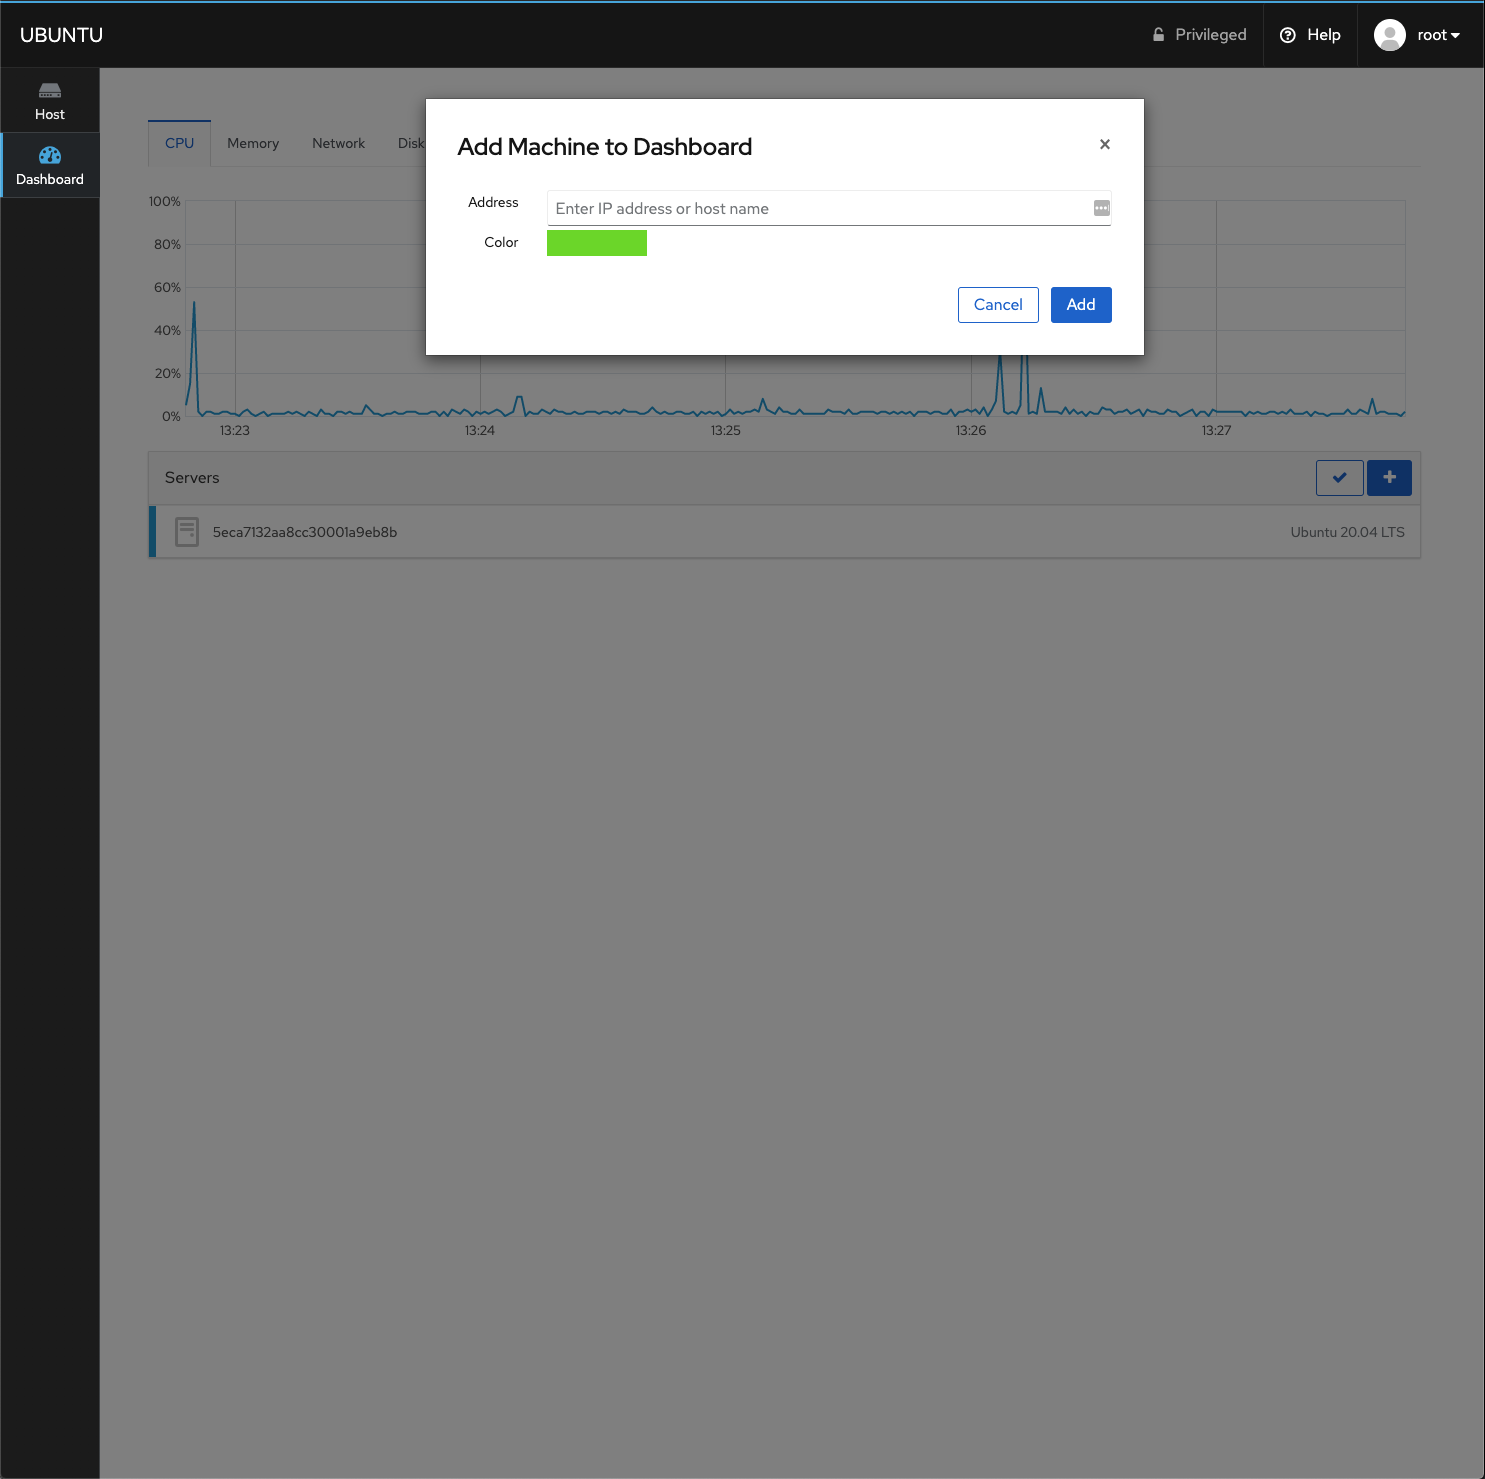
8. Adding more servers
Now let's add our Server 2 to the Cockpit. We need to go to dashboard and click the plus button. After typing our second servers IP address and clicking Add button, Cockpit will try to connect to our server.
Cockpit will use SSH to connect to the remote server. Authentication can be done by password or SSH authorized keys which is preferred.
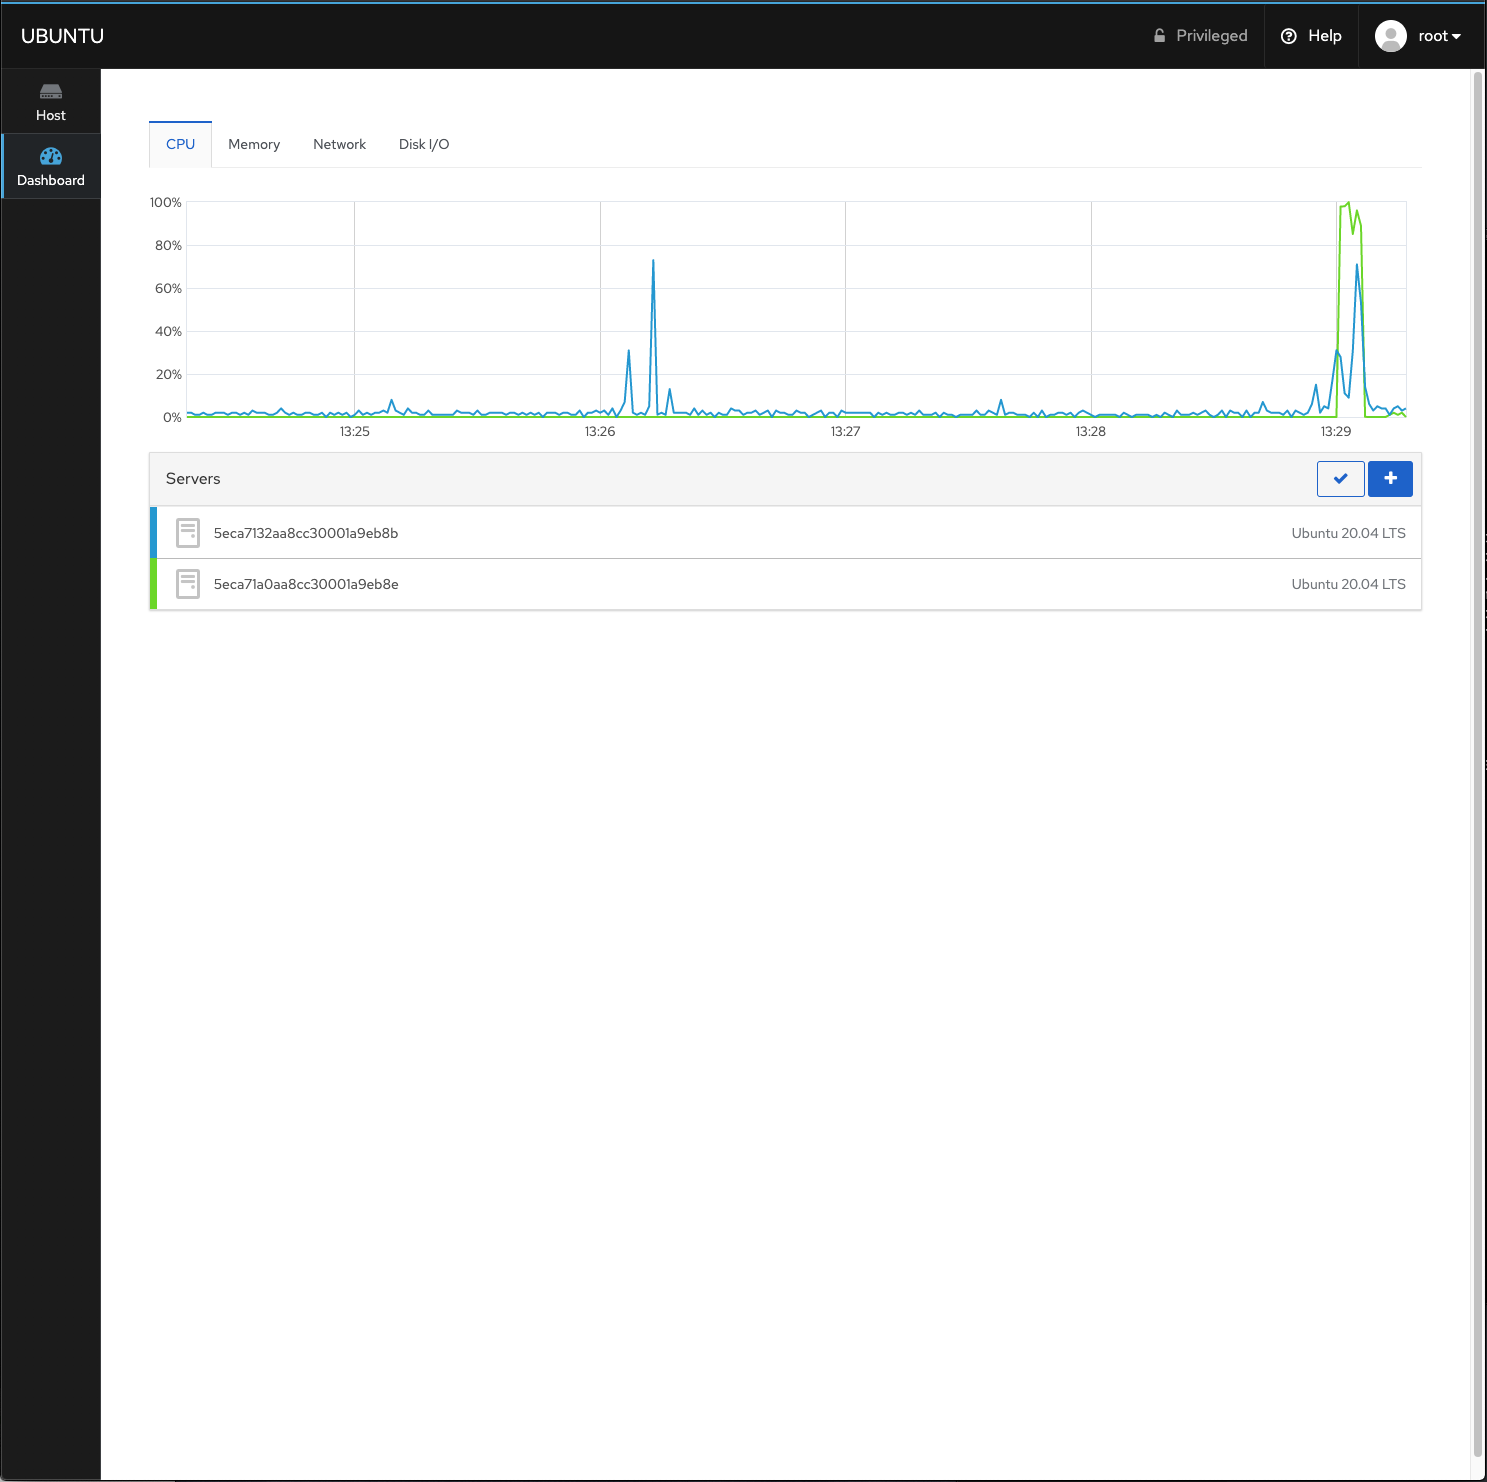
Now we can monitor both of our servers from a single dashboard. We can switch between servers by clicking over them for detailed host features.
Alternatives
Here is a list of alternatives to Cockpit. It is recommended to try and find the most beneficial to you. All these tools have different advantages that need to be evaluated.
Some are focused on email/websites and hosting unklike Cockpit.
ISPConfig
ISPConfig is another multi-server management tool that is popular among system admins.
Webmin
Webmin is another server management tool, however it is not capable of managing multi-server setups.
WHM/Cpanel
WHM/Cpanel is for managing a single server. However, it includes a great detail of tools to manage said server.
Please note that WHM/Cpanel is not free and restiricted to Linux distributions.
Plesk
Plesk has a Multi Server extension so that you can manage multiple Plesk installations from a single point.
Please note that Plesk is also not free.
Conclusion
We have explored Cockpit in detail, which is a great management tool for your servers. You can connect to and monitor all your servers from a single point.
As always, It is best to install and try many management tools, including the ones listed, to try and find the one most suitable to your workflow.