

Want to help spread the word about anonymous VPN and help keep privacy alive?
We here at BitLaunch think privacy is an important and fundamental human right. The landscape of privacy online is shifting rapidly. Governments are voting to allow internet service providers to share your private data with advertisers, and data collection is at an all time high.
An anonymous or Bitcoin VPN is a key way to help protect your information online, as well as your identity. A common way to get a VPN setup is to use a VPN provider. Whilst the traffic between your device and the VPN is encrypted, traffic from the VPN is still readable by your VPN provider. You're simply moving the risk down the VPN tunnel, which unfortunately means you are not completely anonymous.
Setting up your own (Bitcoin) VPS for an anonymous VPN may sound complex, but thankfully there are some very powerful tools to help you get setup quickly and easily. We're going to be using AlgoVPN in this guide.
A key benefit of Algo is that it also uses Wireguard. Wireguard is an up and coming VPN protocol that utilizes state-of-the-art cryptography technology which has been praised for its security.
Setting up your own anonymous VPN server
A self hosted VPN means only you have access to your server and its logs. You can configure your Algo VPN exactly how you want, without having to trust a third party to act how they say.
1. Create a BitLaunch account
You can skip this section if you already have an account.
Sign up here and create your free account. Reach out to support to credit your account, so you can launch a server for free. If you like the service, top up your account with your favourite cryptocurrency to keep your server running.
Once you're signed up, check your email and confirm your account by clicking the link.
Once you're logged in to your new account you'll see the following welcome page.
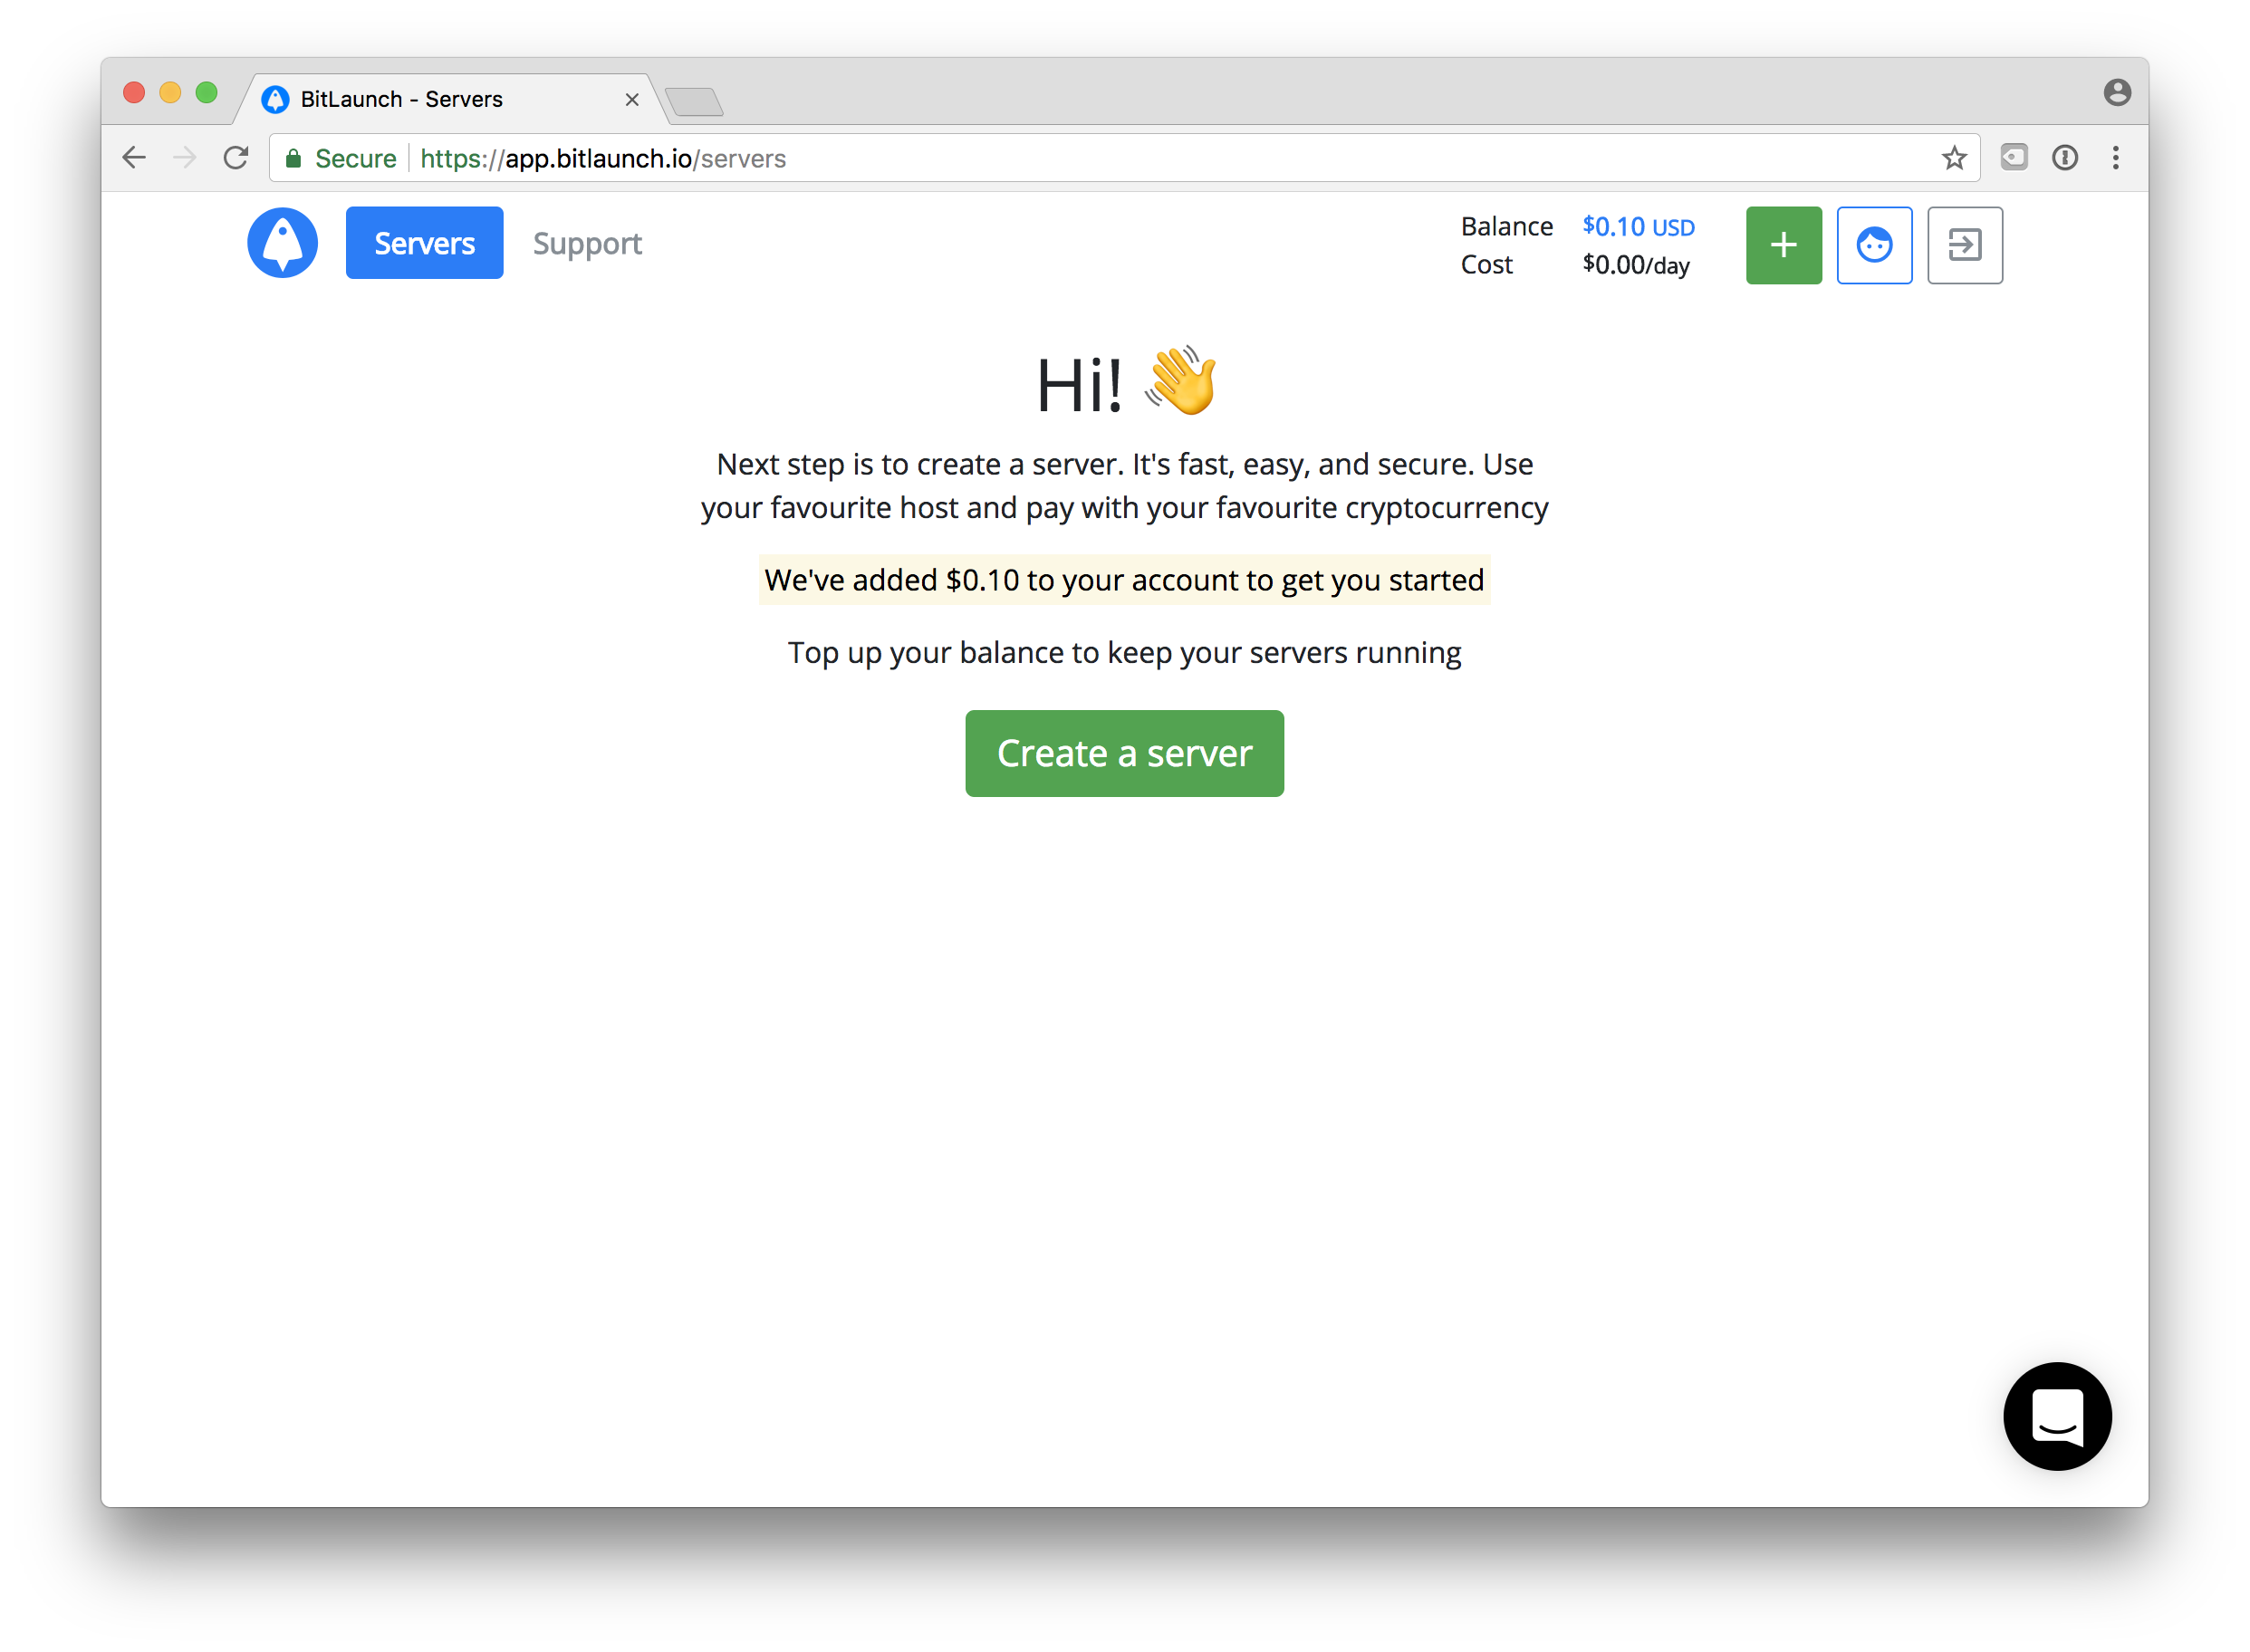
2. Choose a server
Click 'Create a server' to get started.
You can choose your own host here. For this guide, we will be going with Digital Ocean. Algo requires a server installed with the Ubuntu distrubtion.
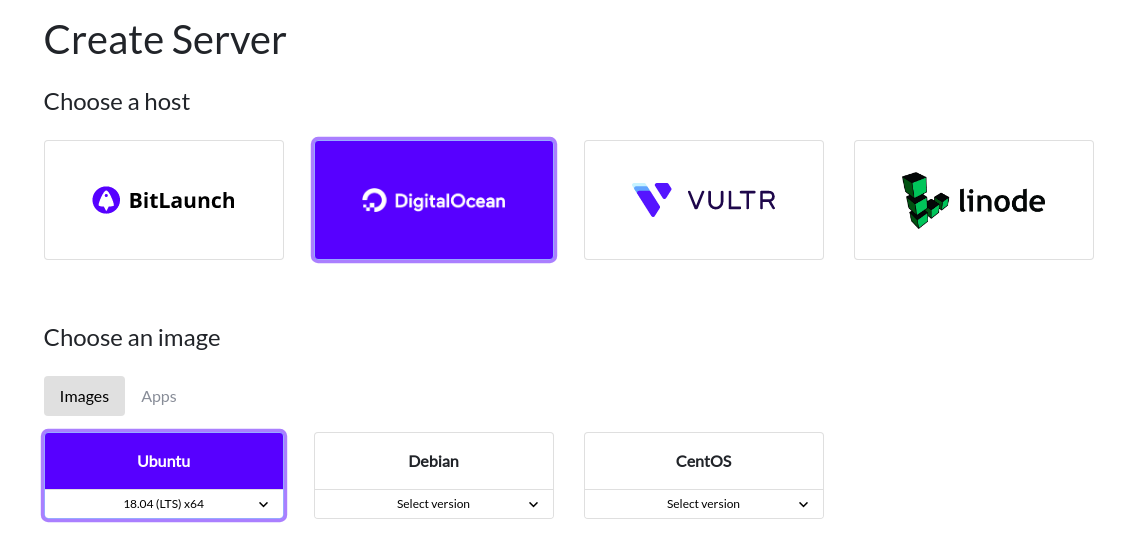
We will pick a Ubuntu server with a reasonable size. You can also choose where you want your VPN to be situated. This location is where websites and applications will think you are located which is useful for bypassing region restrictions.
To gain access to your server, you can use an SSH key or set a password. For more information on how to create an SSH key, see our guide on creating and using ssh keys.
Anonymous server, meet Algo
Its time to get a server setup with Algo. Log in to your server and run the following commands:
sudo apt-get install software-properties-common && sudo apt-add-repository ppa:ansible/ansible
sudo apt-get update && sudo apt-get install ansible python-pip build-essential python-dev
pip install virtualenv
pip install --upgrade pip
git clone https://github.com/trailofbits/algo
cd algo
python -m virtualenv env && source env/bin/activate && python -m pip install -U pip && python -m pip install -r requirements.txt
./algo
Once you have run algo, you should see the following terminal prompt:
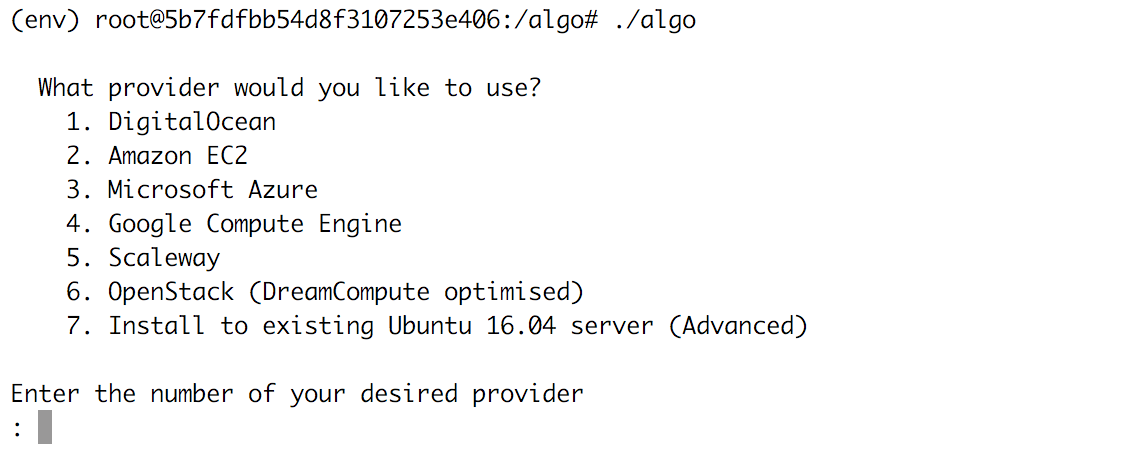
Press 7, and follow the guide. It will prompt you for your server's public IP.
You can find your server's public IP on your Bitlaunch control panel:

Once Algo has done it's thing, you will be presented with this output:
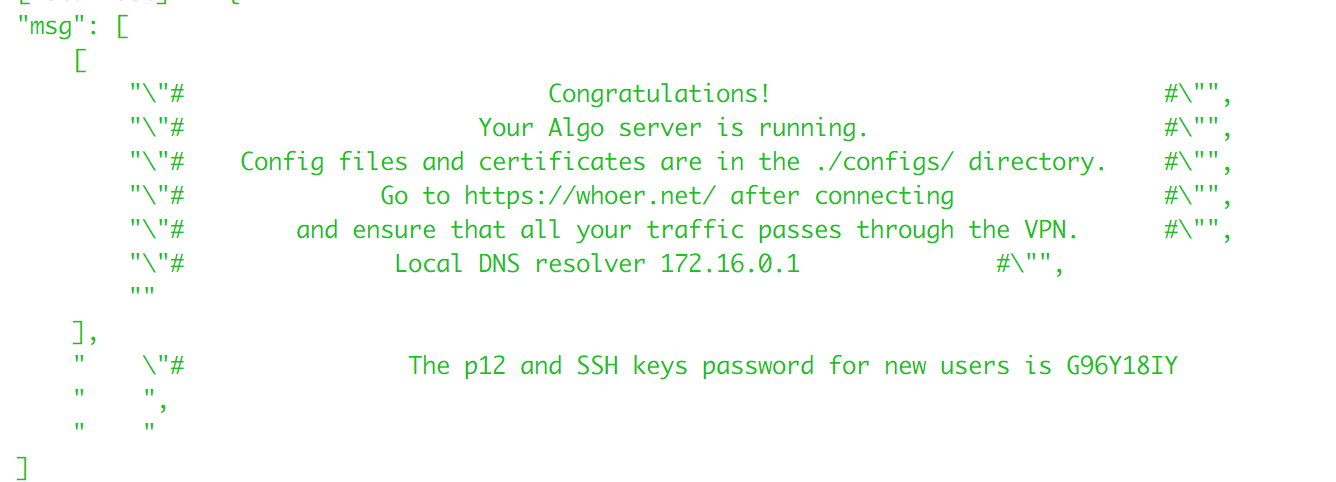
Keep hold of that password. You will use that to connect to your VPN.
How to connect to Algo VPN
Connecting to your VPN is different depending on what device you want to connect.