

For years, Discord has been the platform of choice for gamers. The voice and text chat app enjoys over 140 million active users and is beginning to catch on for use in general fandoms and general-purpose messaging.
However, while Discord's friendly branding has built up a lot of good will over the years, its attitude towards privacy is outdated. The app is not end-to-end encrypted, nor can you host it yourself. Discord moderators have routinely banned large servers and, as a U.S. company, must comply with requests from law enforcement.
Not sure if Matrix is for you? See our blog comparing it and other Discord alternatives.
The app must collect data such as your messages, who you talk to, and the servers you're in, to function. It also collects analytics data about how you use and navigate the app and the games you play. As a privacy conscious user you have to worry about how securely this unencrypted data is held and whether it's being shared with anyone. This is especially true as Discord is proprietary, closed source, and recently became a public company.
One alternative to Discord is the Matrix open standard and a client like Element. However, convincing a friend group, let alone an entire server, to switch to another service with fewer features is all-but impossible. Instead, you can continue using your Element client but implement a Matrix bridge to link it up to Discord. You'll still be using Discord, naturally, but you'll be able to do so from your app of choice while supporting open-source software.
While you won't be able to do voice or video chat, a Matrix-Discord bridge will let you send, react and reply to server and private messages, manage your friends, and more.
All of this can be achieved without your friends being any wiser. Here's how:
Pre-requisites
For this process to work, you'll need to have a self-hosted Matrix (synapse) server set up already and access to its homeserver.yaml. Other than that, the only thing you need is a server powerful enough to handle the traffic coming through your Discord server.
Installing and Configuring your Matrix-Discord bridge
First, clone the mx-puppet-bridge repo and install any dependencies:
git clone https://github.com/matrix-discord/mx-puppet-discord
cd mx-puppet-discord
apt install npm
npm install
Now make copy of the sample config and call it config.yaml:
cp sample.config.yaml config.yamlEdit the config file with sudo nano config.yaml and adjust the following values:
domain: yourdomainname.infohomeserverUrl: https://yourdomainname.infoprovisioning:
whitelist:
-@matrixuser:yourdomainname.inforelay:
whitelist:
- @matrixuser:yourdomain.info
Now you need to generate the Discord appservice registration file by running:
cd mx-puppet-discord
npm run start -- -r
You might need to change the permissions of your new discord-registration.yaml before you copy it to your matrix-synapse folder:
chmod 644 discord-registration.yaml
cp discord-registration.yaml /etc/matrix-synapse
For this to work, we also need to add the full path to discord-registration.yaml to the app_service_config_files section of your matrix's homeserver.yaml:
sudo nano /etc/matrix-synapse/homeserver.yaml
Uncomment app_service_config_files and add the following below it:
app_service_config_files:
  - "/etc/matrix-synapse/discord-registration.yaml"
To apply the changes, restart synapse:
sudo systemctl restart matrix-synapse
How to create your bridge in Element
With that done, the rest of our work will be in Discord and Element. You'll control your bridge via a bot for your Matrix server. Open a chat window by pressing the + next to People and entering @_discordpuppet_bot:yourdomainname.info in the field:
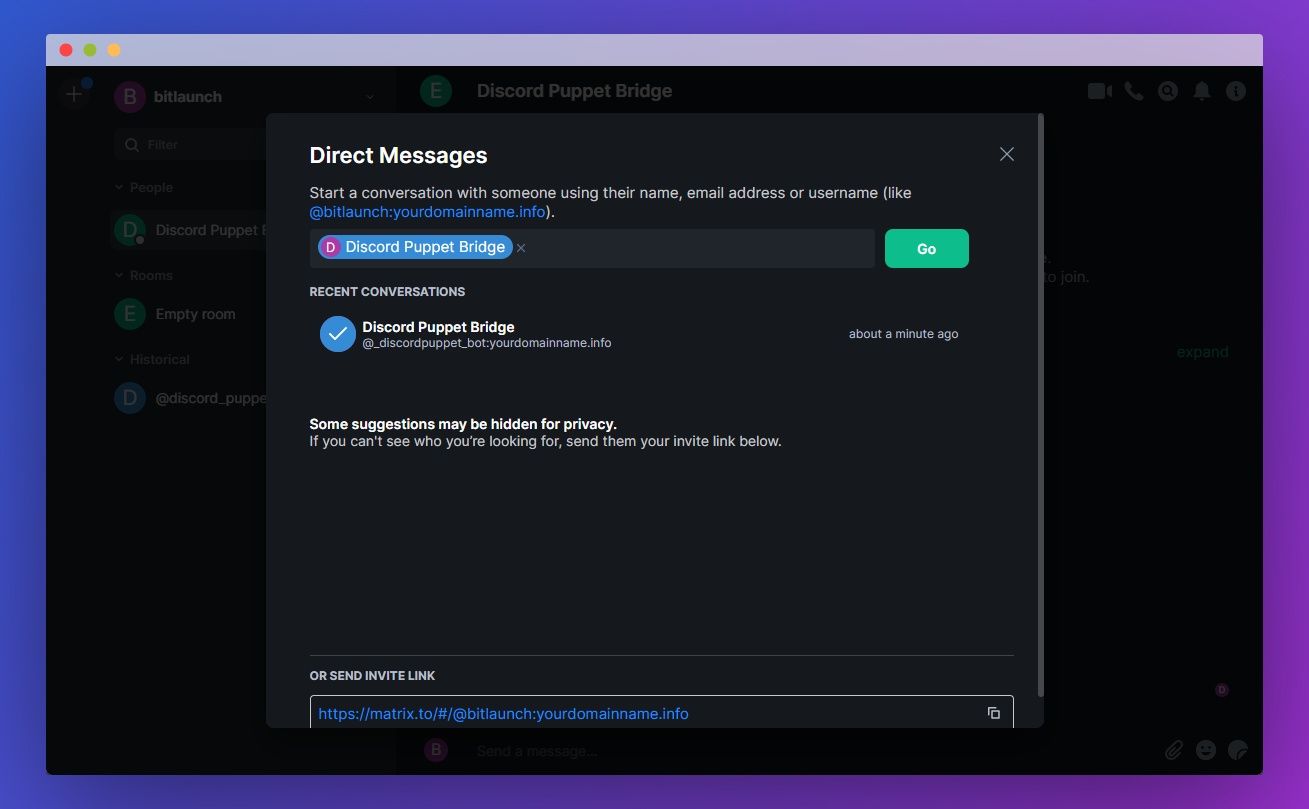
Naturally, you should replace yourdomainname.info with your actual Matrix domain. Press Go when you're done.
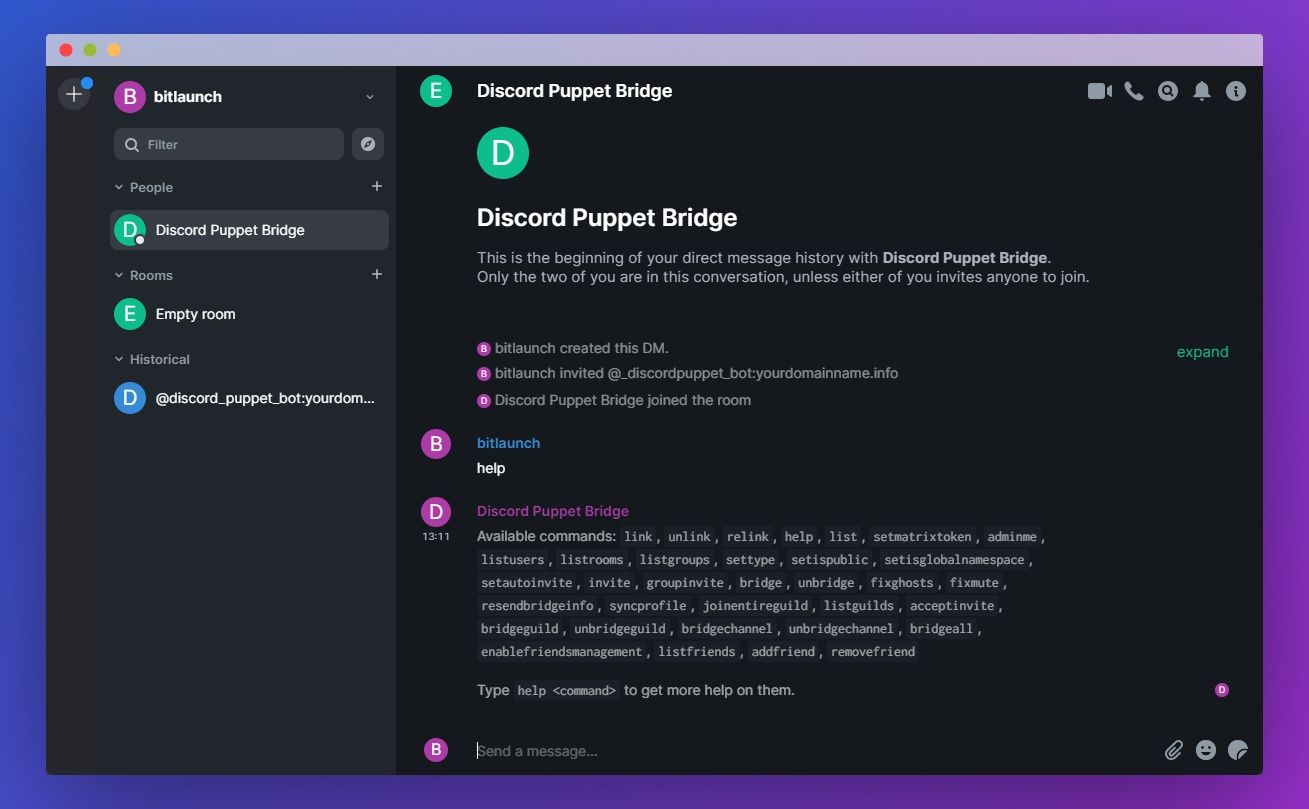
Now that you've opened your chat, you can message help to see a full list of commands or help [command] to see details about a relevant command.
Before we do anything, though, we need to set up the method we'll use to communicate with Discord. There are two options for this: Via a puppet bot, which will lead to a little "bot" symbol next to your name, or through your Discord account.
Using your Discord account's user token in this way is technically against Discord's terms of service. This is likely to prevent spamming, advertising, etc. While we haven't heard of any cases of users getting banned for using their user token with a Discord bridge, you do so at your own risk.
Setting up a Discord bot
This is the method we recommend for most people. With it, people will be able to message you via a bot.
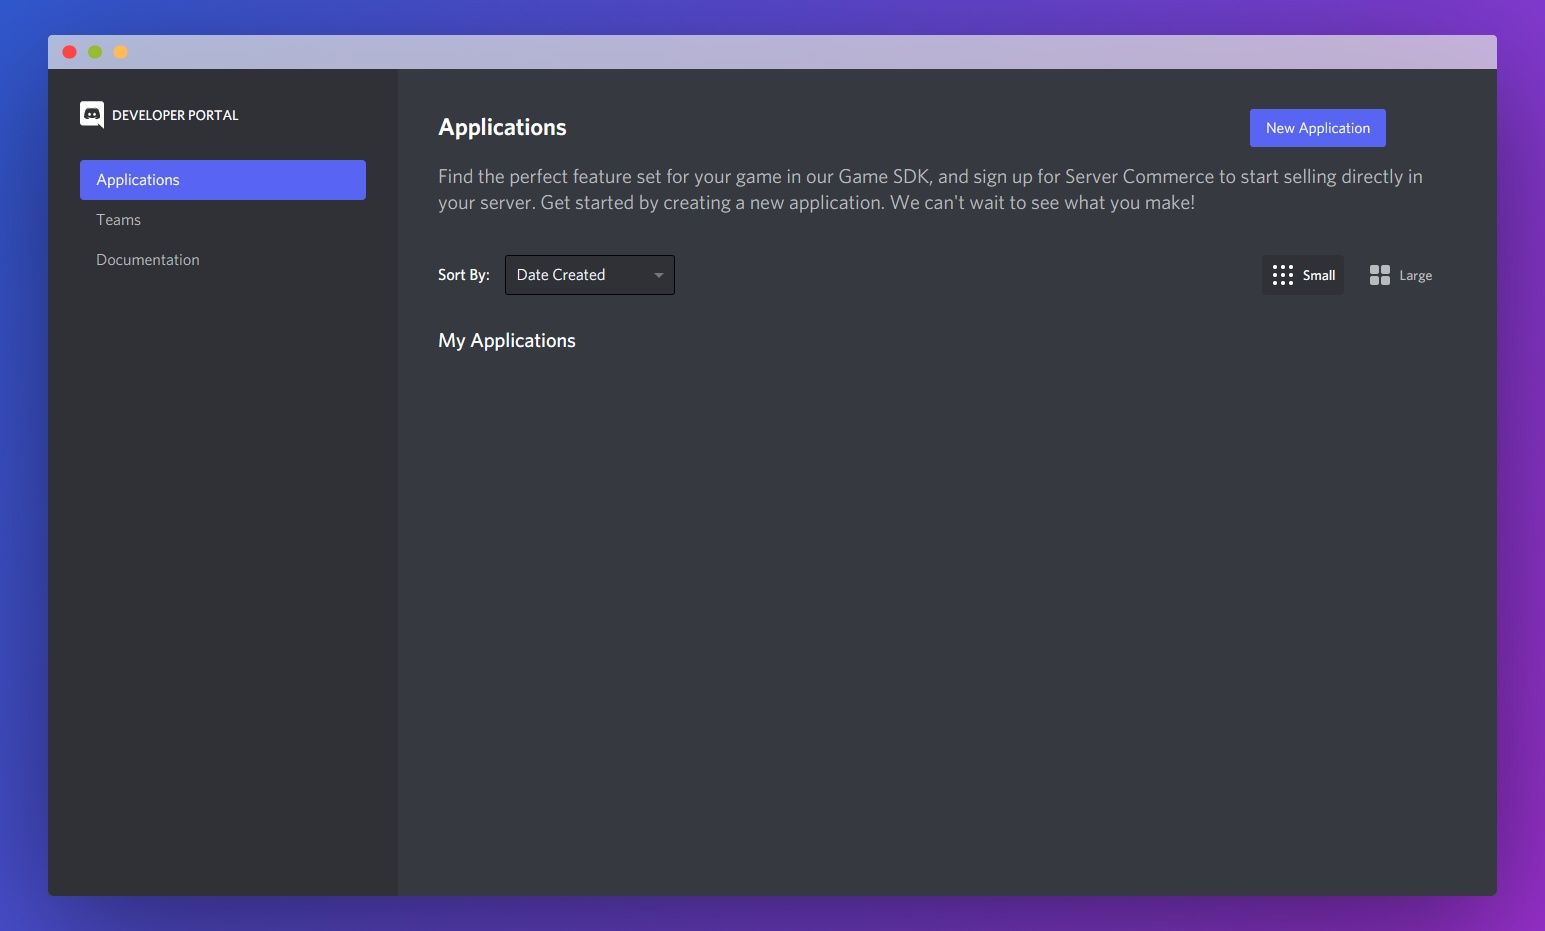
- Go to the Discord Application Portal
- Press the New Application button
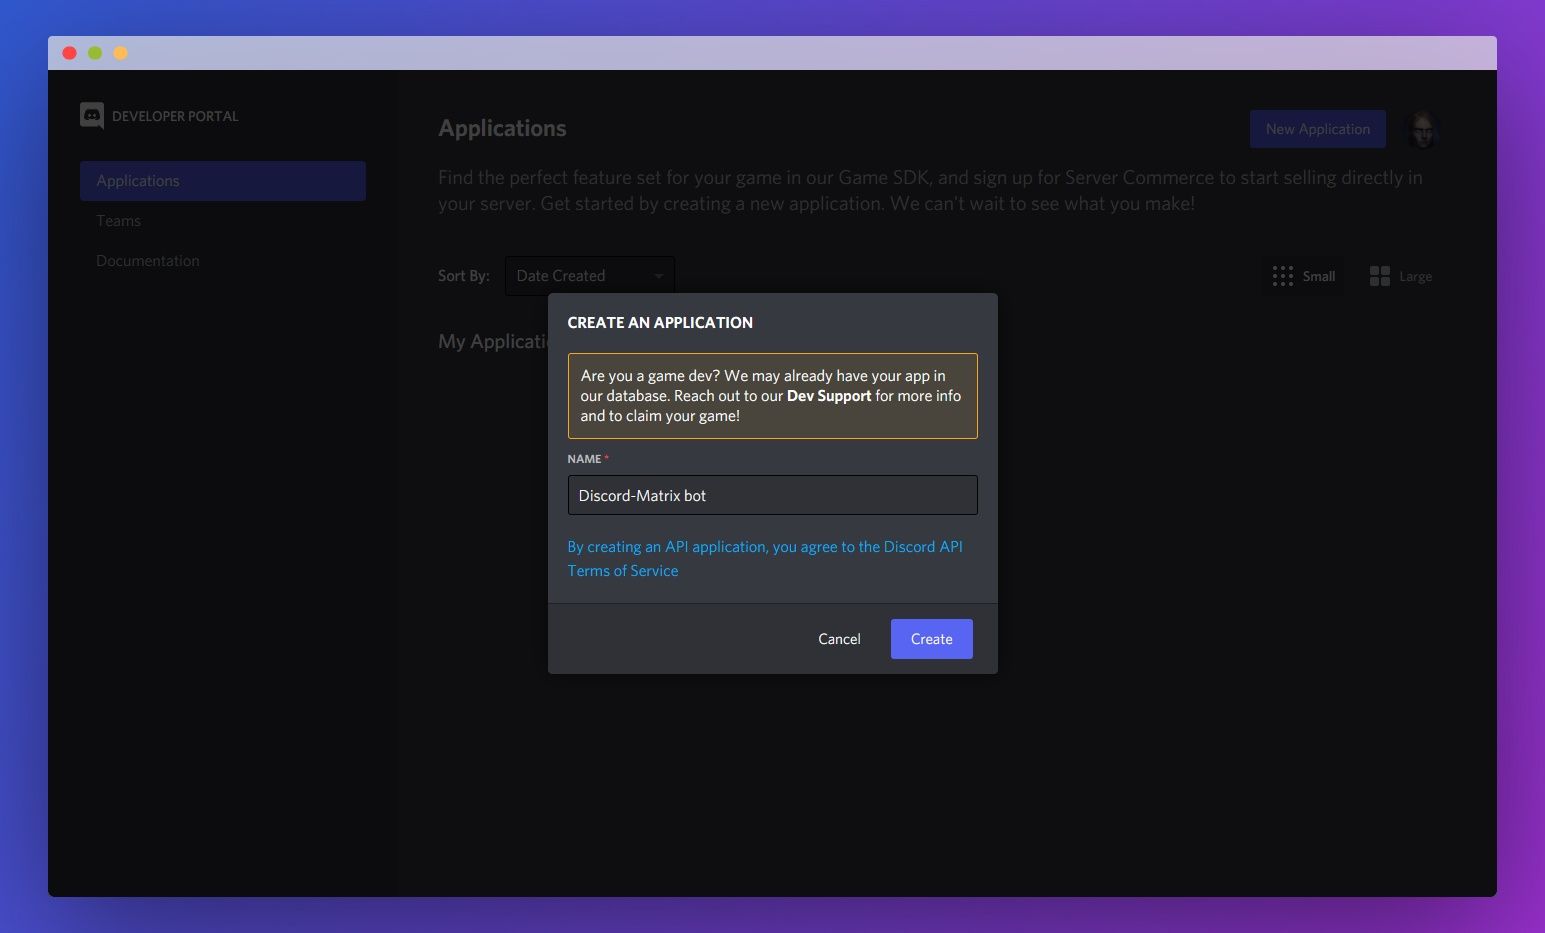
3. Enter your app name and click Create
4. Switch to the Bot tab and press Add Bot, then Yes, do it!
5. Press Copy under the token heading and save the token somewhere safe.
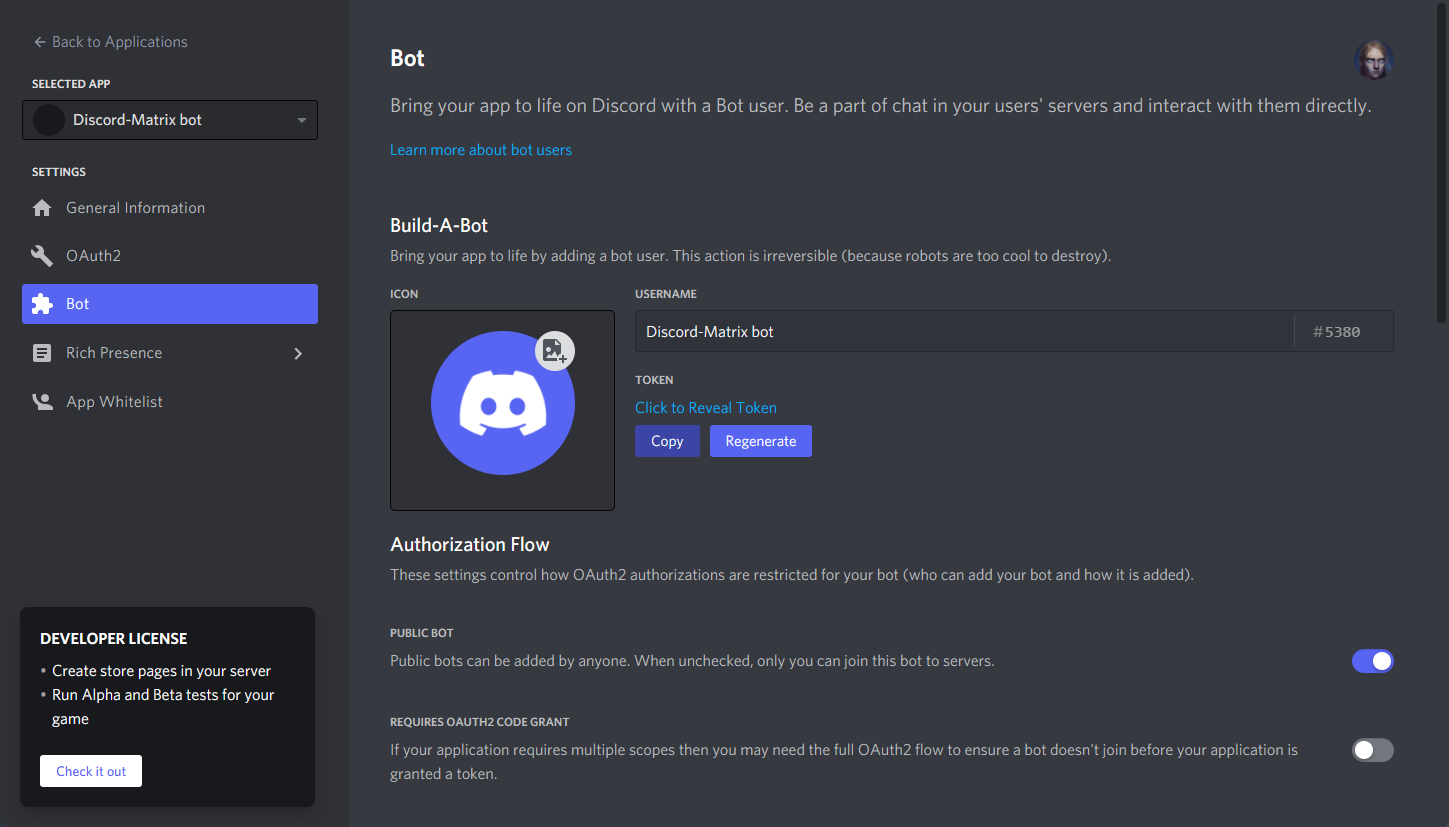
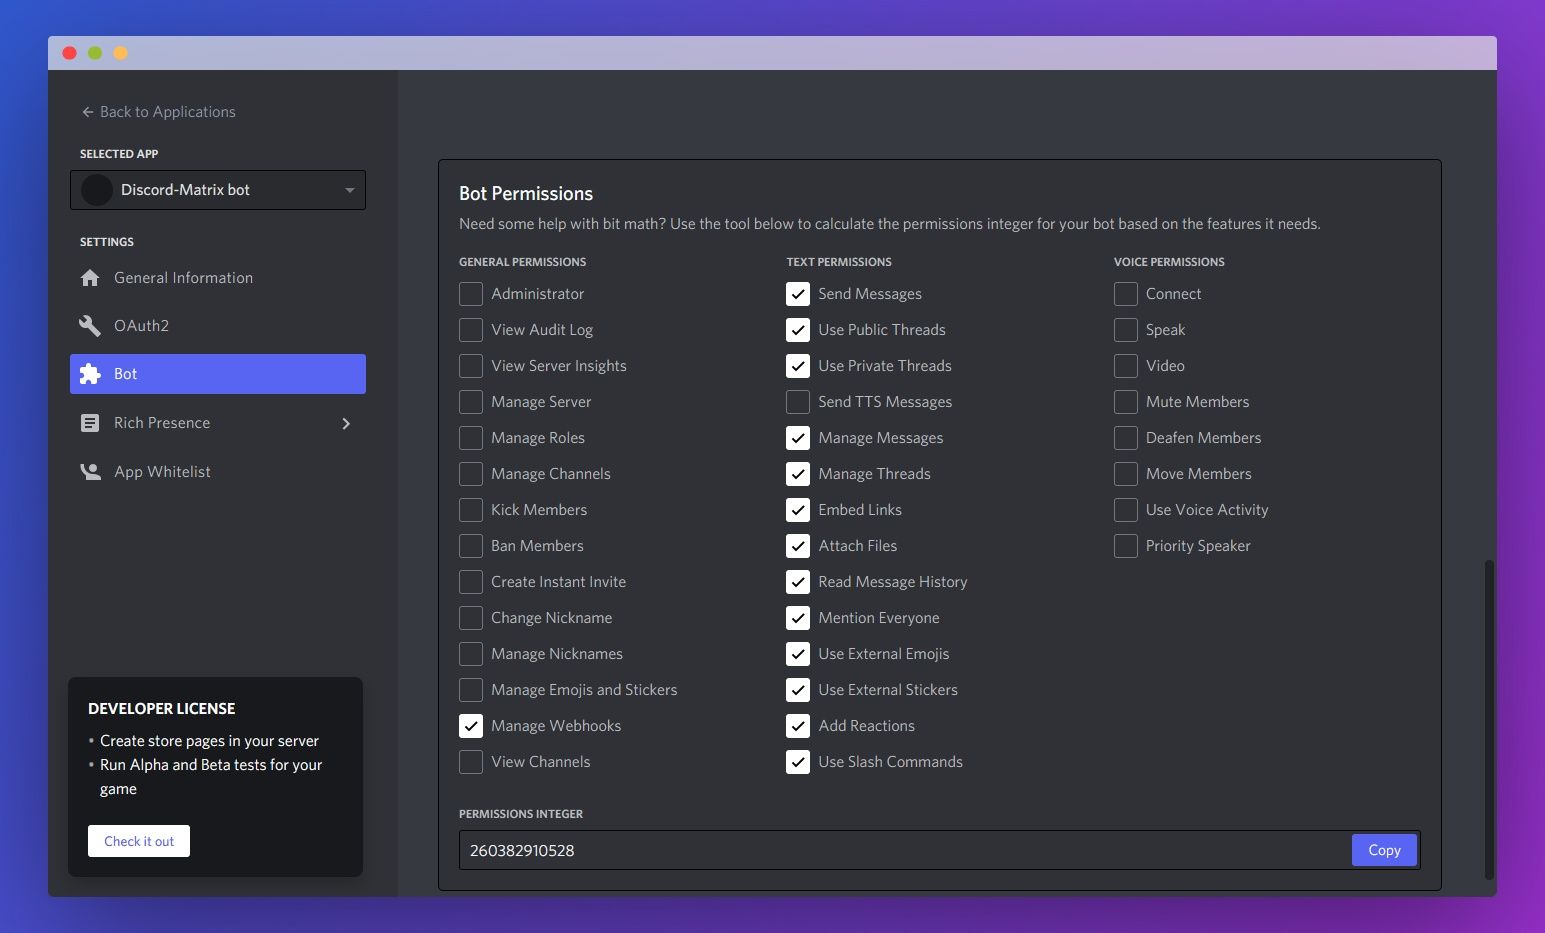
5. Make sure your bot has the chat permissions it needs, as well as webhook permissions.
Finding your Discord User token
As mentioned previously, using your Discord user token outside of your Discord client is technically against the terms of service. It's very important that you don't share your Discord user token with anyone as they could use it to compromize your account. It requires a bit of trickery to find, but we'll show you how:
- Go the Discord login page. If you're already logged in, log out.
- Open your browser's developer panel (Ctrl + Shift + I in Edge).
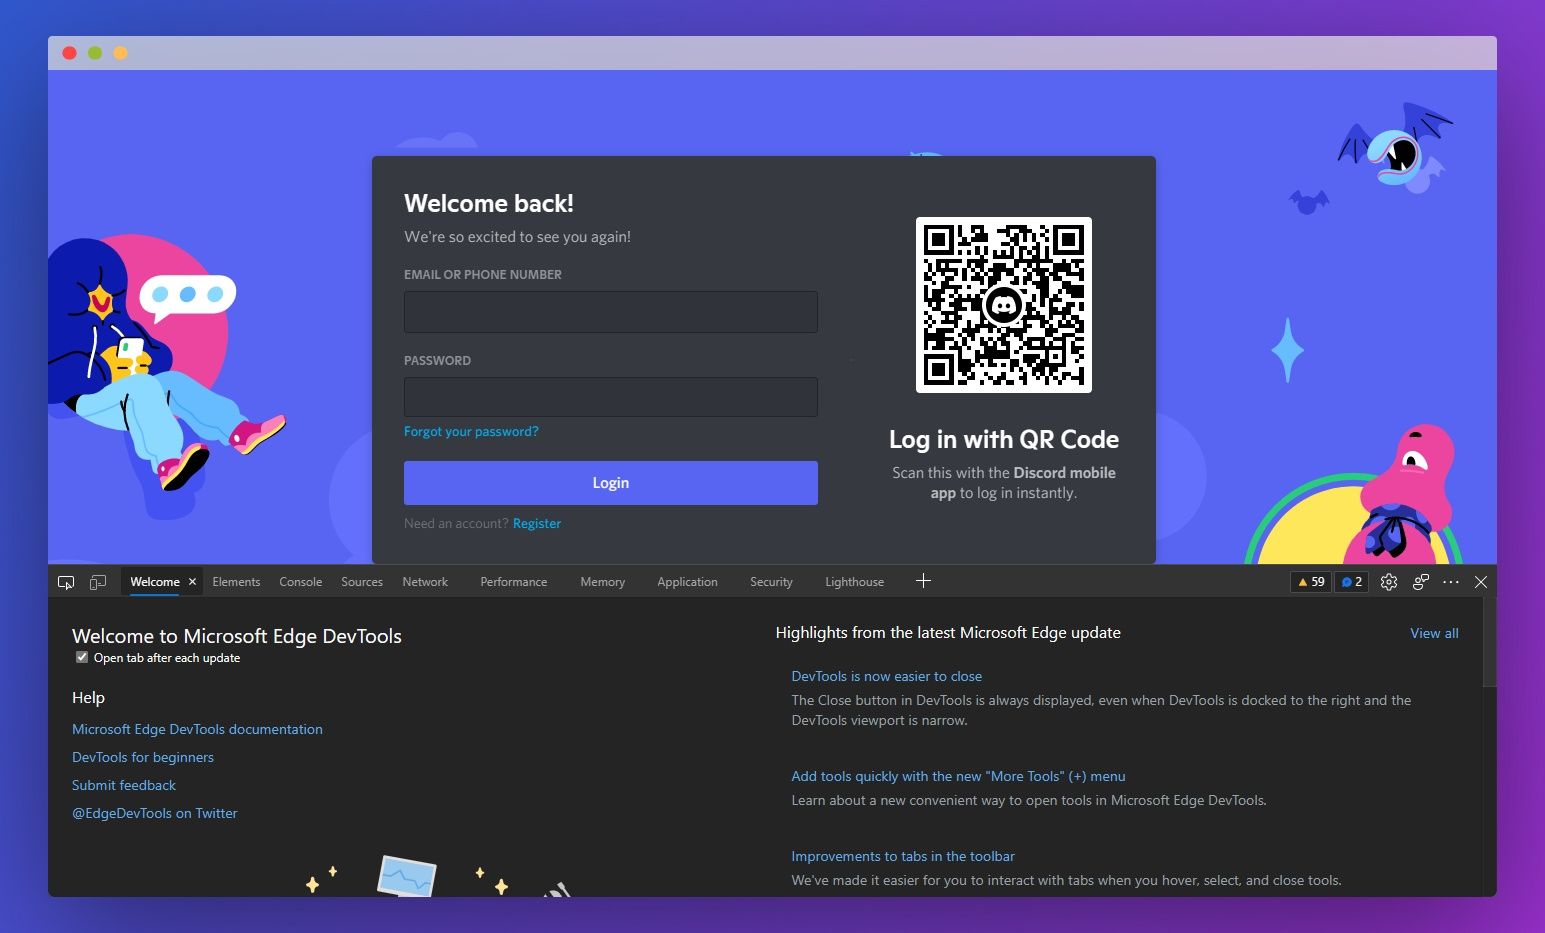
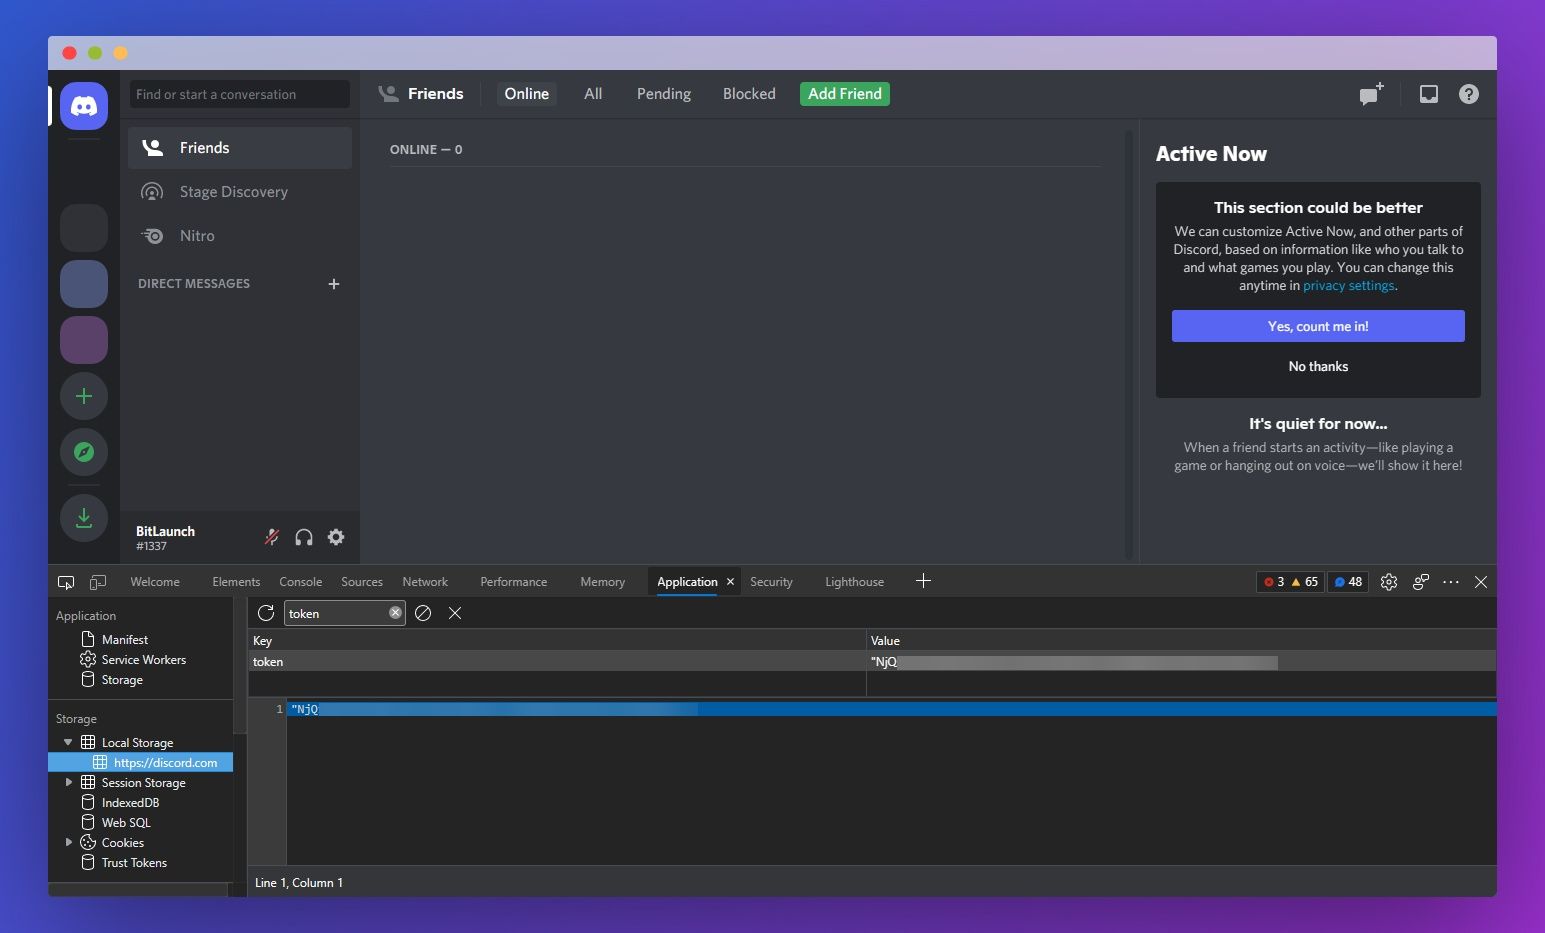
3. Click on the Application tab, expand the Local Storage section, and click on https://discord.com.

4. Enter your username and password and press Login.
5. In the filter bar, type token. Copy the string of numbers and letters below and save them somewhere safe.
Linking your Discord bot/account to the bridge and adding servers
With all that done, all you need to do is link your account or bot token to your bridge via the bot in your element server. To link your bot token, all you need to type is:
link bot yourtoken
The process to link a user is similar. Just use this command instead:
link user yourtoken
You can now add your server, or "guilds" to the bridge. List them with listguilds 1 and then run the following command to add the ones you want:
bridgeguild 1 guildID
Remember, if you're using a bot, the server admin will need to add it to their server before it will work. If you have a user token, you'll be automatically prompted to add conversations when someone DMs you.
As messages flow in your servers and personal chats, element will automatically pick them up and relay them to you in a separate channel. You can reply to them as you would any other Element message and the messages will carry across to Discord.