

The configuration of DNS nameservers in Linux were the same for many years, but all things change. In Ubuntu 18.04 and onward, we now have Netplan, a utility designed to simplify network configuration and allow for a quick Ubuntu DNS configure.
Though this change has caused some initial confusion due to the change of location of the config files (they’re no longer in /etc/network/interfaces) it does mean that you can handle all of your network configuration in a single location, via separate YAML files for each interface. After Netplan processes those YAML files, configurations are generated for systemd-network or Network Manager, depending on whether you’re using Ubuntu Server or Desktop.
The process generally makes network configuration much less complex, and naturally has a knock-on effect on how to configure DNS on Ubuntu. The important thing to note is that the files are now located in /etc/netplan, with file names such as ’01-netcgf.yaml’. We’re going to be focusing on configuration of an Ubuntu VPS in this tutorial, so the first step is to log in.
How to configure a DNS server in Ubuntu step-by-step
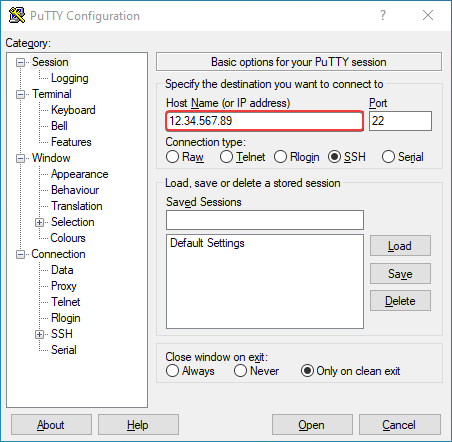
Connect to your VPS by entering its IP address in PuTTY’s ‘Host Name’ field and clicking ‘Open’.
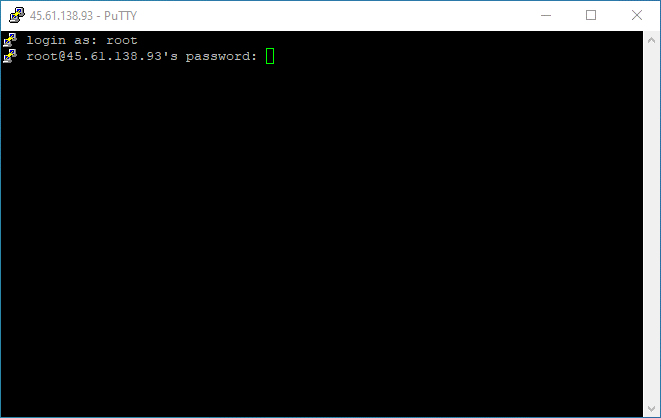
Enter the username and password and press Enter to connect to the Linux environment.
You can now navigate to your Netplan folder with cd /etc/netplan. Type ls to list your config files and edit the Ubuntu DNS server with:
sudo nano filenamehere.yaml
Before you make any changes, it’s worth noting that your indents must be consistent for Netplan to load the values and you must use spaces, not tabs. You’ll see your nameserver entry in this file, like so:
![Config file reading "name servers: addresses: [1.1.1.1. 1.0.0.1]](https://bitlaunch.io/blog/content/images/2020/06/1.3.png)
The above are the primary and alternate DNS IP addresses for Cloudflare. You can add more DNS addresses separated by commas on the same line, but it’s best to group them on separate lines for clarity. Let’s add Google’s DNS servers as an example, but make sure to choose one of the best DNS servers for privacy:
![Above config file with addition of "addresses [8.8.4.4,8.8.8.8] on a new line below](https://bitlaunch.io/blog/content/images/2020/06/1.4.png)
Once you’ve made your changes to the Ubuntu DNS config, press Ctrl+O to write them out and then Ctrl+X to exit. To apply the changes, enter to command:
sudo netplan apply
You can troubleshoot any issues via sudo netplan --debug apply.
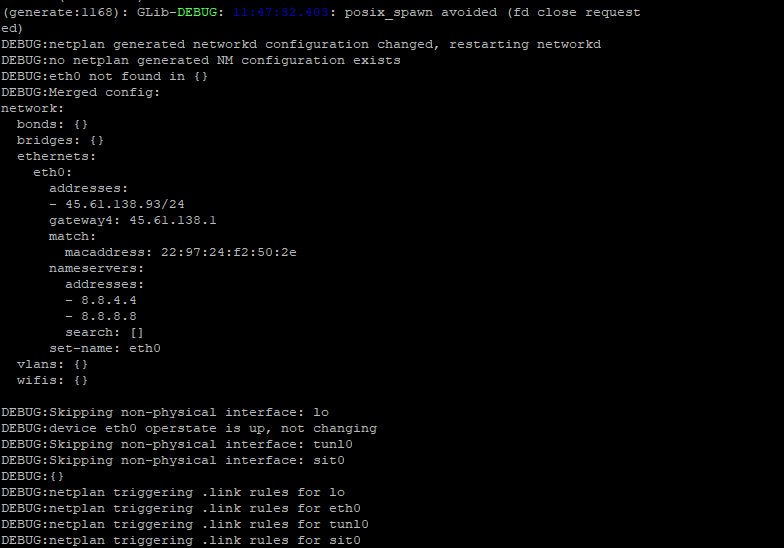
You’ll see an output such as this, which should give you all the information you need to fix issues.