
![[Quick Guide] How to install cPanel on Ubuntu 20.04](/blog/content/images/size/w2000/2023/06/cPanel_orange_RGB.png)
cPanel has been a favorite tool of budding and professional web admins for over twenty years. It greatly simplifies complex tasks so that pretty much anybody can create and maintain their own website. Though CentOS 8 was long the most popular choice of distro for the software, it reached end-of-life status in late 2021, opening the door to Ubuntu 20.04 LTS.
We'll be walking you through the installation process on Canonical's distro so that you can easily manage your server
cPanel on Ubuntu requirements
cPanel recommends the following minimum hardware to run cPanel:
- Processor: 1.1 GHz
- RAM: 1 GB
- Disk space: 20 GB
Users on BitLaunch's lowest plan should therefore be able to run cPanel. However, we would caution that with the additional services required to run a website and the traffic associated with it, you may struggle.
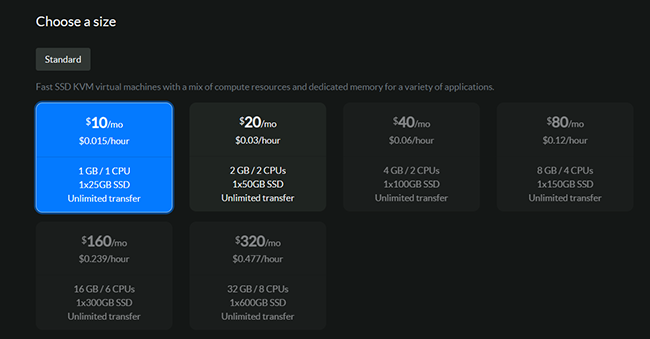
Our recommendation is therefore that you choose a higher-spec server. The resources you need will of course depend on the number and complexity of your websites and how many visitors you expect. You should also budget for an antivirus such as ClamAV, which works best with at least 3GB of RAM.
Other pre-requisites
Before you start, you'll also want to make sure your server meets the following pre-requisites:
- Has a fully registered and qualified domain name
- Is running Ubuntu 20.04
- Does not have SELinux installed
- Has PERL installed (
sudo apt -y install perl perl-base)
Though cPanel will try to open the necessary firewall ports during the installation process, it's strongly recommended that you disable your firewall during the installation process. This can be achieved with:
iptables-save > ~/firewall.rules
systemctl stop ufw.service
systemctl disable ufw.service
Installing cPanel on Ubuntu 20.04
Once you have the pre-requisites, installing cPanel on Ubuntu is surprisingly simple. Just run a single command:
cd /home && curl -o latest -L https://securedownloads.cpanel.net/latest && sh latest
The installation will take a while. How long will of course depend on the connection speed and specifications of your server, but fifteen minutes or longer is not unusual
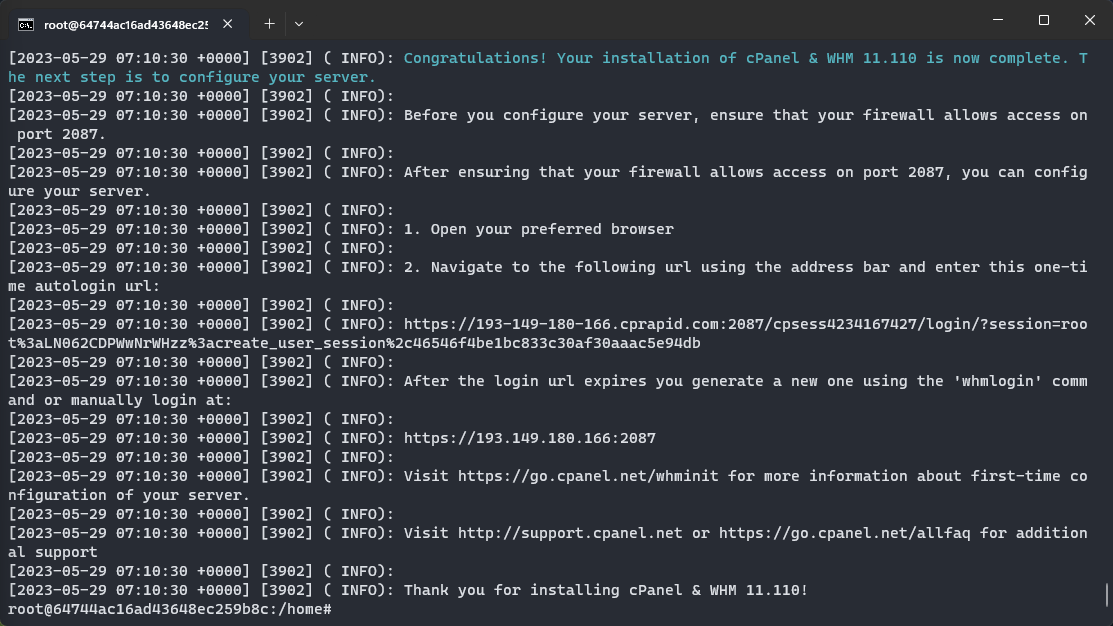
That's it. You can press the temporary login URL to start configuring your cPanel install. Be sure to set a new nameserver during the initial setup process.
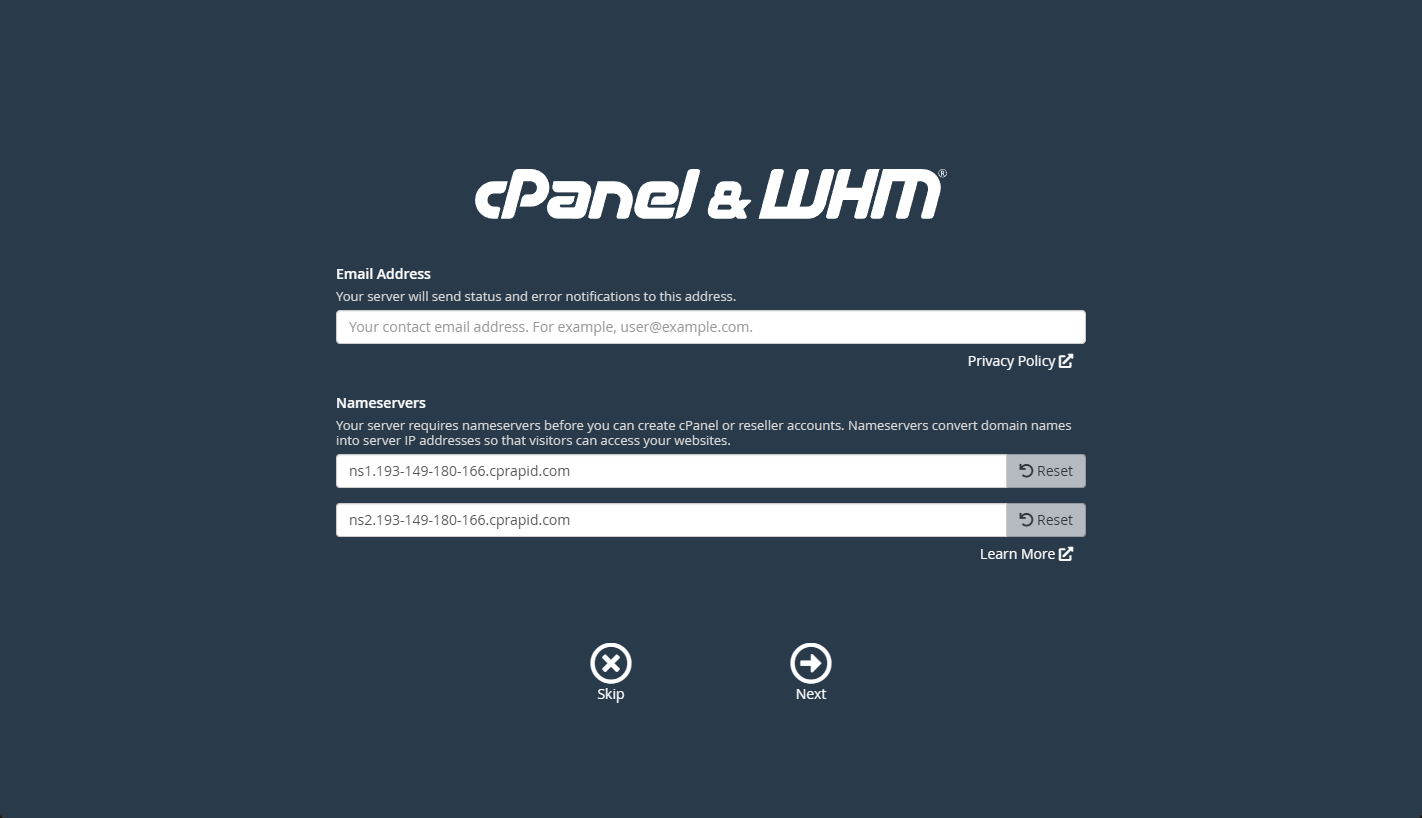
Configuring your cPanel server
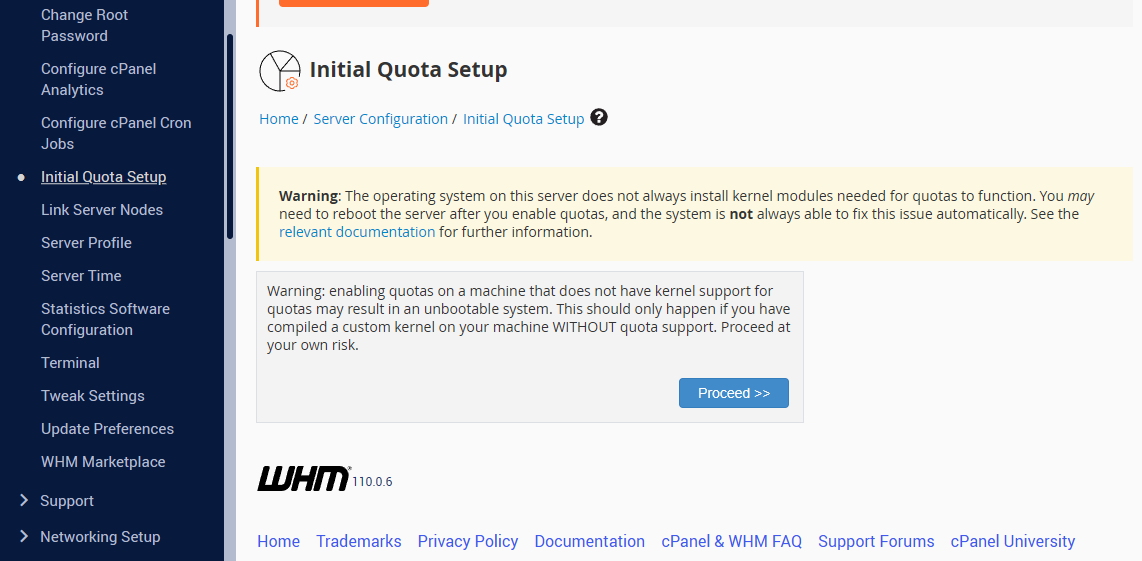
After installation, you can find your main config file in /etc/wwwacct.conf. You can, of course, edit this with nano, but this may be a good chance to test out your new control panel. You'll find these configuration parameters in "WHM » Home » Server Configuration » Basic WebHost Manager® Setup".

You can modify other configuration parameters, such as the root password, quota setup, etc. by continuing down the categories in the sidebar.
For more information on the different configuration options and how they work, you can reference the cPanel documentation.
Not yet a BitLaunch user? Sign up and launch your anonymous vps server today.