

Real-time communications platform Rocketchat promises to deliver users all the bells and whistles of a team chat application while allowing companies to keep ownership of their data. Similar to Matrix Synapse, it's can either be self-hosted for free or you can purchase it as a managed service for a per-user fee.
We're big fans of self-hosting here at BitLaunch, so that's naturally the route we're going to focus on. Thankfully, though Rocketchat shares many similarities with Matrix Synapse, it's far easier to install thanks to its snap, which lets you get up a running in a minute or two.
Pre-requisites
Hardware
The requirements for a Rocketchat server vary wildly depending on activity, connected devices, what users are doing, and bot activity. However, at the minimum for a cloud VPS, the Rocketchat documentation recommends the following:
- Single core (2 GHz) CPU
- 1 GB RAM
- 30 GB SSD
This configuration should work for small team of up to 200 users, with up to 50 active concurrently at any one time and minimal levels of sharing, uploading, and bot activities.
For up to 500 users with 100 concurrently active and moderate upload and bot use, the following is recommended:
- Dual-core (2 GHz)
- 2 GB RAM
- 40 GB SSD
For most users, then, BitLaunch's 2GB/2CPU VPS offering is likely the best bet. Of course, if you require more performance, you can always upgrade at a later date.
You should also prepare your server by performing some basic security best practices. In particular, enable your firewall with access to ports 22/443 and install fail2ban.
Installing Rocketchat server via snap
Installing Rocketchat by snap is by far the easiest way. In fact, getting set up only takes a few commands.
First, update your server using:
sudo apt update
sudo apt upgrade
Then, install Rocketchat server via snap:
sudo snap install rocketchat-serverAll you need to do now is browse to your server IP on port 3000 in your local browser. For example, http://123.45.67.890:3000.
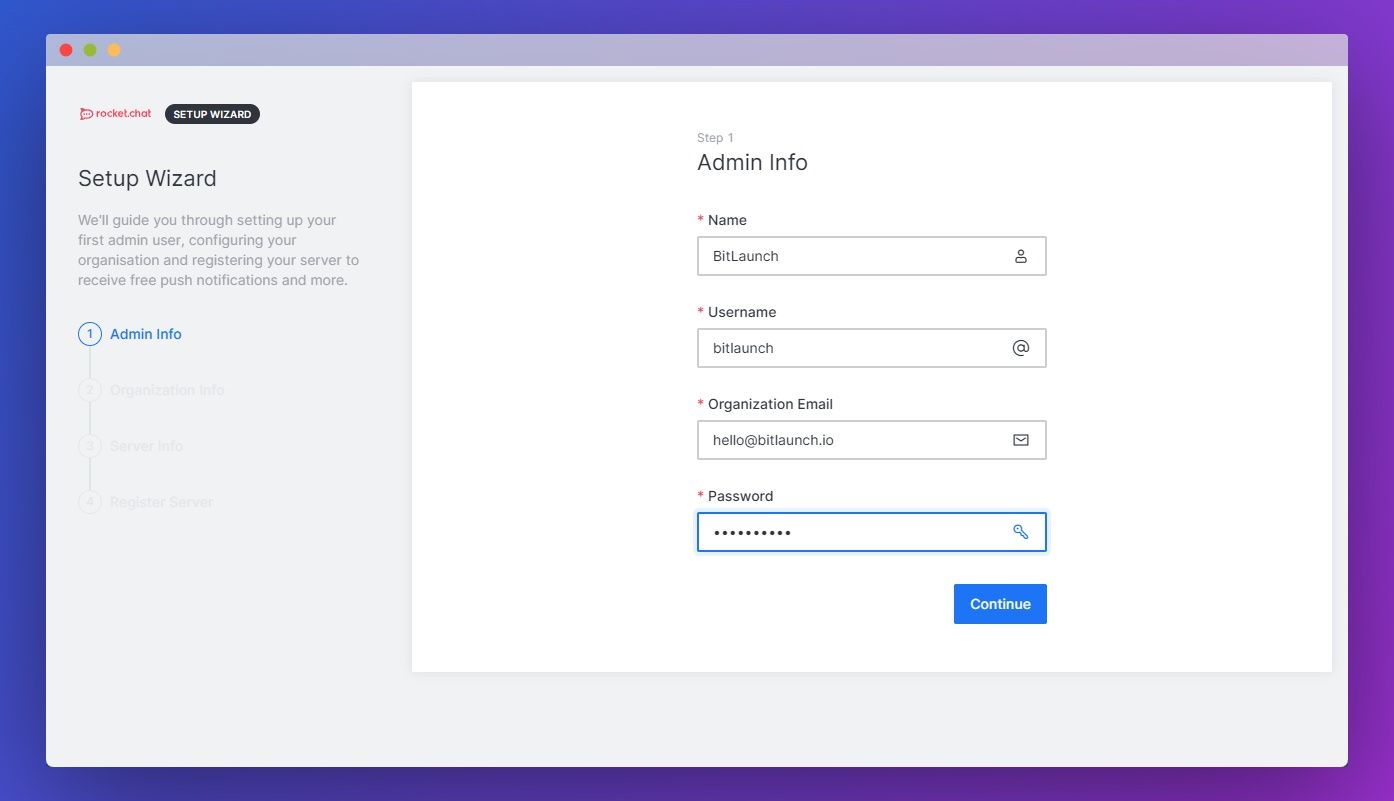
Follow the simple setup wizard to get your server up and running. If you like, you can set up an nginx reverse proxy and link it to a domain, or perform any other modifications.