

Over the past few years, commercial VPS providers have been the subject of several controversies and security breaches. As a result, self-hosting a VPN is becoming increasingly popular, but many are dissuaded by the perceived complexity of doing so.
Thankfully, tools like Algo VPN have made the setup far easier, but they still require some technical know-how. As a result, BitLaunch offers a one-click WireGuard VPN setup that will get you up and running in minutes.
Today, we're going to walk you through this process from account creation to connecting to your VPN. All you need to get started is an email address and a tool to connect to your VPS server, such as PuTTy.
Creating and funding your BitLaunch account
We have taken great pain to make BitLaunch's account creation process simple. If you haven't already, head to the sign-up page and enter an email address and password. Make sure you type your password correctly and accurately with no typos.

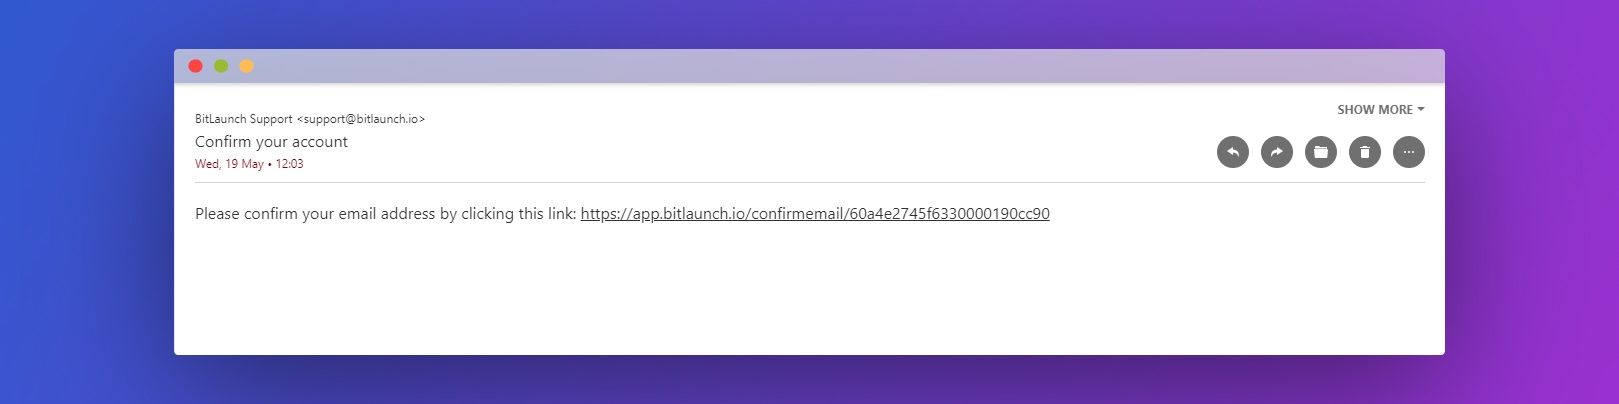
Once you have created your account, confirm it by clicking the link we sent to your email inbox. It should look something like this:
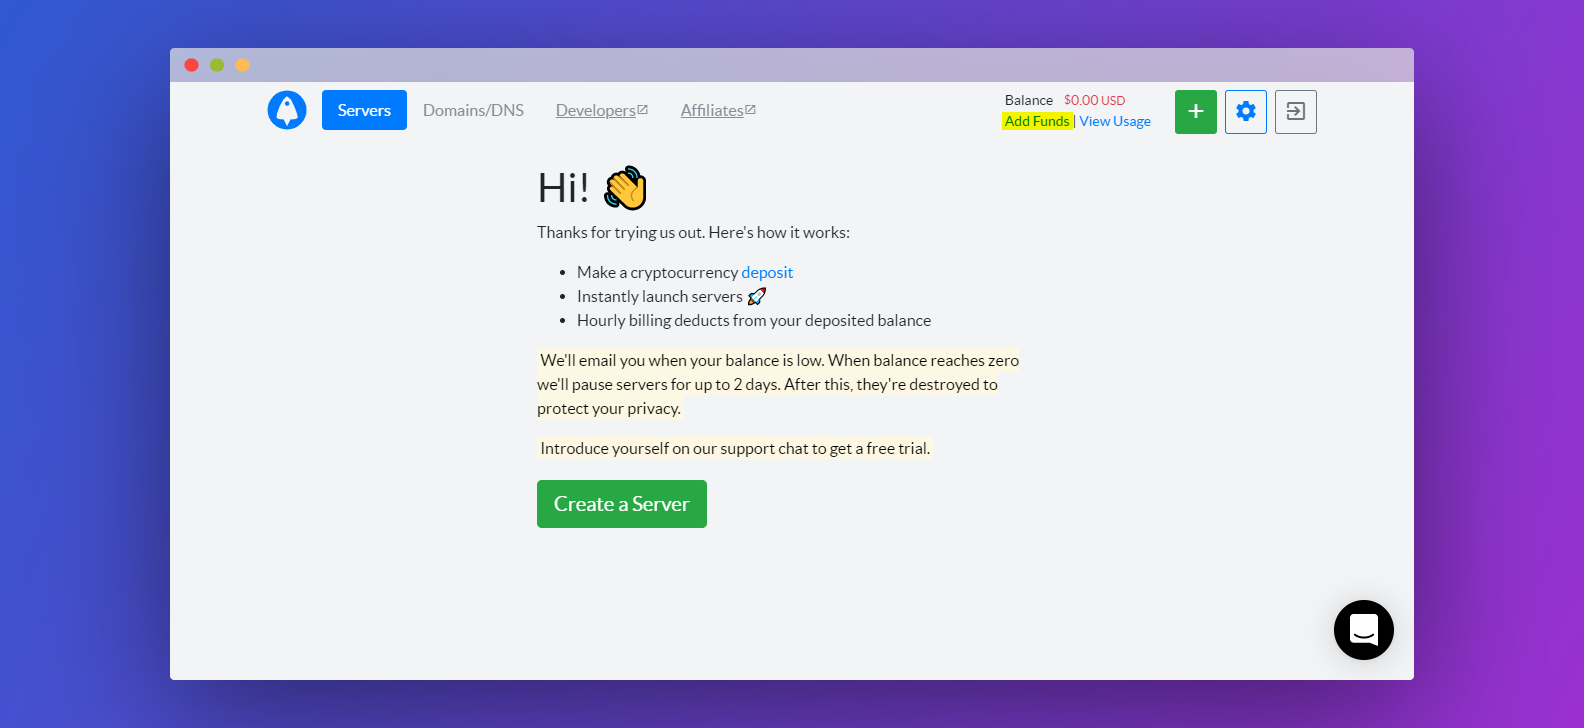
Now it's time to add some funds to your BitLaunch account. You can talk to our support for some free credit, or press the Add Funds button in the top-right of your BitLaunch control panel:
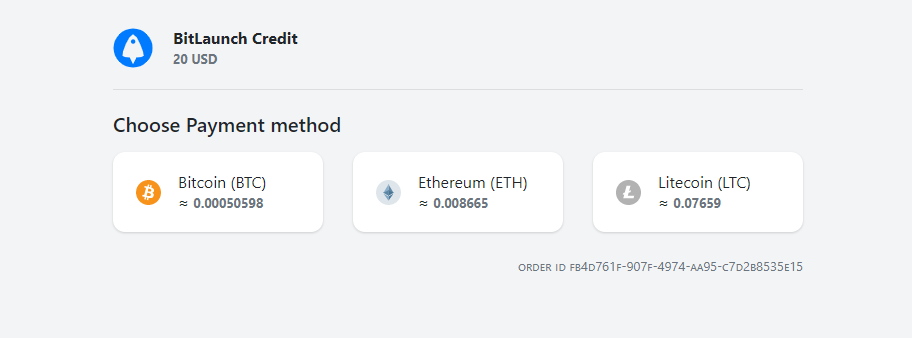
Enter the amount you'd like to top up in the Add funds pop-up and press Make Payment. You can then choose between three cryptocurrencies: Bitcoin, Litecoin, and Ethereum.
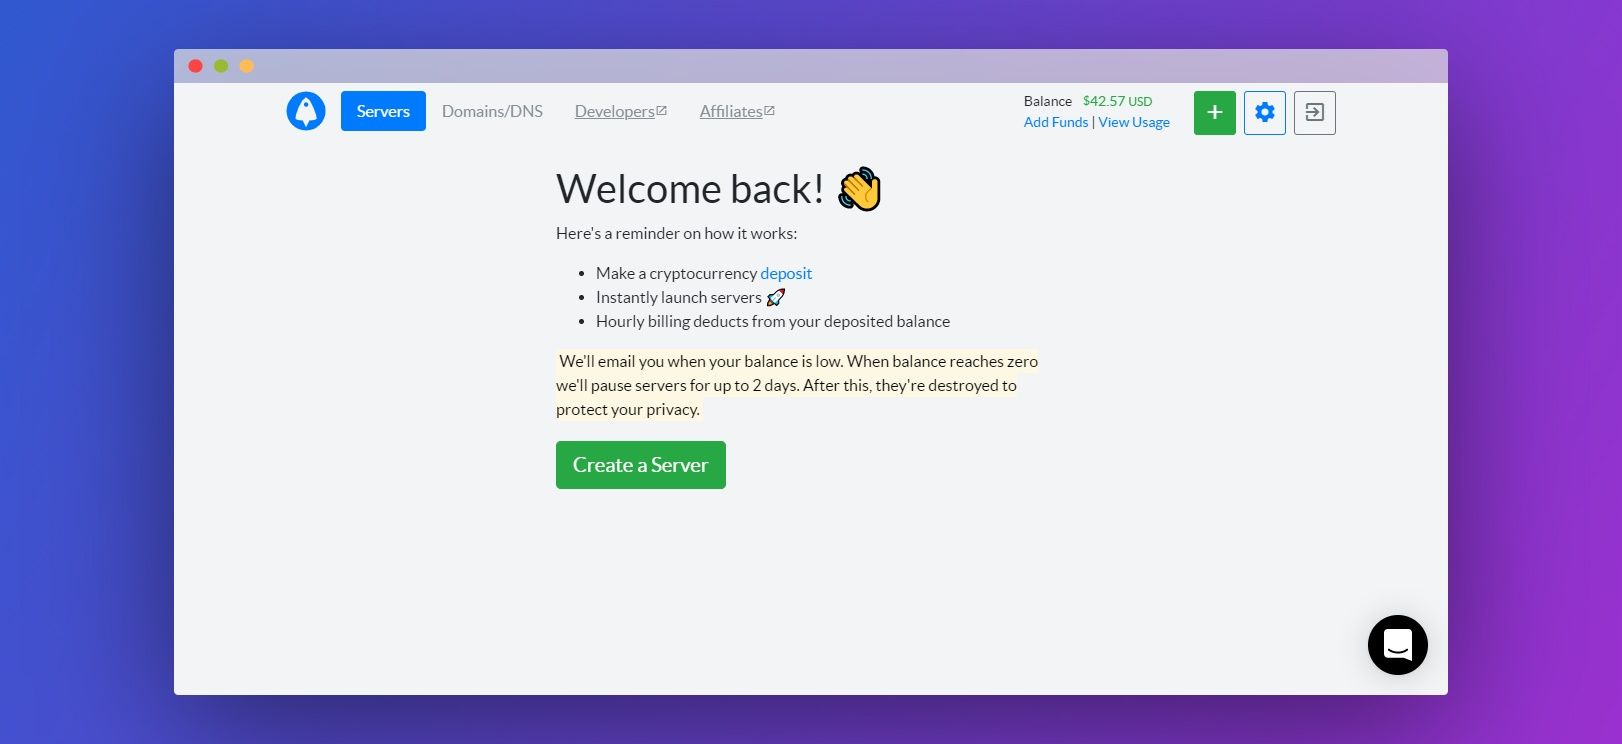
You'll be presented with a QR code and wallet address so that you can send the money to your account from your mobile or desktop wallet. Once you've completed the payment, go back to your control panel and press I'm done. Thanks to BitLaunch's in-house payment system, Bitcoin credit will arrive in your account near-instantly, while other coins will take just a little longer.
Launching a WireGuard VPN Server
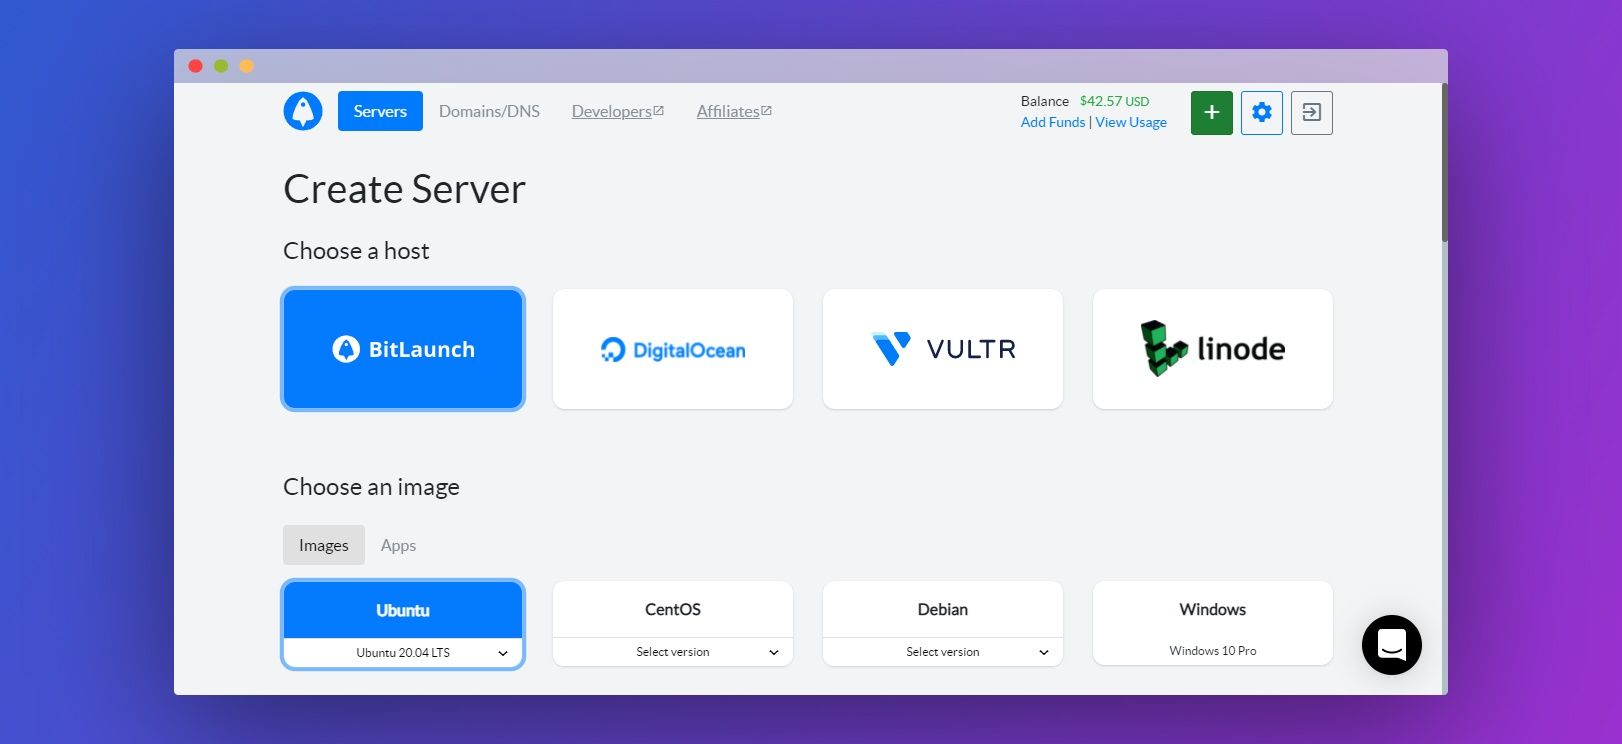
Once you have credit in your account, you can create your server. First, click the big green Create a Server button.
Choose BitLaunch as your host and your preferred operating system under the Images section.
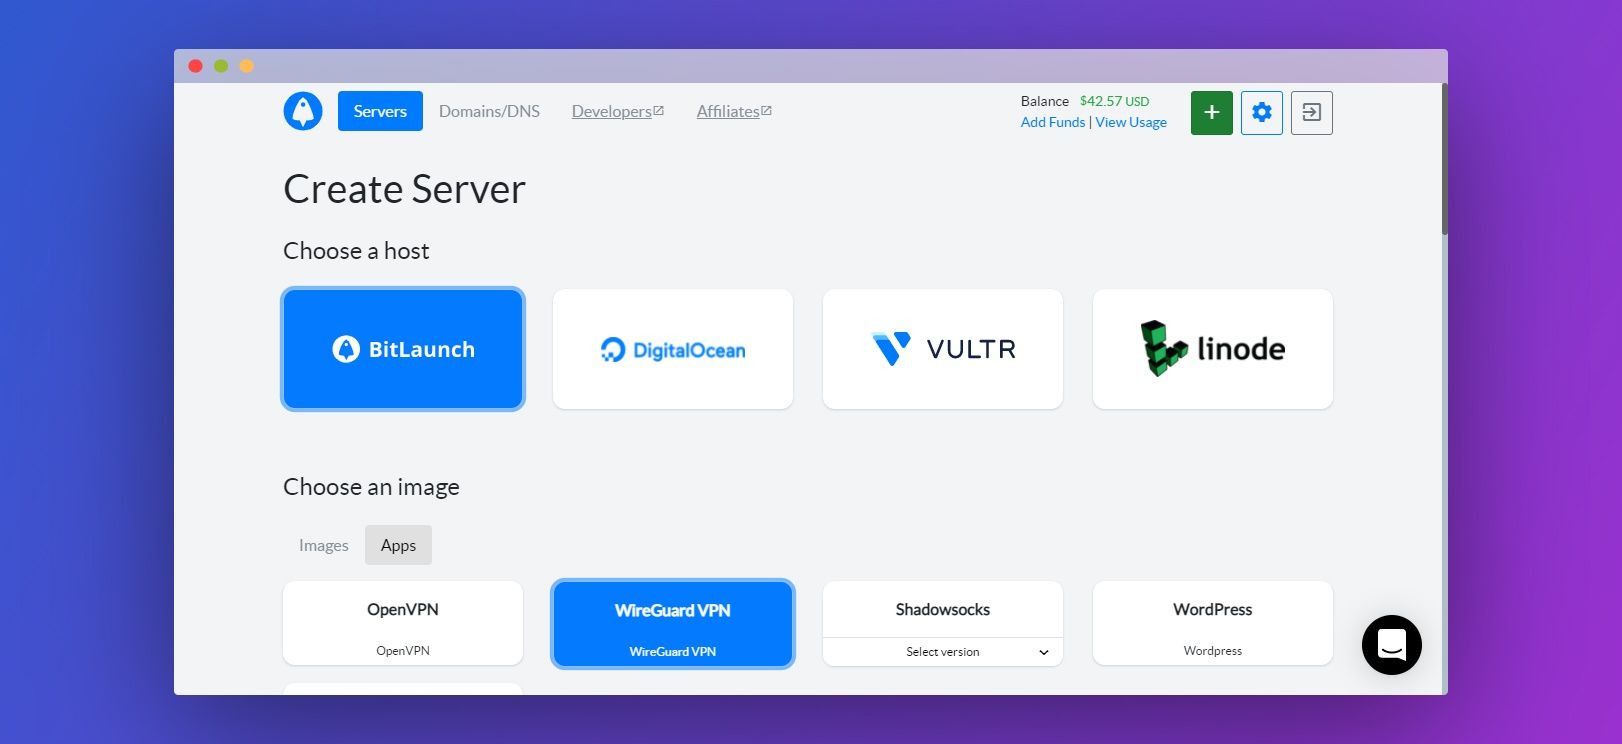
Under the Apps section, click WireGuard VPN.
Choose the datacenter region of your choice and enter a secure, unique password, then click Launch Server at the bottom of the screen.
It will take a minute or so for your server to start up and deploy your WireGuard VPN. Once your control panel lists it as active, you can connect to it using PuTTy and begin the configuration process below.
Configuring your WireGuard VPN
When you log into your WireGuard server for the first time, you'll be greeted with the following message:
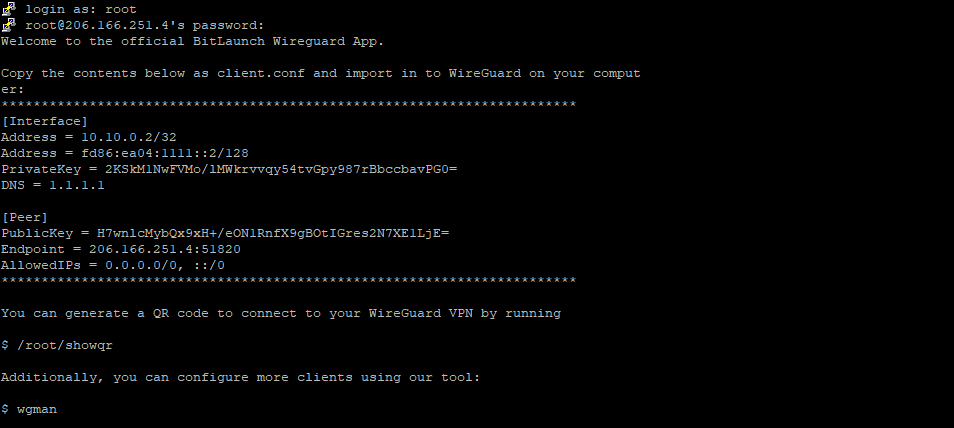
Copy the information between the stars and paste it into a text file on your local PC. Save it as wireguard.conf.

Grab the latest WireGuard installer and set it up on your PC. Press the Import button and select your config file. Press Activate to connect to your VPN.

To connect on a phone or tablet, run the command /root/showqr on your server. Download the WireGuard app for iOS or Android, press the blue plus to add a tunnel, and select Scan from QR code. Point your phone at your computer screen, name the tunnel, and tap the toggle to connect.
You can set up additional tunnels for new devices at any point by running the wgman command on your VPS.