BitLaunch VPN enables you to quickly create a fast, private, and secure WireGuard VPN using BitLaunch's reliable VPS infrastructure. This guide will cover:
- How BitLaunch VPN works
- How to create a BitLaunch VPN
- Importing your VPN tunnels via QR code
- Importing your tunnels via config file
How does BitLaunch VPN work?
BitLaunch VPN allows you to set up a VPN in multiple regions in seconds. It uses several techniques to safeguard your identity and keep your traffic private. Firstly, public/private encryption keys for your WireGuard tunnel are generated client-side and are only ever available in your current, local browser session.
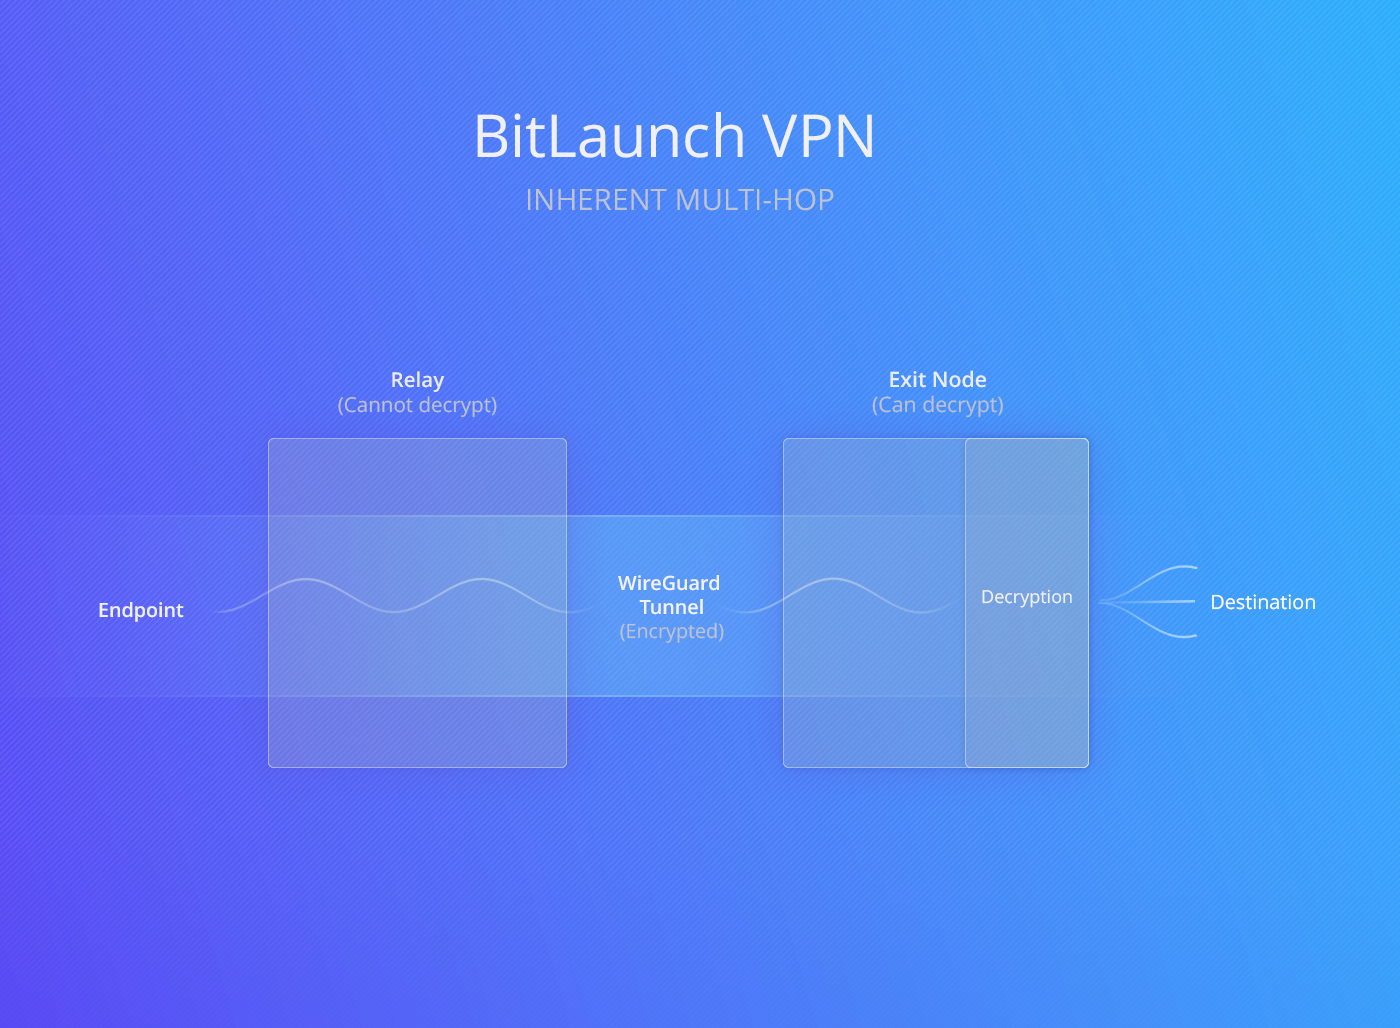
Once you connect to your VPN, traffic travels through the WireGuard tunnel to a relay. This relay then forwards your traffic to a dynamically-selected exit node, where it is decrypted and sent to its destination. The exit node and the destination only ever know the identity and IP address of the relay server. Meanwhile, the relay server cannot decrypt your traffic, so each only gets part of the puzzle.
 BitLaunch
Want to learn more about VPNs? Read our ultimate guide.
This setup minimizes trust requirements while the dynamic selection of exit nodes makes your traffic patterns harder to correlate. It also means that there is little benefit if adversaries attack a specific exit node in an attempt to surveil you – next time, your traffic would likely pass through a different one. You can find more information about the benefits of this inherent multi-hop setup in our announcement post.
How to create a BitLaunch VPN
You can launch a VPN directly from your control panel using your existing BitLaunch balance or by funding it with cryptocurrency directly. Here's how to do so, step-by-step:
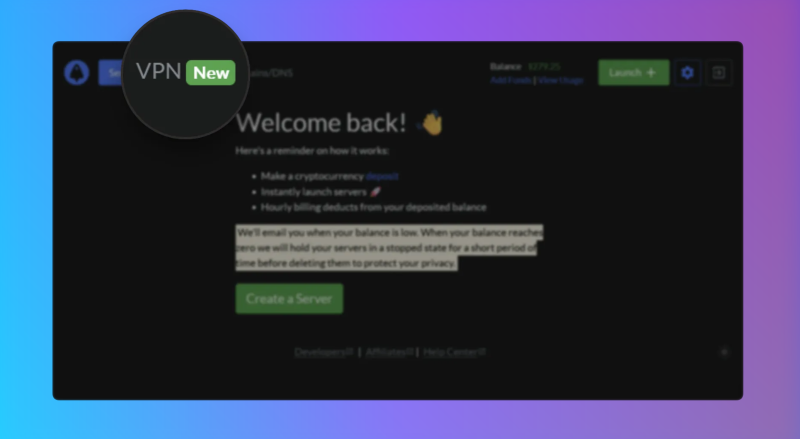
- In your BitLaunch control panel, open the "VPN" tab.

- Under the "Add VPN time" heading, select how you'd like to have the VPN for and press "Pay Now".
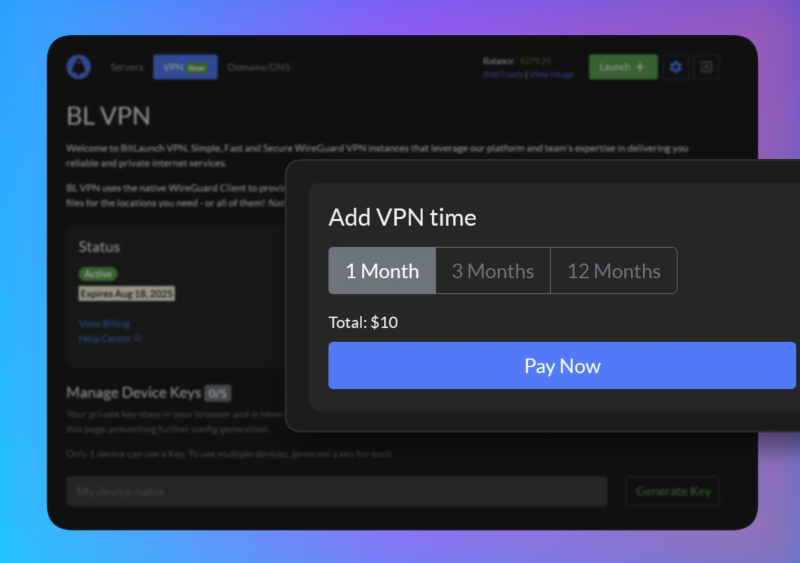
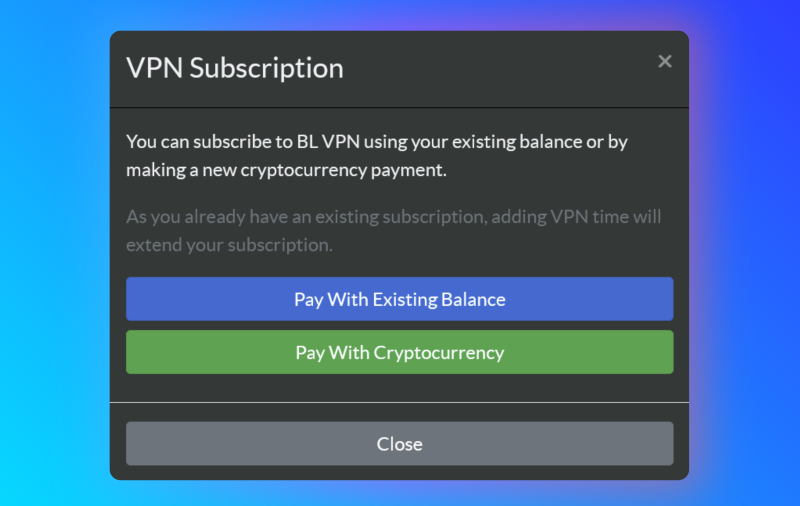
- Choose whether to pay with cryptocurrency directly or use the existing balance in your BitLaunch account.
4. Once you have completed the subscription, enter the name for your first device under the "Manage Device Keys" section and press "Generate Key".
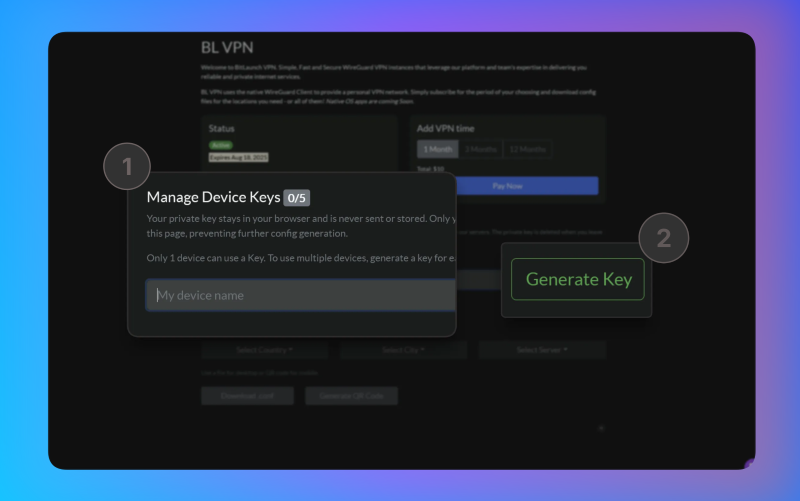
- With your new key selected, choose the country and city you want your VPN to be hosted in, followed by your relay. You can also choose "All countries" and "All relays" if you wish.
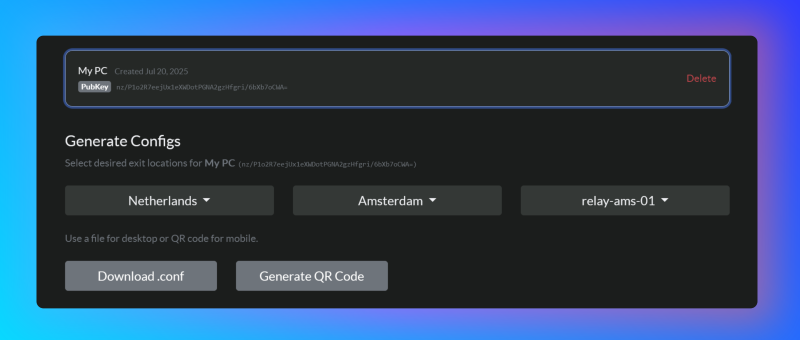
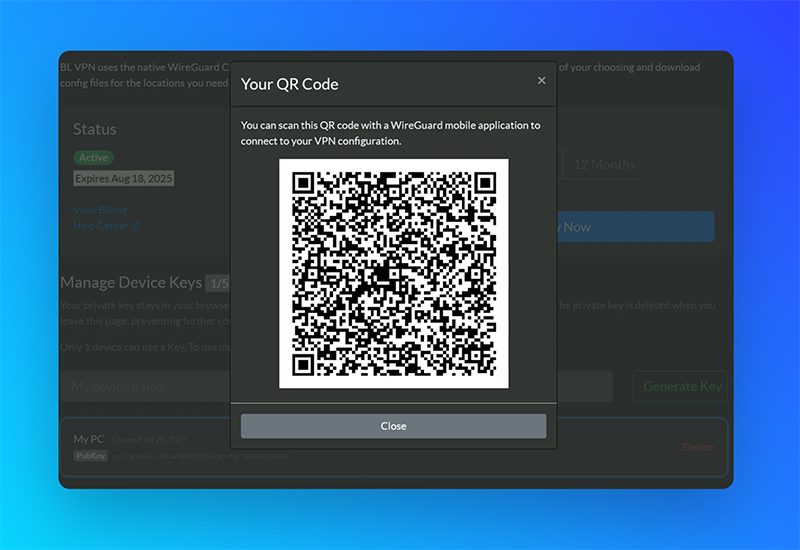
- Finally, select "Generate QR code" if you want to use the VPN on a mobile device, or "Download .conf" for desktop. If you selected "All countries" in the previous step, you will not be able to generate a QR code. Instead, you will be prompted to download a .zip file containing your configs.

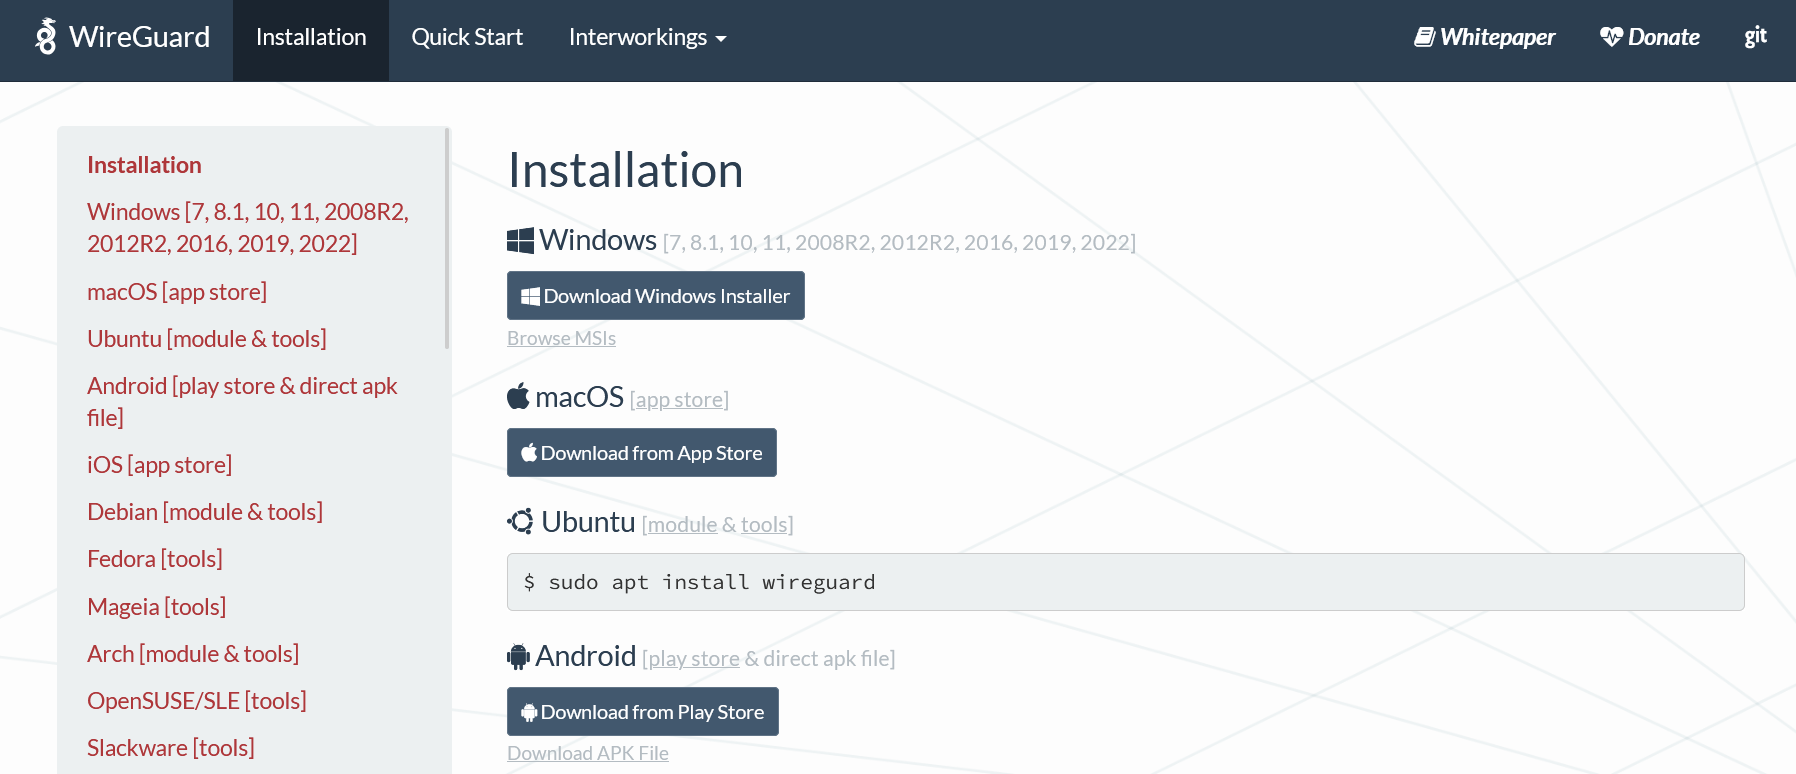
How to import configs in WireGuard
There are two ways to import your VPN configs into Wireguard: via QR code and by manually importing the config file. We'll quickly cover both.
Importing WireGuard configs via QR code
- If you haven't already, download and install the WireGuard app from your mobile app store or the official website.
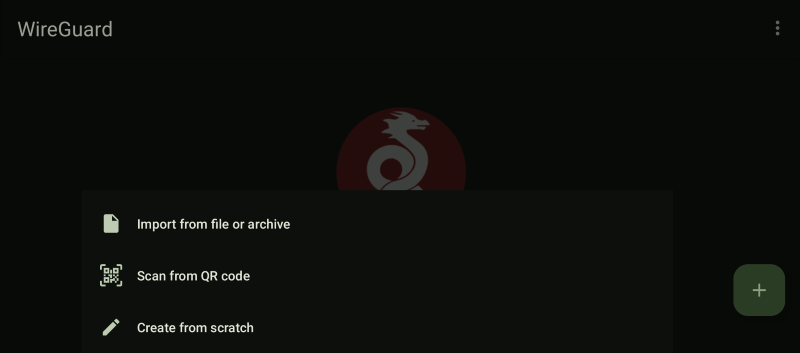
- Press the "+" icon in the bottom-right corner of your WireGuard app and choose "QR Code".
3.Press "Generate QR code" in your BitLaunch control panel and point your camera at the screen.
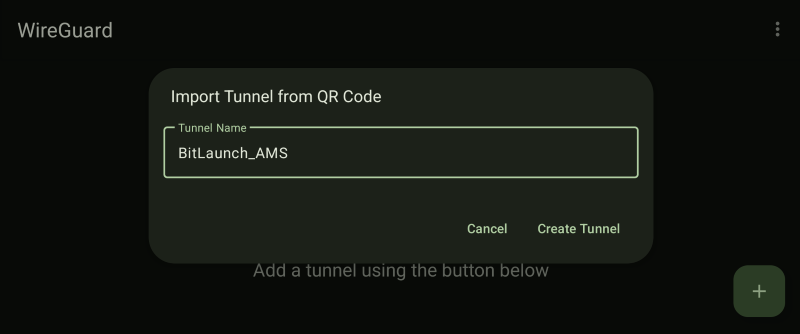
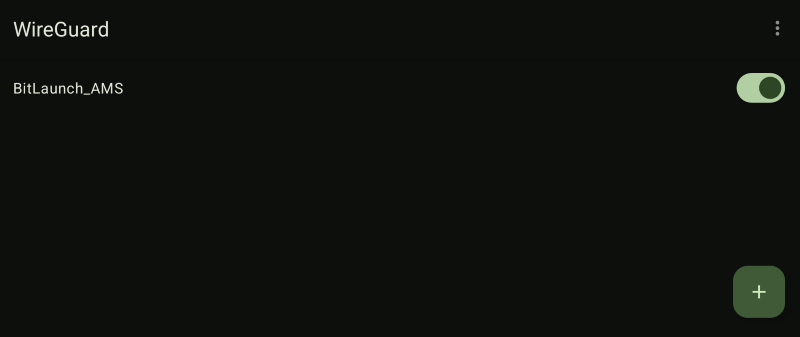
- Type a name for your VPN and press "Create Tunnel".
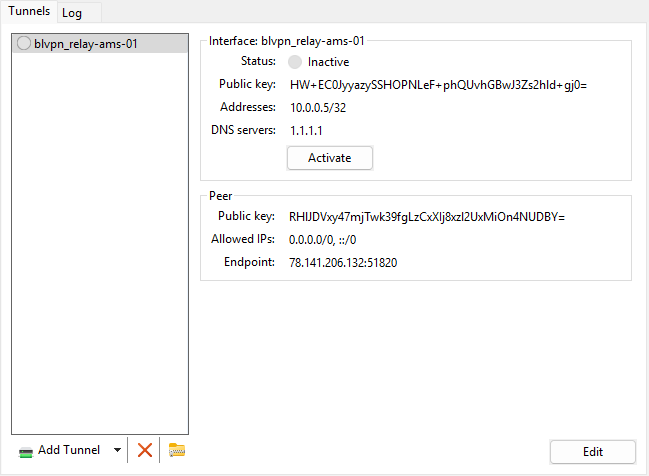
- That's it! You can press the toggle next to your tunnel to enable your VPN and browse privately.
Importing WireGuard tunnels via a config file
Adding WireGuard tunnels by importing a configuration file is easy, too. After downloading and installing WireGuard on your device, follow these steps:
- On your target device, open your BitLaunch control panel and select either "Download .conf", or "Download.zip". If you selected multiple locations and are therefore instructed to download a .zip file, extract it.

- Open your WireGuard app and select "Import tunnel(s)" from file. Mobile users will have to press the "+" icon first.
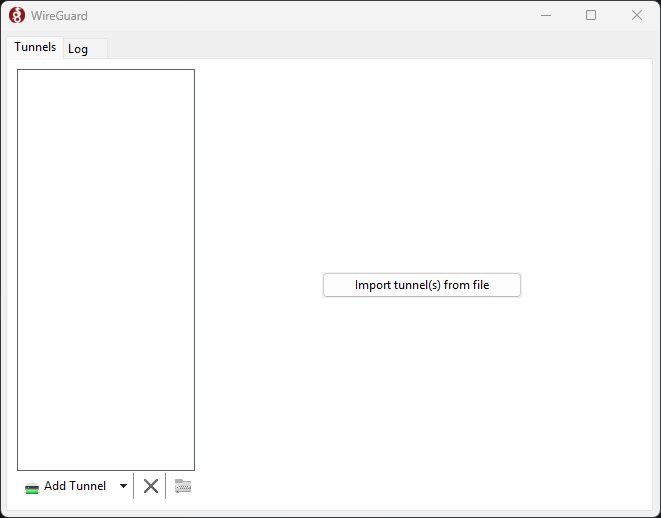
- Navigate to where you saved your config(s), select it, and press "Open".

- In your WireGuard app, press "Activate", or switch the toggle. Your traffic is now being safely routed through your VPN.