You can sign up for BitLaunch here and get started with this FileZilla SFTP guide in minutes.
One of the most common questions when it comes to VPS use is how to transfer a file or folder from your local PC to the server. The truth is that there are various ways to do this that make use of different protocols, such as FTP, SCP, and NFS. However, each of these requires additional setup, which can quickly become a bother if you plan to utilize dozens of servers. As a result, we're going to be focusing on how to use the SSH File Transfer Protocol today, more commonly referred to as SFTP.
SFTP first surfaced in 1997 as a way to transfer files across any reliable data stream. It runs over the SSH protocol and has these days more ore less replaced the legacy File Transfer Protocol (FTP) due to its more secure nature. Over FTP, SFTP offers increased protection against man-in-the-middle attacks and password sniffing via encryption and authentication.
 BitLaunch
Choosing your SFTP Client
There are several popular solutions for SFTP clients, the software used to easily transfer files from your local PC. Likely the most popular is FileZilla SFTP due to its simple GUI and wide compatibility, and that's what we'll be using today. However, you can also consider the following options if that doesn't appeal to you:
- PuTTy SFTP client – A command-line interface that will be familiar to users of the PuTTy SSH tool
- Solar-PuTTy SFTP client – A Windows-based tabbed GUI SSH client that also supports SFTP file transfer
- WinSCP SFTP client – Another widely used Windows FTP file utility that support SFTP
- MonstaFTP – An browser-based FTP and SFTP solution
- CyberDuck SFTP client – Free SFTP client that works on MacOS and Windows and integrates with OneDrive, Google Drive, and Dropbox
The choice is ultimately yours, but do be aware that this tutorial will be focused on FIleZilla SFTP use and will therefore be of limited use if you choose one of the other options. You can download FileZilla here.
How to transfer files to your VPS with FileZilla
You should be able to connect to your server with FileZilla SFTP with no additional setup by simply entering your IP on port 22 and entering your username and password. However, it's worth noting that you should consider generating an SSH key via PuTTy for additional security first. You should also ensure that your system is up to date, with the latest security patches applied, and you can optionally change your SSH port and disable root login. You can read more about VPS security good practices here.
Once you've downloaded FileZilla, follow the install process, declining any "additional software".
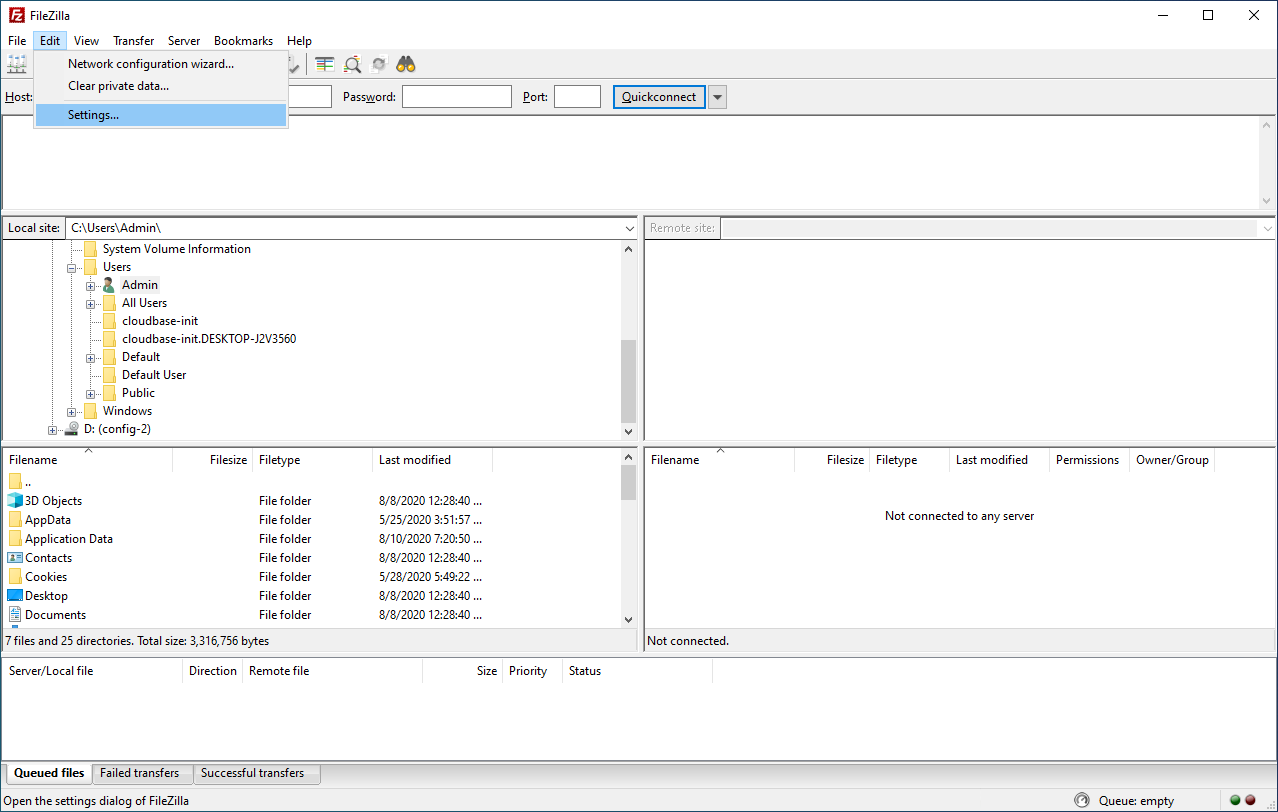
It will open the following screen. If you're using SSH keys, click Edit > Settings... in the top bar.

Open the SSH heading in the sidebar and click Add key file... in the main pane. Select the private key generated by PuTTy and click Open. You can then close out of the settings menu by pressing OK.
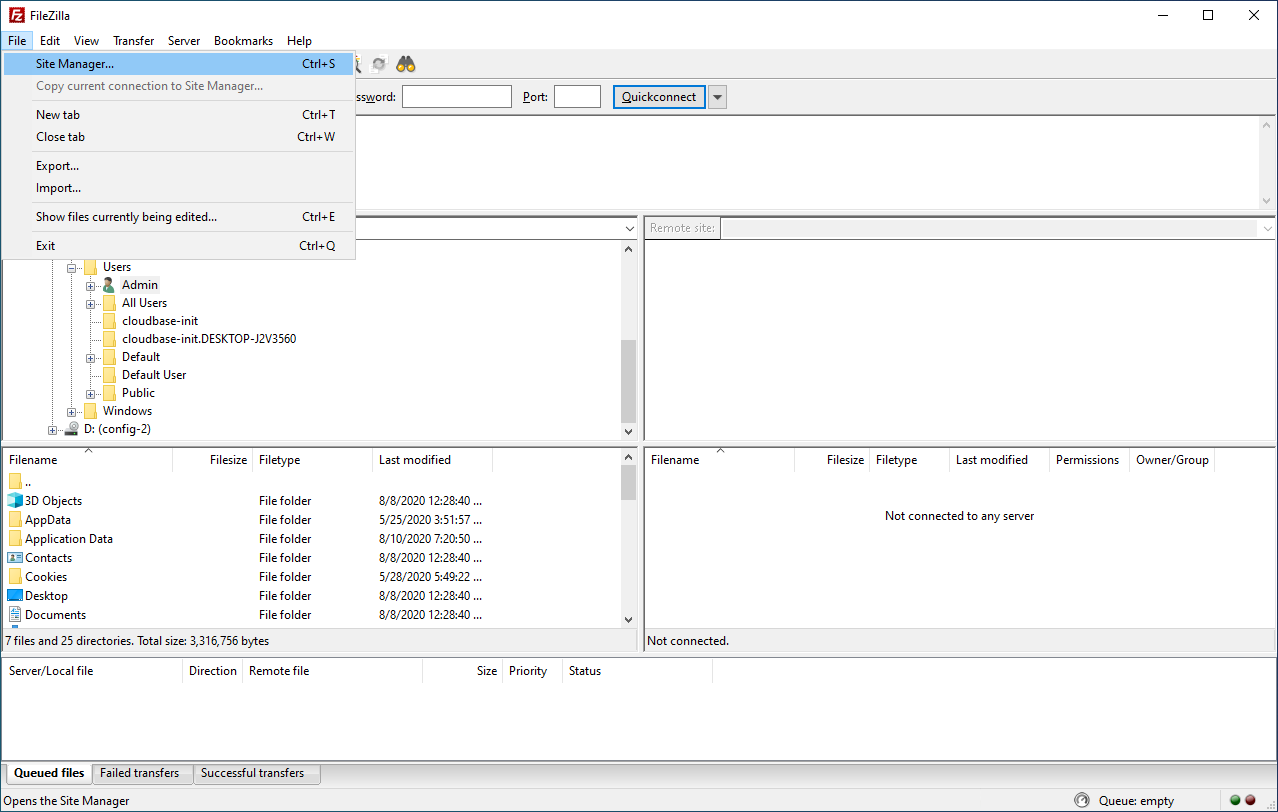
You can then set up connection to the VPS by clicking File > Site Manager... in the top bar.
Press the New site button, enter a name for your VPS, then add the following details:
- Protocol: SFTP - SSH File Transfer Protocol
- Host: Your VPS IP, such as 12.34.567.89
- Port: Use the default SFTP port of 22 or specify the custom port you set up earlier.
- Logon type: Interactive logon – enter your VPS username
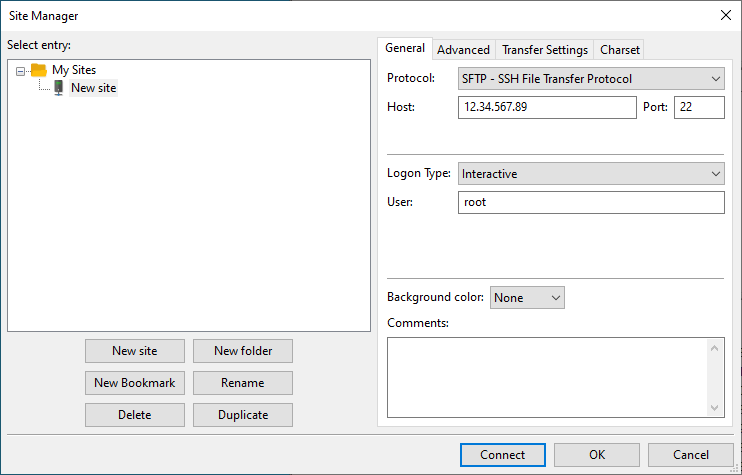
Once you're done, press Connect and enter your SSH key password if it has one.

You can access your VPS via FileZilla SFTP again at any point by clicking the server manager icon in the top-left corner of the toolbar and selecting it.
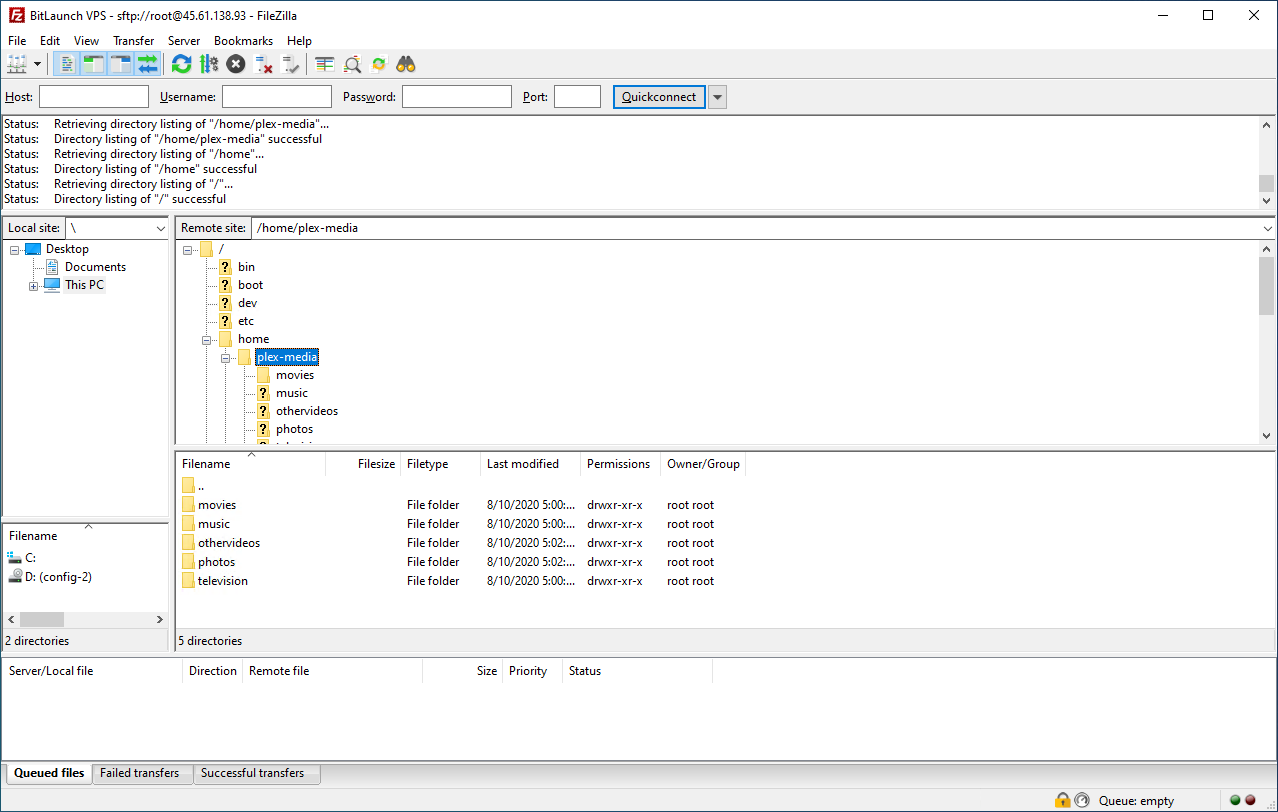
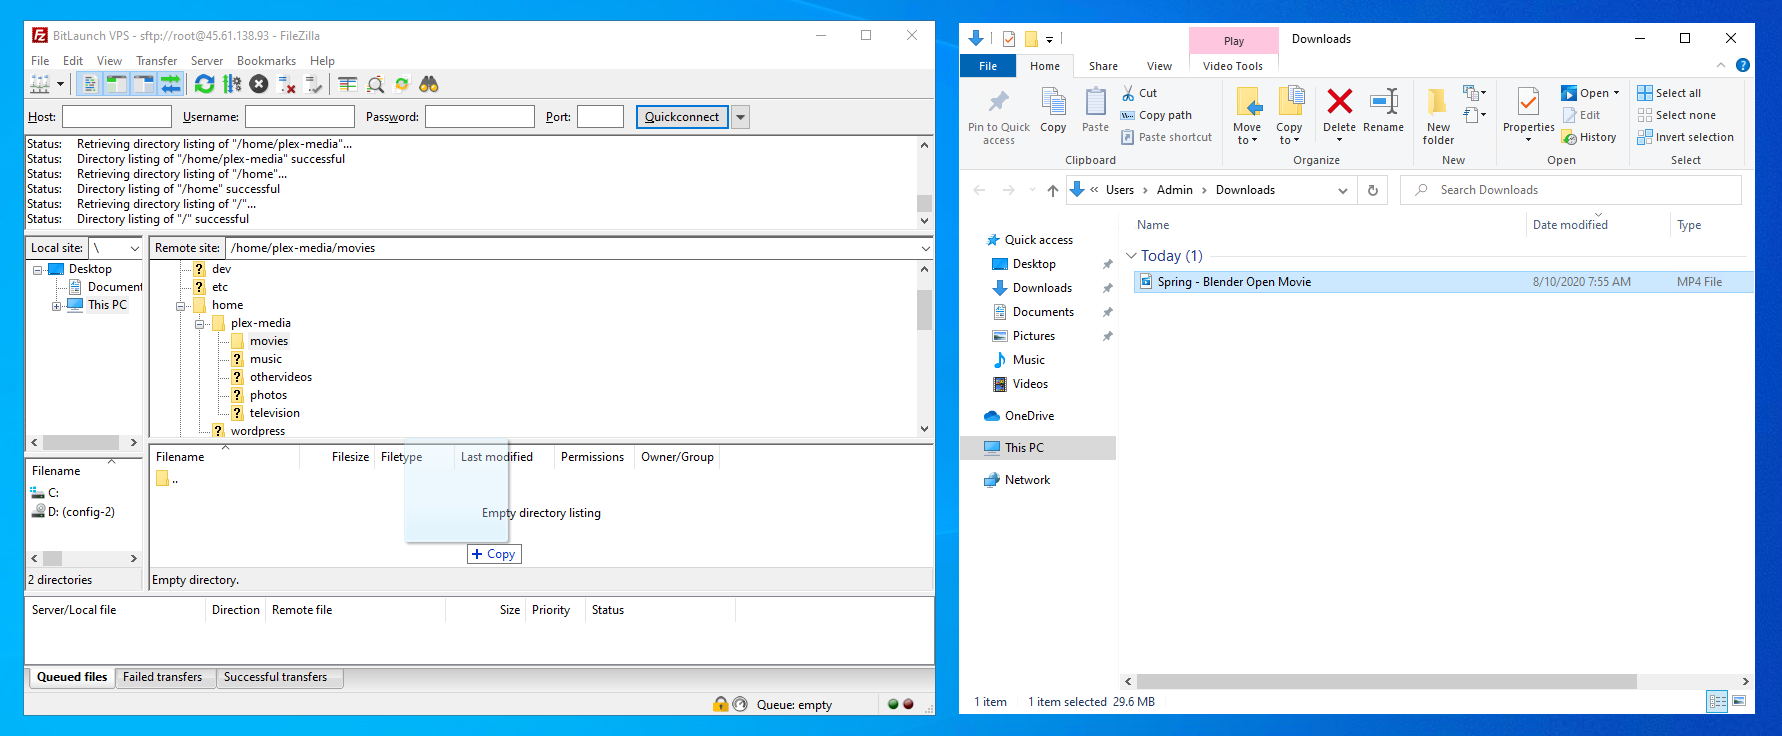
You can add any file or folder from your local PC by navigation to the destination folder in FileZilla, then dragging and dropping it into the directory from File Explorer. You may be prompted to enter your password, after which the transfer progress will show in your Queued files pane at the bottom.
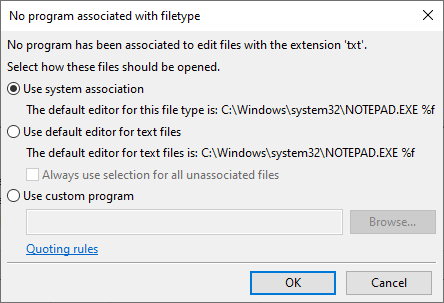
Additionally, you can edit files by right-clicking them and selecting View/Edit.
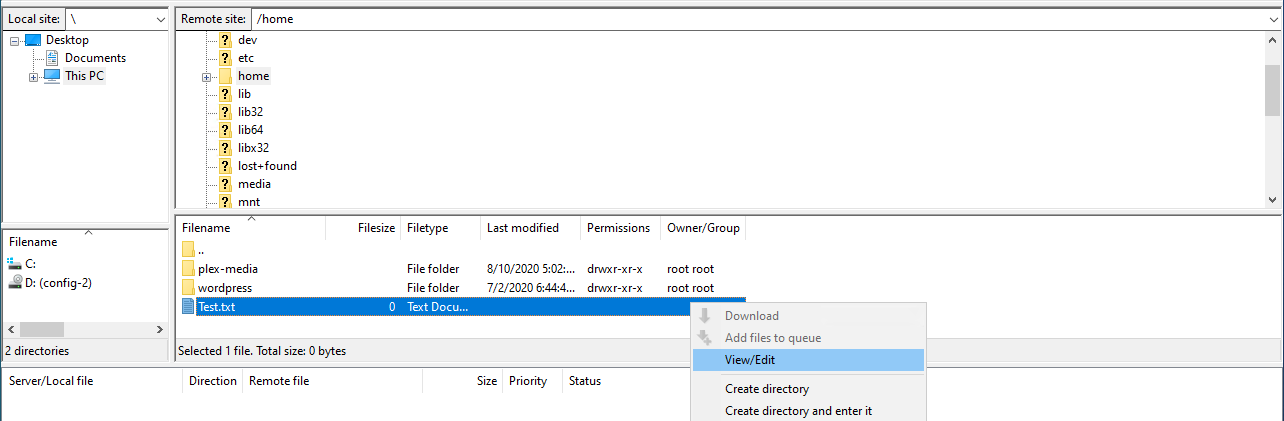
When prompted, choose Use system association or Use custom program and browse to its path.