

Get BitLaunch and install WordPress on CentOS 7 with a single click.
Once a rarely adopted content management platform (CMS), WordPress has grown to power around 35% of the web. It's relatively simple, theme-based approach to website building allows anybody with a bit of computer literacy to create a website, and more importantly, post on it regularly with ease.
Unless users need to customize outside the bounds of their theme, WordPress allows website creation without any knowledge of the HTML, CSS, and PHP backbone it runs on. On top of this, various plugins allow a drag-and-drop approach to page building for website admins. The strengths in these areas have led to adoption by numerous major companies, especially in the journalism and eCommerce space. You can find the CMS platform in use on Sony Music, TechCrunch, The New Yorker, The Walt Disney Company, and the Facebook Newsroom, to name a few.
While WordPress isn’t as simple as solutions like Squarespace, it can certainly be more affordable and offers more customization. You can rent hosting space from a dedicated provider or self-host via a Virtual Private Server. Today we’re going to be focusing on how to install WordPress on CentOS 7, which is often recommended for such tasks. First, though, you’ll need some pre-requisites:
- A CentOS 7 64-bit install, preferably a VPS for performance reasons.
- Your VPS credentials, found in your control panel
- Apache/Nginx, PHP, and MySQL (LEMP) configured.
- An SSH client to connect to your VPs with, such as PuTTy
 BitLaunch
Creating a Mysql database for your WordPress install
The first step is to log in to your existing Mysql server with:
mysql -u -root -p
After entering your Mysql password, create a new database. We’re going to call ours wordpress_test, the user testuser, and password test_password. You should change these to the name of your site, name of the admin, and a secure password.
CREATE DATABASE wordpress_test;CREATE USER testuser@localhost IDENTIFIED BY "test_password;GRANT ALL PRIVILEGES ON wordpress_sample.* TO testuser@localhost;
FLUSH PRIVILEGES
exit
Your database is now created, and it’s time to move on to the WordPress install.
How to Install WordPress on CentOS 7
Before we install WordPress, we need a pre-requisite, php-gd, for image resizing. Use yum to fetch it:
sudo yum install php-gd
Restart the hppd server. This will help it to recognize the new php module:
sudo service httpd restart
Navigate to the http folder and download WordPress with:
sudo cd /var/www/html/ && wget http://wordpress.org/latest.tar.gz
Unpack and unzip the files to the /html directory by entering:
tar xzvf latest.tar.gzunzip -q latest.zip
It’s important now that we add an extra layer of security to our WordPress install by restricting access to the html directory. Enter the following:
sudo chown -R apache:apache /var/www/html/*
At this point, it's a good idea to harden WordPress further. You can follow our guide here to greatly increase your security with a few simple tricks and best practices.
Configure WordPress
It’s now necessary to configure WordPress. You can do this via your server if you have GUI, or via a remote PC. To find the correct page, append /wordpress to the end of your server IP address. For example:
12.34.567.890/wordpress
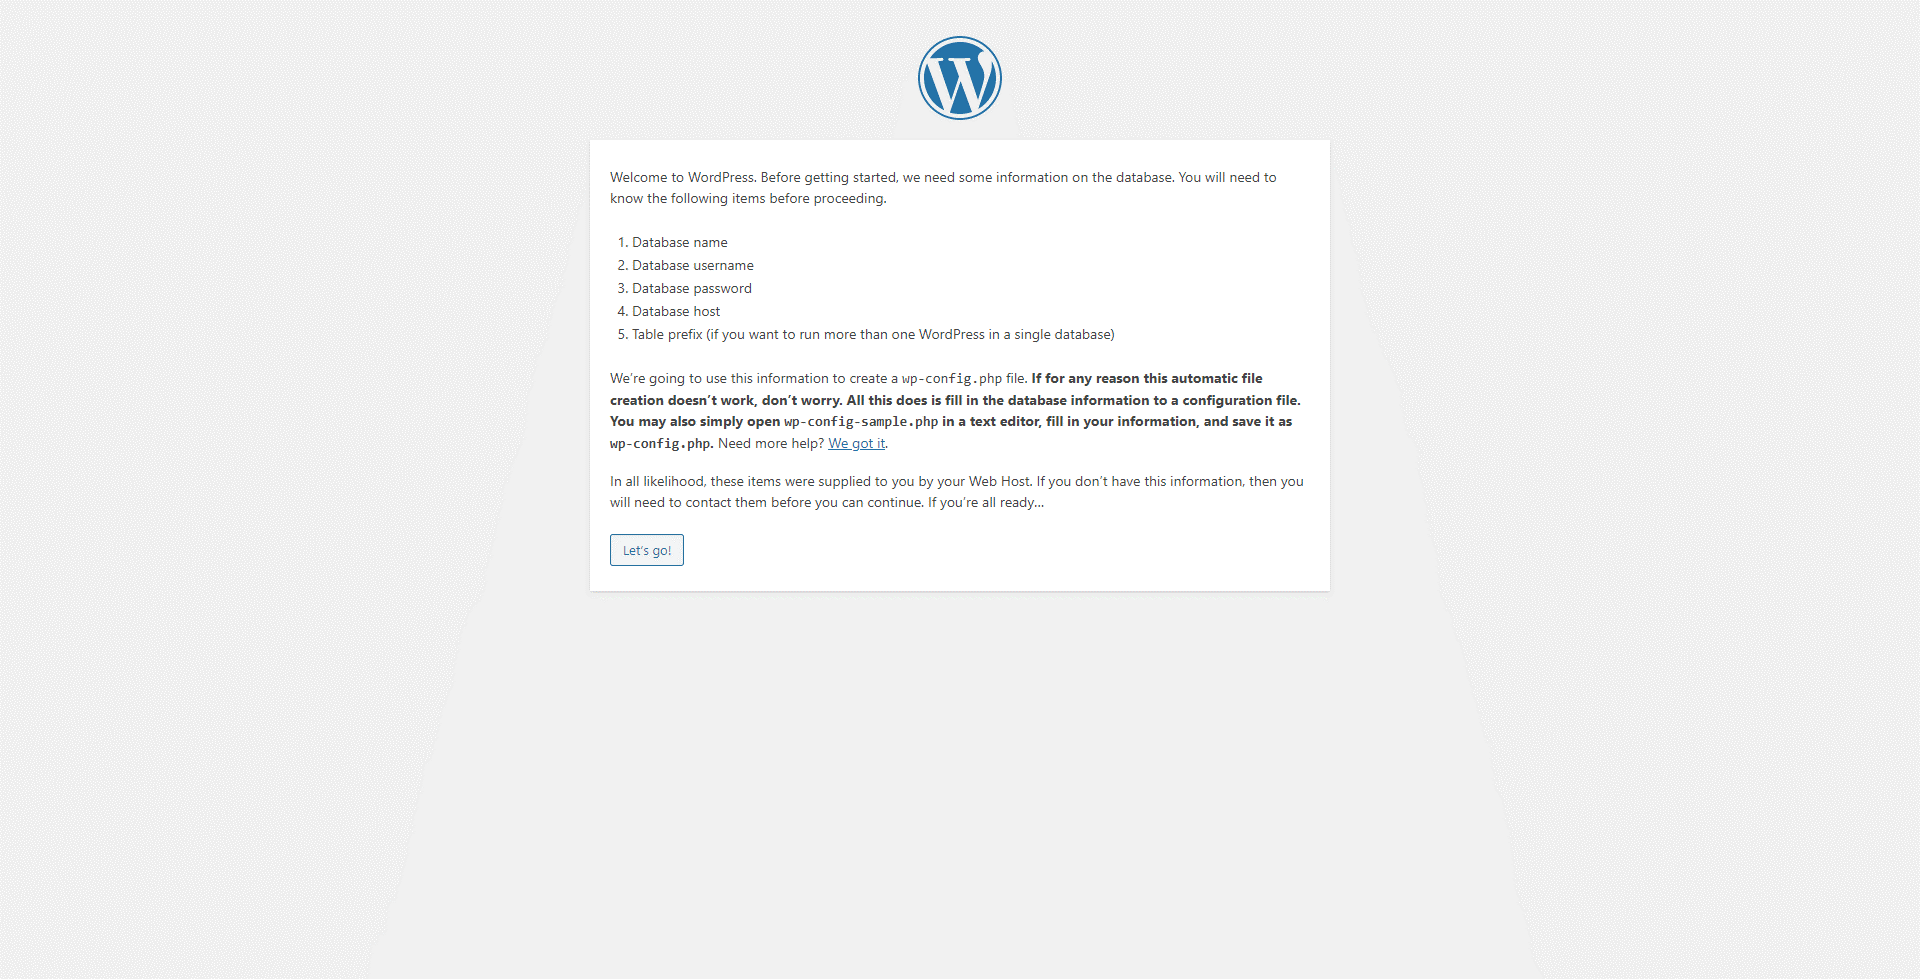
You’ll first be presented with the language selection screen, which you can leave or change it suit your preference. Click Continue. You’ll then be told to collect the database name, username, password, and host information. Make sure you have it to hand, then click Let's go!
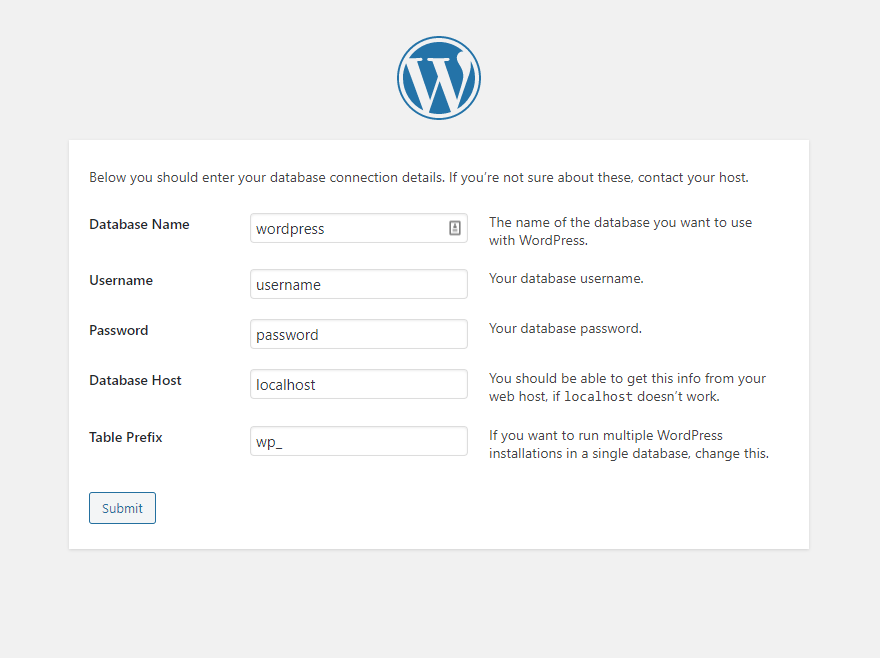
On the next WordPress configure screen, enter the database information you created earlier, leaving the database host as localhost and the tableprefix as wp_. Click Submit.
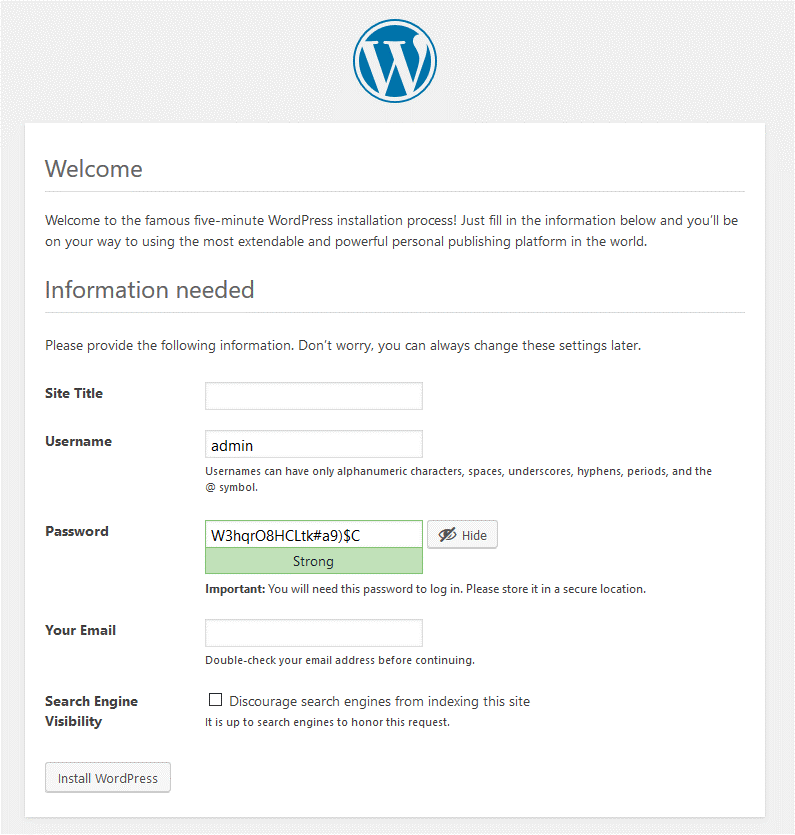
If you entered all your database details correctly, you’ll now be asked to set up some basic site information, such as the title of the site, the WordPress username and password, your email, and the search engine visibility. Type all these and click "Install WordPress".
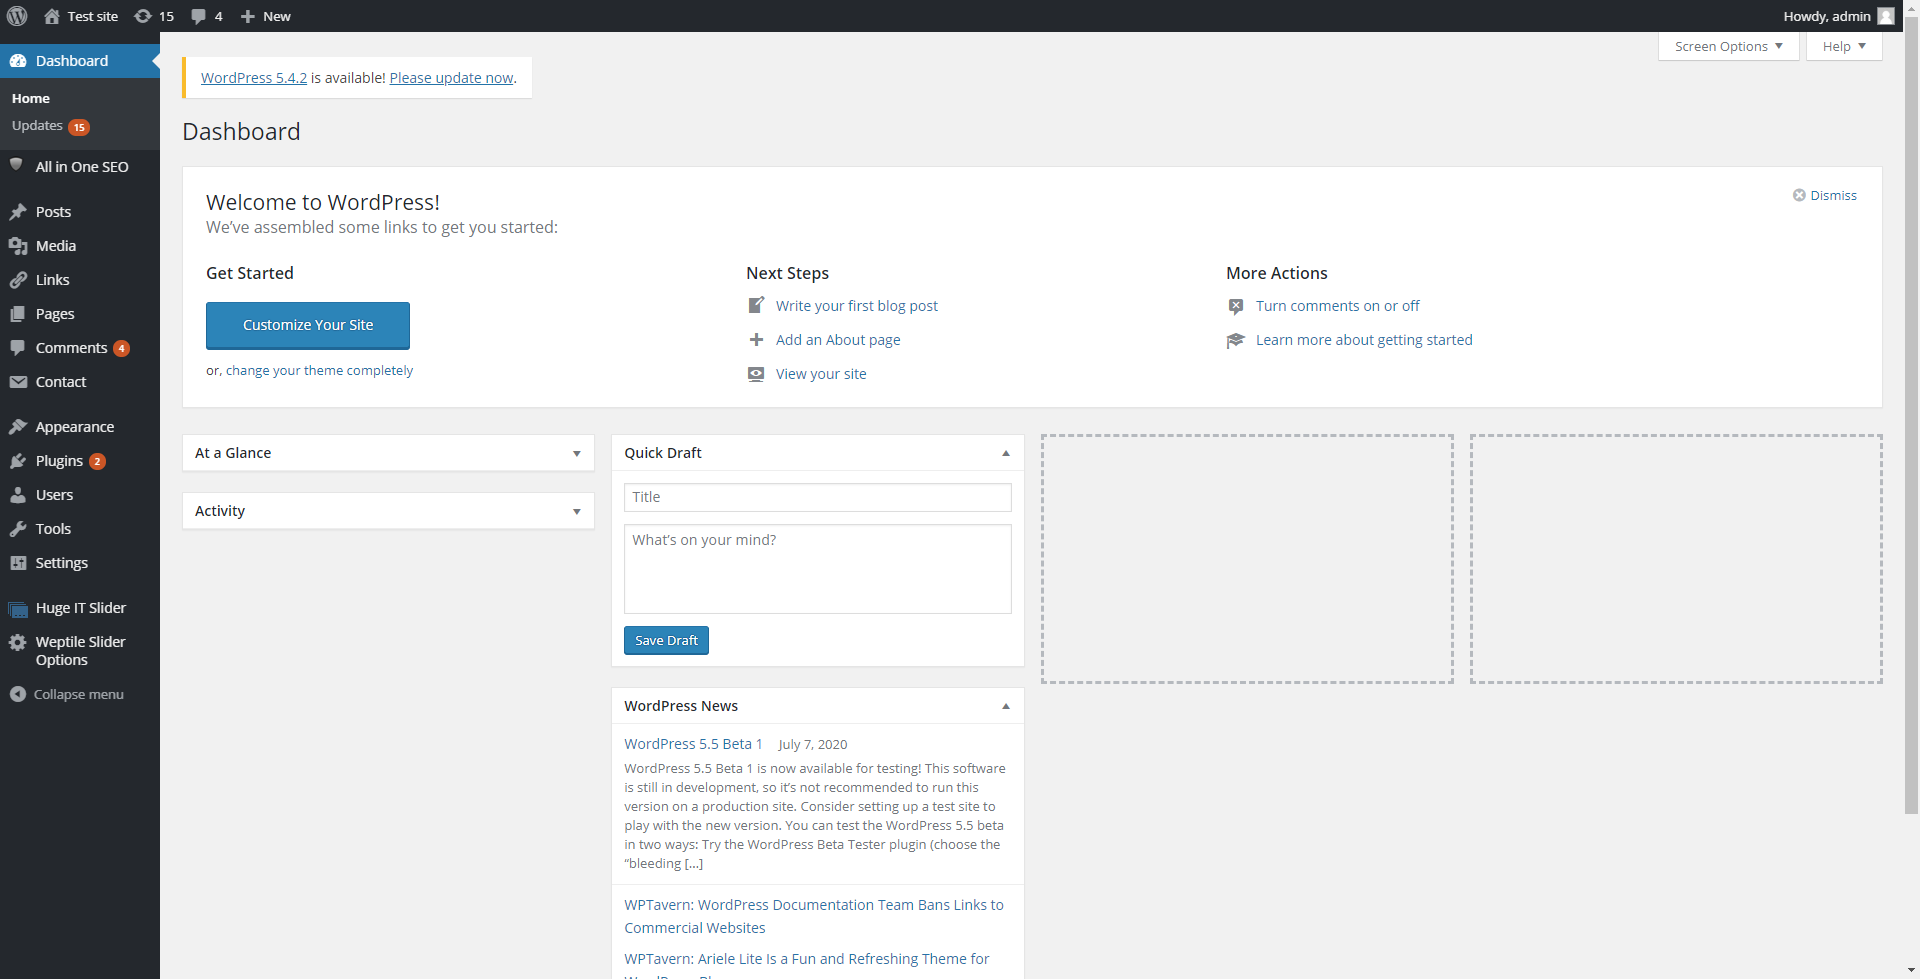
You’ll then arrive at your WordPress dashboard, where you can install a theme, create posts, and add more users to match your preferences.
Sign up for BitLaunch for private, fast WordPress hosting on CentOS 7.