
We've talked a lot about how to get started with your anonymous VPS and the best privacy VPSs on this blog, from how to launch one to which operating system you should choose, the common errors you may experience, and how to connect.
But what do you do after that point – what else do you need to think about before you start developing your app, creating your website, or hosting your game server? This post is going to list a few things that everybody should do after launching their VPS.
1. Update your server and its packages
It's good practice to update your server and its packages before you do anything else on your server. This will ensure that any bugs and security holes that have previously been fixed won't get in the way of whatever task you're planning to do.
You can update an Ubuntu server using:
sudo apt update
sudo apt upgrade
A CentOS 7 server through the following:
sudo yum check-update
sudo yum update
And a Windows server via the Settings > Windows Update interface.
2. Set up Fail2Ban
It doesn't matter what you're using your VPS server for – it's going to come under attack. Bots search through IP addresses for VPS servers and try to brute force the password all day, every day. They don't discriminate between "important" or "unimportant" servers – they're just looking for ones they can get in to.
Fail2Ban is an important tool designed to prevent this. It bans malicious IP and prevents password attempt span, massively reducing the chances that a brute force attempt is successful. You can set it up in a minute or two by following our guide here.
3. Change your RDP/SSH port
Remember those automated attacks we mentioned earlier? They primarily target the default RDP and SSH ports. Change your port, and you'll radically reduce the number of attempts. Fewer attempts means less chance of a successful one and less load on your server.
The default RDP port is 3389 and the default SSH port is 22. If your server is using either of these ports, you can follow the guides below to change it:
- How to change RDP port with Regedit in Windows 10
- Change your server's SSH port using a start up script
4. Make a non-root account
If you just launched your anonymous VPS, chances are you'll be logging straight into your root account on Linux or your Admin account on Windows. We recommend that immediately make a non-root account to run your applications or host your service. Why? Running applications as the root user gives them elevated privileges. If an attacker manages to exploit a vulnerability in that application, they suddenly have the keys to your kingdom.
Further, a bug in an app could end up deleting your system files, or you could personally type a command wrong and break your server. So, only use root for things you actually need root for.
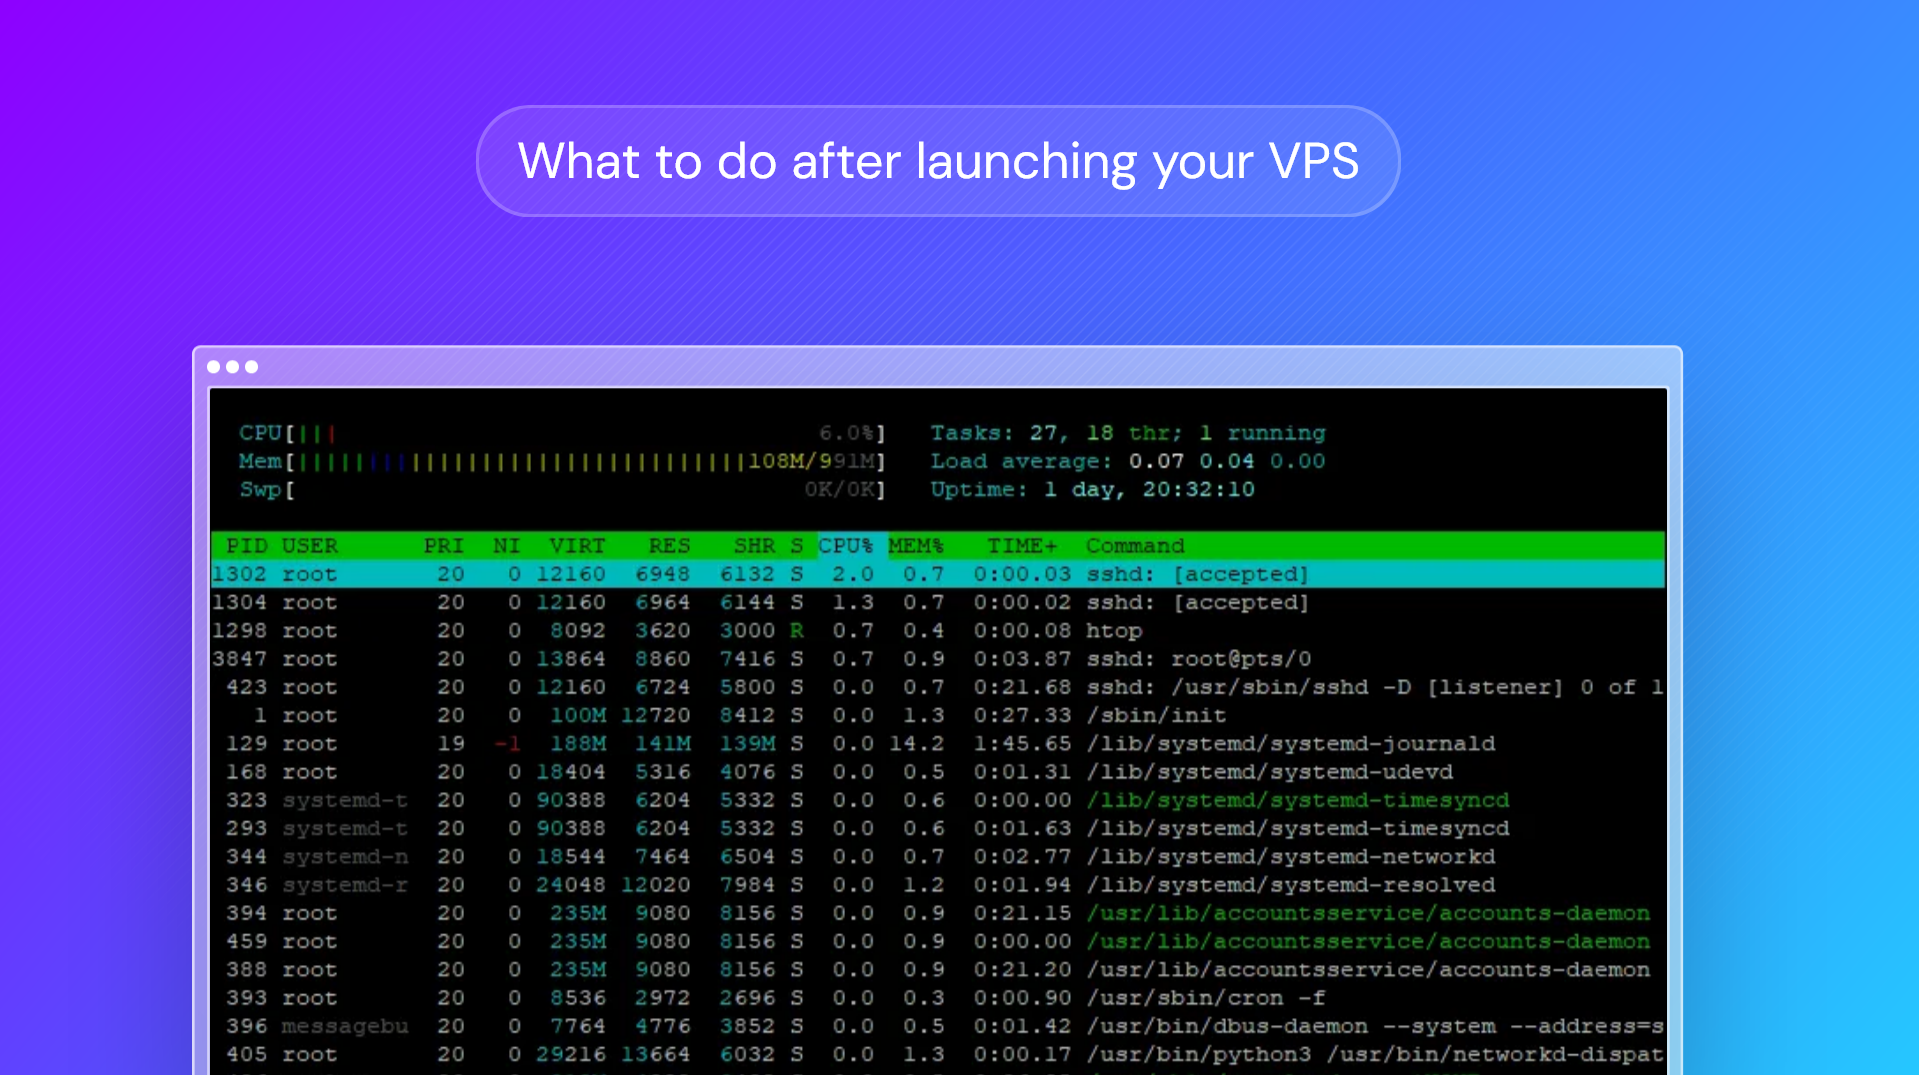
5. Set up server monitoring tools
As a server admin, it's useful to have server monitoring tools available from the very beginning tools that you can utilize to monitor the performance of your server. Keeping an eye on your server's load, disk stats, and network performance from as early as possible will help you to catch irregularities as they occur. Some good command line monitoring tools ubvkyde iostat, htop, and netstat.
6. Point your domain name to your server
If you're planning to use your VPS server for hosting, you'll likely have a domain name. You'll want to point that domain to your server so that your users can type the URL to access your service rather than the server IP. You have two options here:
- Point an A record in your registrars control panel to the IP address of your server
- Point your domain's nameservers to BitLaunch and add an A record to the IP address in your BitLaunch control panel
With that, you should be more or less ready to start using your VPS server to its full potential. For more ideas on what to use your VPS server for, check out this blog.