
Quick Start: TeamSpeak Server
Guide last updated: March 2026
- Download & Extract — Get the server
.zipfrom TeamSpeak (TS3) or GitHub (TS6) and extract it. - Launch — Right-click the
tsserverfile and choose Run as administrator. - Accept License — Read and accept the server license agreement.
- Allow Firewall — Approve any Windows Defender prompts to allow traffic.
- Save Credentials — Copy the Admin Login and Privilege Key from the success popup.
- Prerequisites
- How to set up a TeamSpeak 3 Server on Windows
- How to set up a TeamSpeak 6 server on Windows
- How to configure your admin TeamSpeak user
- Local hosting or VPS for TeamSpeak?
- Choosing your TeamSpeak server specs
- Troubleshooting and FAQs
The VoIP service TeamSpeak has seen a resurgence in recent months after Discord came under fire for its age-verification implementation. After previously leaking the IDs of 70,000 Discord users in a cyberattack on one of its partners, the company announced it would roll out age verification to everyone. Then, in February, another partner, Persona, was caught with thousands of files accessible on the open net, privacy-invasive practices, and US government links.
TeamSpeak is proving an excellent alternative. For enterprises, hosting a TeamSpeak server means cheaper on-site and off-site communication, while gamers find its client to be smaller, more resource-efficient, and less bloated, with better privacy on top. It uses proprietary technology for its voice over-internet (VoIP) communication, and like other solutions, features various separate ‘channels’ where users can talk in separate groups. This makes it ideal for larger fan communities, companies, and even schools.
While TeamSpeak used to be a little dated, the all-new TeamSpeak 6 client, with its matching TeamSpeak 6 server, features a completely revamped UI, AI-noise cancellation, and one free, hosted server per user. For a full breakdown of the differences, see our TeamSpeak v Discord blog.
Both TeamSpeak 3 and 6 are easy to set up on Windows — we'll show you how step-by-step below.
Looking for Linux instead? See our dedicated guide on how to create a TeamSpeak server on Linux.
Prerequisites
There are a couple of prerequisites for running a TeamSpeak 3 or TeamSpeak 6 server on Windows:
- A Windows computer or a Windows RDP VPS with credential access (learn how to connect to RDP)
- A bare minimum of an SSE2 capable CPU, 1 GB RAM, and 15 MB storage
- Windows 8.1 or newer
- Administrator permissions
Check out our guide on how to set up and manage a VPS to get started.
TeamSpeak firewall ports cheat sheet
Ports 9987, 30033, and 10011 are the main ports to open, since they'll get essential features like voice, file transfer, and ServerQuery (admin tool) working. Ports 10022, 41144, and 2010 are optional, but will deliver some additional functionality such as ServerQuery over SSH.
Here's a breakdown of every port and what it does:
| Port | Protocol | Service |
|---|---|---|
| 9987 | UDP | Voice |
| 30033 | TCP | File transfer |
| 10011 | TCP | ServerQuery (raw) |
| 10022 | TCP | ServerQuery (SSH) optional |
| 41144 | TCP | TSDNS optional |
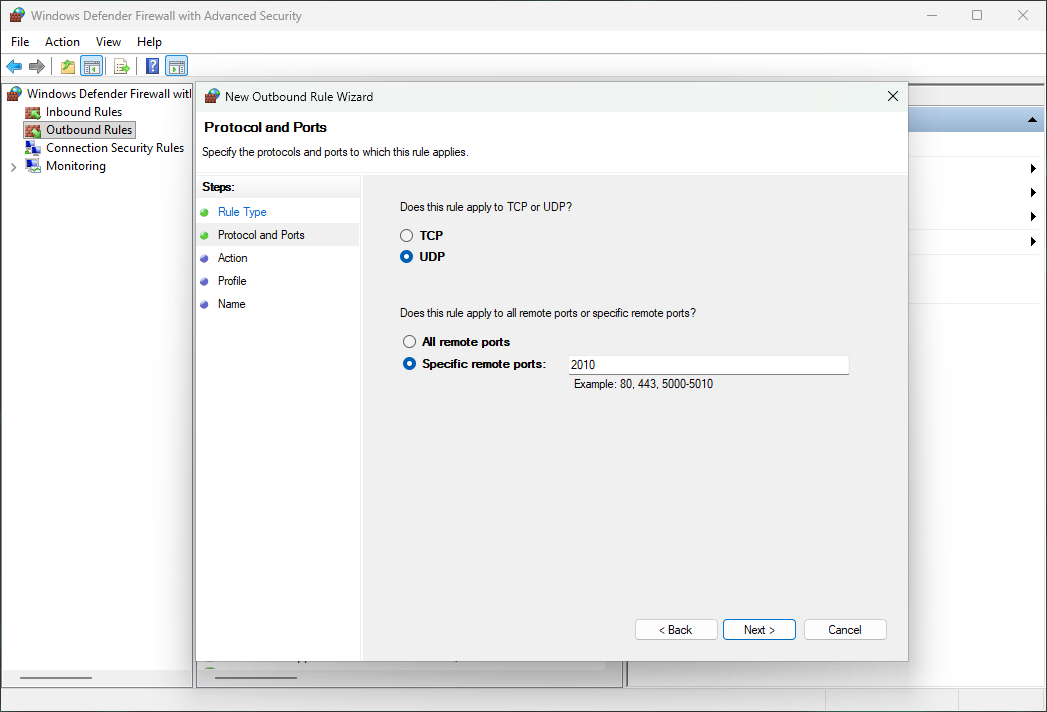
| 2010 | UDP | Weblist optional · outbound only |
The first three ports will be taken care of if you press "Yes" to the firewall prompt during your TeamSpeak setup. For the others, you'll want to search for "Windows Defender with Advanced Security" in your Start menu and add an inbound/outbound rule.
How to set up a TeamSpeak 3 Server on Windows
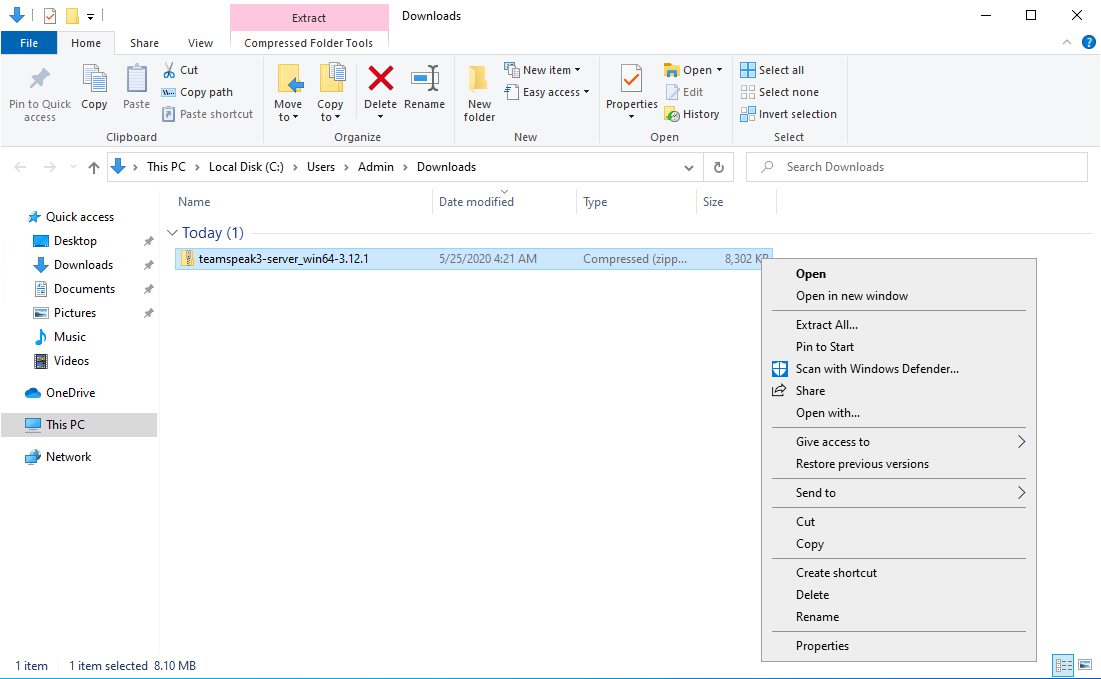
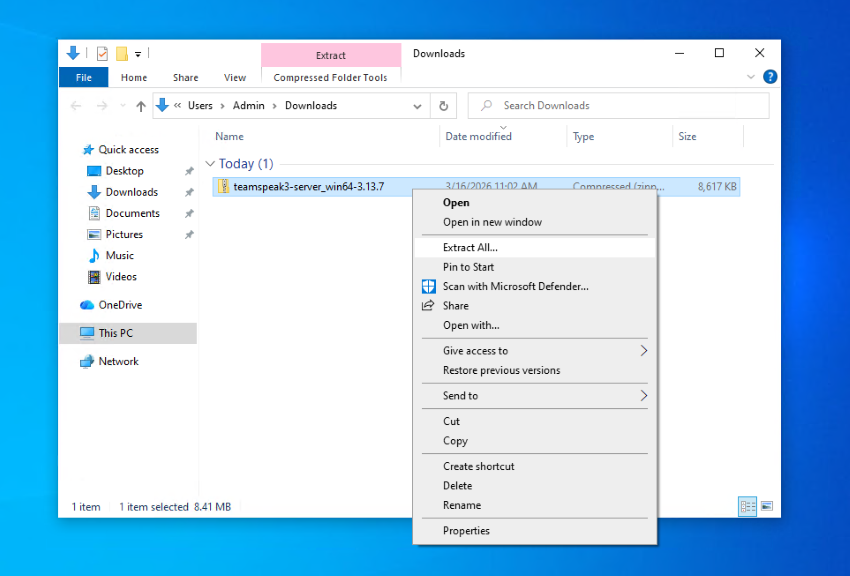
- First, download the TeamSpeak Server on your Windows Server install or VPS. You can find the official versions here. Right-click the downloaded .zip file and press "Extract All..."
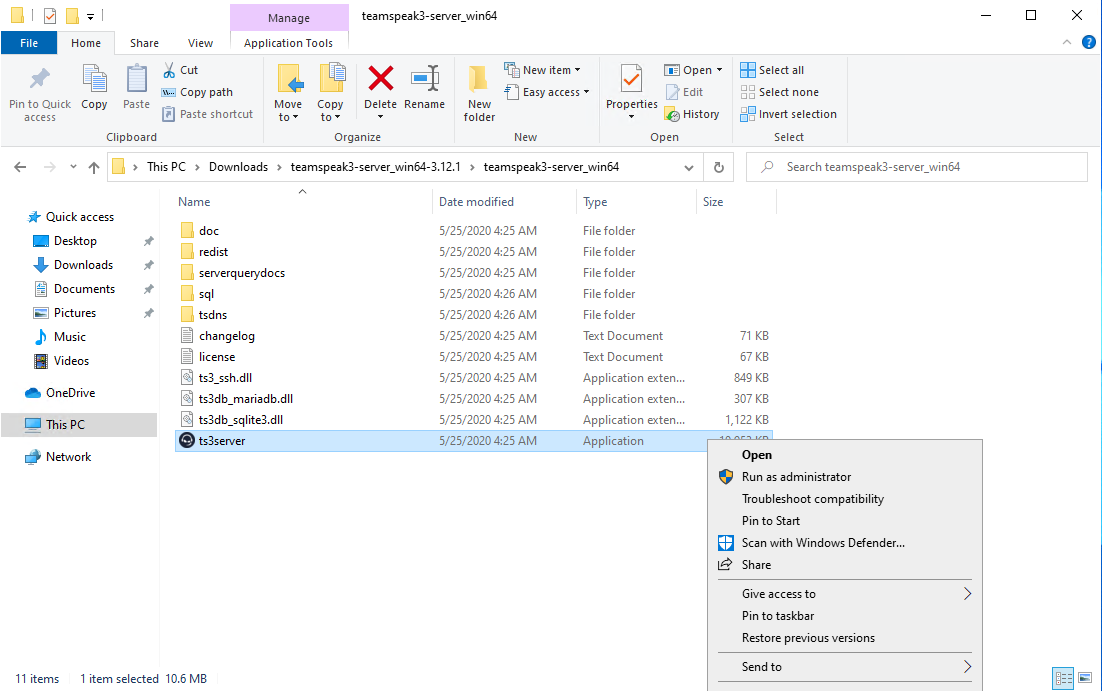
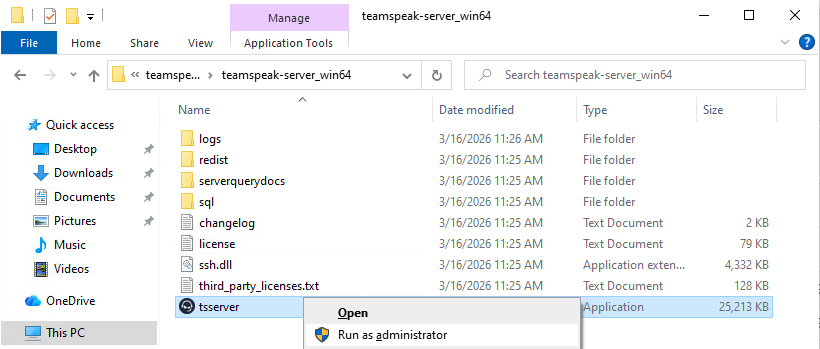
- In the extracted folder, right-click the application and choose ‘Run as administrator’.
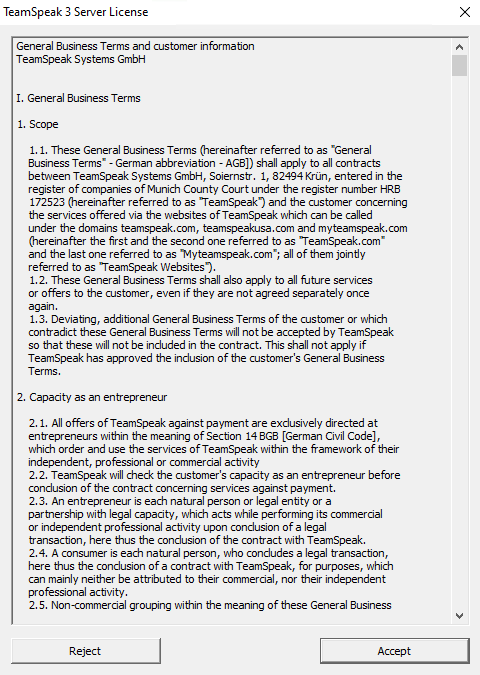
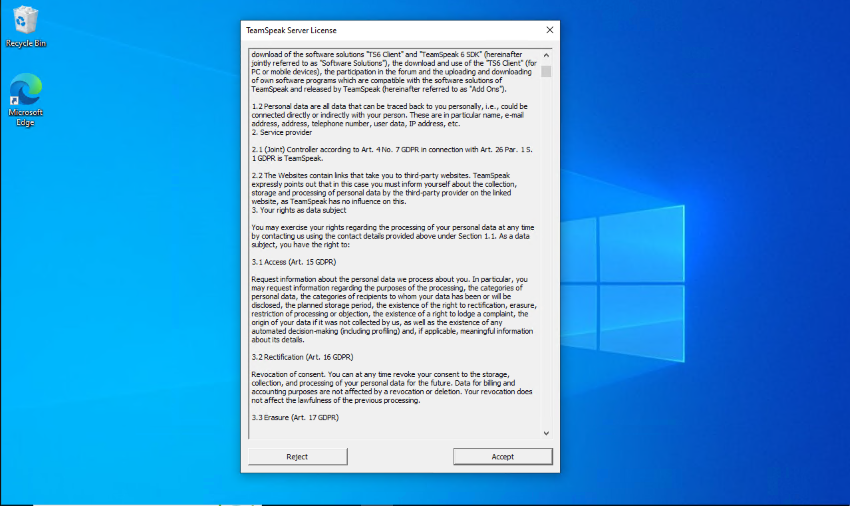
3. Accept the TeamSpeak 3 Server License, taking note of any necessary information.
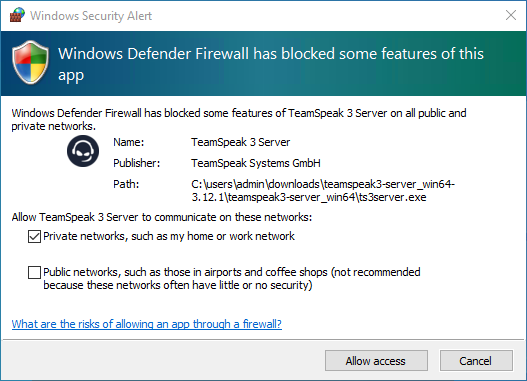
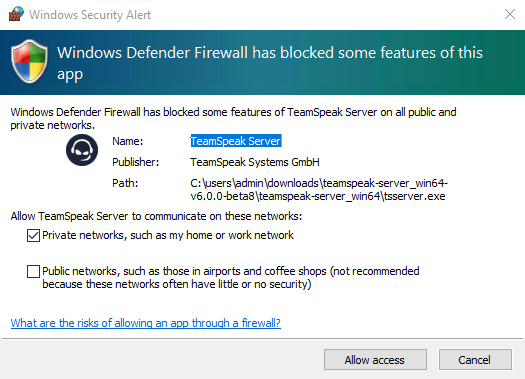
- Accept any Windows Defender Firewall prompts to ensure your server will be able to properly send and receive traffic from the outside world.
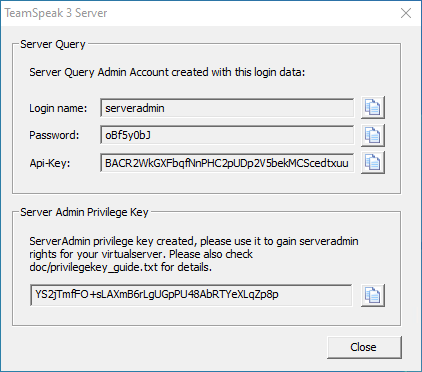
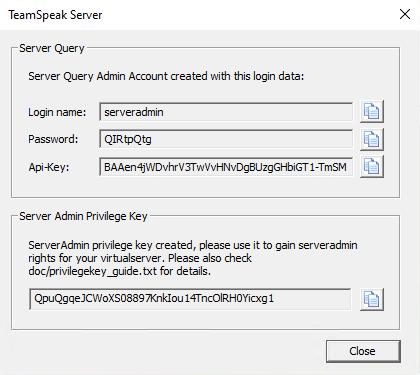
- The launch of the resultant TeamSpeak 3 Server window indicates a successful setup. You can now take note of the Server Query Admin Account login info and the Admin Token for use in the client.
How to set up a TeamSpeak 6 server on Windows
- Since TeamSpeak 6 is still in beta, you can download it from its official GitHub release. Choose the zip file with win_64 in its name, then right-click it and press "Extract All" once downloaded.
- Enter the extracted folder, right-click on the file named "tsserver" and press "Run as administrator".
- Read the TeamSpeak 6 server license and press "Accept".
- Press "Allow access" on any Firewall prompts to ensure your server can communicate with the outside world.
- If your server installation completed successfully, you'll see the "TeamSpeak Server" window below with your admin account details and privilege key. You can provide this info to your TeamSpeak 6 client to get started.
How to configure your admin TeamSpeak user
The final part is to start your TeamSpeak client and enter your admin details to ensure you have control over your server:
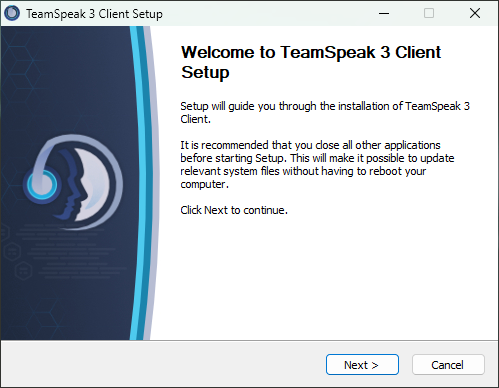
- Download the TeamSpeak client and follow the wizard to install it
- Once the client launches, press the "Connect" button and enter the following:
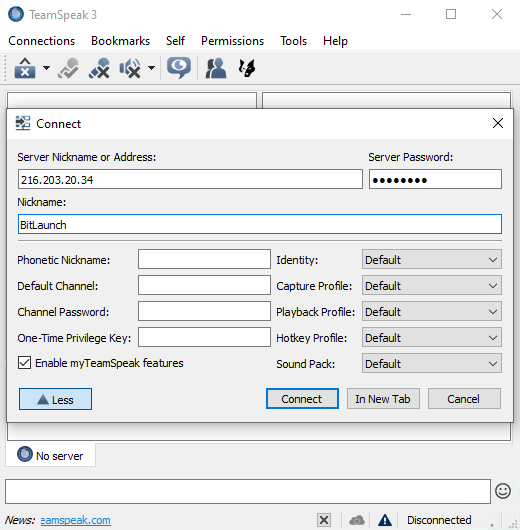
- Server Nickname or Address: Enter your VPS server's IP address (found in your control panel) or if you're hosting locally (not recommended), your public IP.
- Server Password: Copy and paste the password from your server panel.
Press "Connect" to join the server.
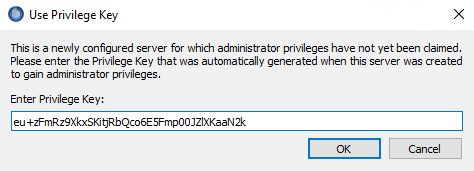
- Next, paste the privilege key from your server panel and press "OK". You can now start inviting people to your server with full permissions to manage them
Local hosting or VPS for TeamSpeak?
One of the great things about TeamSpeak is its minimal minimum requirements, which make it absolutely feasible to host at home for small groups. At 1 GB RAM and 15 MB storage, you can feasibly run it on a Pi or an old laptop. Our opinion is that this may be fine for a small group, but we recommend using a VPS instead for a few reasons:
- Opening incoming ports exposes your home network to the internet. Since TeamSpeak does not hide your IP from connected users, it could be exploited to launch a DDoS attack that takes down your home network. Additionally, unless you set it up on a separate VLAN or DMZ, other computers on your WiFi could be impacted if your server gets compromised. For more on locking down your server, see how to secure your anonymous VPS.
- CGNAT and dynamic DNS can be a massive pain point. Many consumer ISPs, especially in the EU, enable these, leading to issues connecting to the server or frequent IP address changes that you have to communicate to users unless you pay for a static IP or buy a domain/DDNS service.
- Uptime will be impacted. VPS servers run in datacenters that do everything they can to prevent their servers from going down. Your home server is subject to power cuts, network/ISP outages and so on.
Aside from maybe CGNAT (depending on your ISP), you can mitigate or live with these downsides, especially for a small group. However, you must accept that it may be frustrating and likely won't be frictionless. Paying $5-10/month for a VPS will save you a lot of headaches down the line, ensure high availability, and allow you to scale with your server population.
Choosing your TeamSpeak server specs
If you're stuck choosing a VPS server config, here are some very general guidelines based on your concurrent user count:
| Use Case | CPU / RAM |
|---|---|
|
Small Friends / squad 5–10 concurrent · 32 slots
|
1 vCPU / 1 GB RAM |
|
Medium Guild / clan 30–50 concurrent · 64 slots
|
1 vCPU / 2 GB RAM |
|
Large Community server 100–150 concurrent · 256 slots
|
2 vCPU / 4 GB RAM |
|
Enterprise Multi-server / esports 250–500 concurrent · 512+ slots
|
4 vCPU / 8 GB RAM |
These configurations assume that you aren't using TeamSpeak as a file-sharing server or something similar. If users are regularly sharing large files, you'll need more storage. For large deployments, you should look at using MariaDB over SQLite.
Running a game server too? Migrate to one of our gaming VPSs for better performance and stability.
Troubleshooting and FAQs
There are several common issues and questions that arise after configuring a TeamSpeak server. Before you start searching around or contact support, read below.
Non-local users can't connect
This typically because either UDP 9987 (or whatever custom port you set) is not open on your firewall or router. If you're hosting locally, particularly if you're in Europe, it may also be that your ISP is using CGNAT. In this case, you'll need to talk to your ISP and see what you can arrange, or use a VPS server.
Non-local users used to be able to connect, but now they can't
If you're hosting locally, it's almost certainly that your IP address has changed. This is common practice from residential ISPs and often happens after a router restart but can also just occur periodically. It could also be that your local IP address has changed and the port forwarding rules on your router are therefore broken.
Check to see whether your public IP has changed using irm ipinfo.io/ip in PowerShell, and your local IP with ipconfig and adjust accordingly. Ideally, though, look into getting a static IP address.
TeamSpeak users can't upload files
In 99% of cases this is because TCP 30033 is not open on your firewall or router. It's also possible that your server has run out of disk space.
How can I tell if the issue is my Windows Firewall or my Router?
Open your TeamSpeak client on the same Windows machine hosting the server and connect using localhost or 127.0.0.1. If you get in, the server software is running perfectly. Next, try connecting from a different device (like your phone on Wi-Fi or a laptop) using your host PC's local IPv4 address (e.g., 192.168.x.x). If that fails, Windows Firewall is blocking it. If it succeeds, your router's port forwarding (or your ISP) is the culprit.
I get Exception Code: 0xc0000409 and a server crash when I try to upload files
This is a known bug with TeamSpeak 6 on Windows where the server process drops during the database update phase of a file upload. Until it is officially patched, do not use the client UI to upload icons. If your server is currently trapped in a crash loop, you have to manually navigate to files/virtualserver_1/internal/icons/ in your Windows file explorer and delete the uploaded image file. Once removed, tsserver.exe will start normally again.
Incorrectly running system clock error
This warning means your server's system time jumped forward or backward by more than a few seconds, which can cause connection instability and database issues. This usually happens on VPS instances where the hypervisor drifts or after a suspend/resume cycle.
To fix it, open PowerShell as administrator and run w32tm /resync to force a sync with your configured time server. If that doesn't work, open Settings > Time & Language > Date & Time and make sure "Set time automatically" is toggled on.
Unable to bind network port
This error means TeamSpeak can't claim one of the ports it needs on startup — usually because another process is already using it, or a previous TeamSpeak instance didn't shut down cleanly and left a stale PID file. First, check if something else is occupying the default voice port by running sudo ss -ulnp | grep 9987 (and sudo ss -tlnp | grep 30033 for file transfer). If you see another process listed, stop it or configure TeamSpeak to use a different port via the ts3server.ini file.
Need a fast, reliable, and private VPS to install TeamSpeak server? Sign up for BitLaunch and make use of our free trial.