
VNC, aka Virtual Network Computing, is a useful tool for users who aren't quite used to the terminal-based interfaces of most servers. With the pairing of a VNC server and VNC viewer, you can use your local keyboard and mouse to interact with your server via a graphical user interface (GUI).
Setting up, installing, and configuring VNC is relatively easy. Though you'll have to run quite a few commands to get going, the advantage is that you won't have to use the command-line-based interface after that point.
Today, we're going to show you how to install VNC on Ubuntu 20.04 and then how to use a VNC viewer on a Windows 10 client PC to connect to it. First, though, you should be aware of some pre-requisites:
- An Ubuntu 20.04 server with a non-root admin user and configured firewall (need one quickly? Sign up to BitLaunch).
- A local PC from which you can install a VNC client (we'll cover options for Windows 10/11, macOs, and Linux below)
How to install VNC Server on Ubuntu
When you boot your Ubuntu server for the first time, you'll notice there's no GUI. Naturally, we're going to need to change that if we want to use it with a UI via VNC.
There are a few options when it comes to VNC servers and desktop environments, but the main lightweight ones are Xfce and TightVNC. These are what we're going to use today.
First, make sure your list of packages are up to date:
sudo apt updateInstall Xfce and its goodies enhancements package:
sudo apt install xfce4 xfce4-goodies
You'll be given the option to choose between gdm3 and lightdm as your display manager. gdm3 tends to be more lightweight, but you may also find it uglier. As we're running on a lower-spec VPS, we're going to choose gdm3 by pressing Enter with it selected.
Now it's time to install TightVNC server:
sudo apt install tightvncserverHow to start and configure VNC server
You can start a VNC server instance at any point with the following command:
vncserverTightVNCServer will ask you to enter a username and password. This is what you'll use later to connect to the VNC instance, so note it down. You'll also be asked to if you want to create a view-only password. This password will let users log in to view a VNC instance, but will disable any of their inputs.
So, with that VNC is running, but it's not much use to us at this point. We need to tell it which desktop environment we want to use, in this case Xfce. This will require a bit of fiddling with config files.
Unfortunately, we can't edit those config files until VNC is stopped. You can quickly kill it with vncserver -kill :1.
Now we can edit the /.vnc/startup file and point it to xfce4:
sudo nano ~/.vnc/xstartupAdd the following to the bottom of the config and press Ctrl + O and Ctrl + X to save the changes:
xrdb $HOME/.Xresources
startxfce4 &
If there's nothing in your xstartup file already, make sure you add #!/bin/bash at the top. You'll also need to make it executable with chmod +x ~/.vnc/xstartup.
Let's restart our VNC server with the localhost option to ensure only connections that start on our server are allowed.
Creating an SSH tunnel
At this point you may be wondering how you're supposed to connect to your VNC server if all connects outside of your remote host are disabled. For this, we can create an SSH tunnel. You'll want to use your local PC for this part.
Let's create the SSH connection by opening CMD on our local Windows PC and entering the following command:
ssh -L 59000:localhost:5901 -C -N -l nonrootuser your_server_ipIf you use PuTTy, you can also add the relevant port to your settings. You can find the Tunnels options under the SSH section and add your details like so:
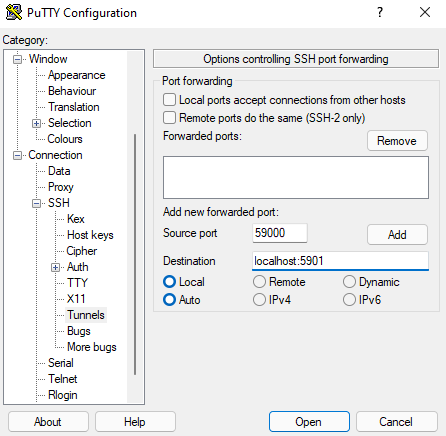
When you connect to your server with PuTTy it will automatically open the tunnel. If you only want to open the tunnel, you can tick "Don't start a Shell or Command at all" under SSH settings.
Connect to your VNC server with a VNC client
With your SSH tunnel open, you should be able to connect to the VNC server with the VNC client on your local PC.
If you don't yet have a client, there are a few options, which vary depending on your OS.
-
Windows:
-
macOS:
-
Linux:
We'll be using TigerVNC for this tutorial as it has wide compatibility, good picture quality, and various options and features.
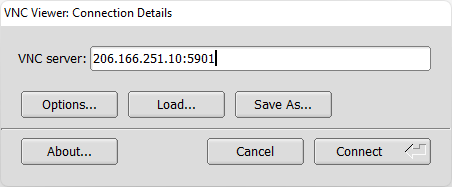
Enter the IP address of your VPS server followed by 5901 and press Connect.
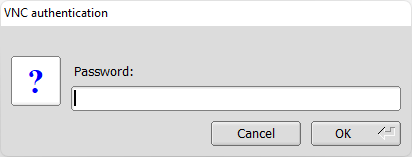
Enter the VNC server password you chose earlier. Note: this should be different to your user password. Press OK.
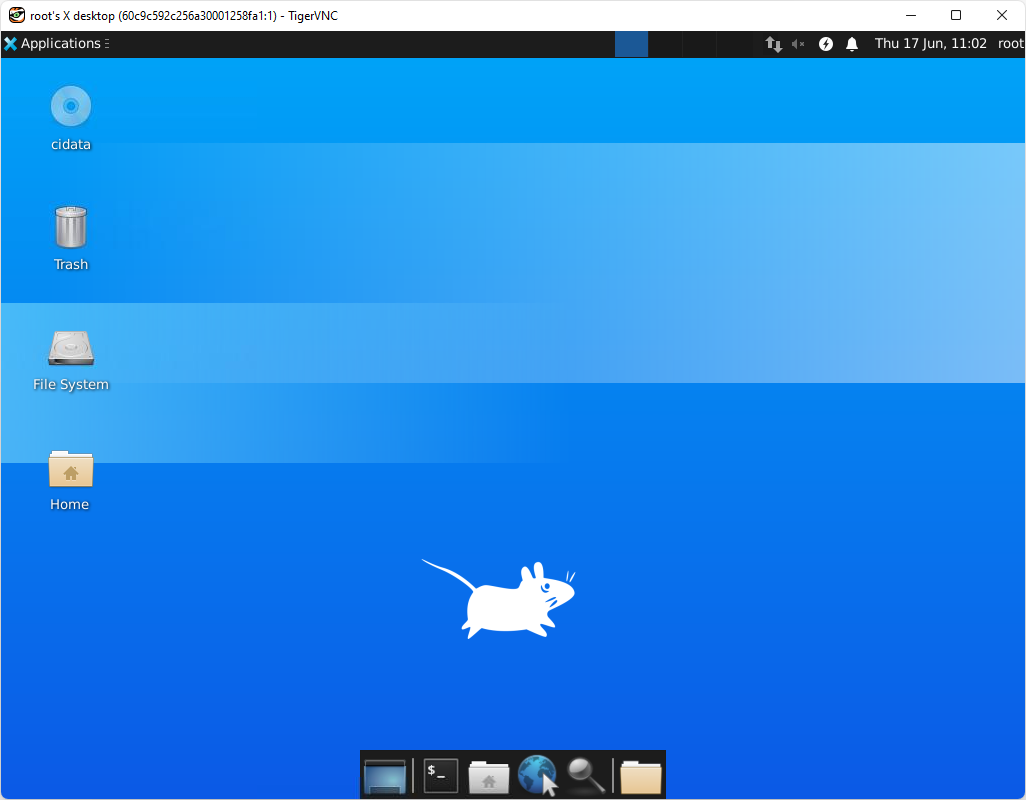
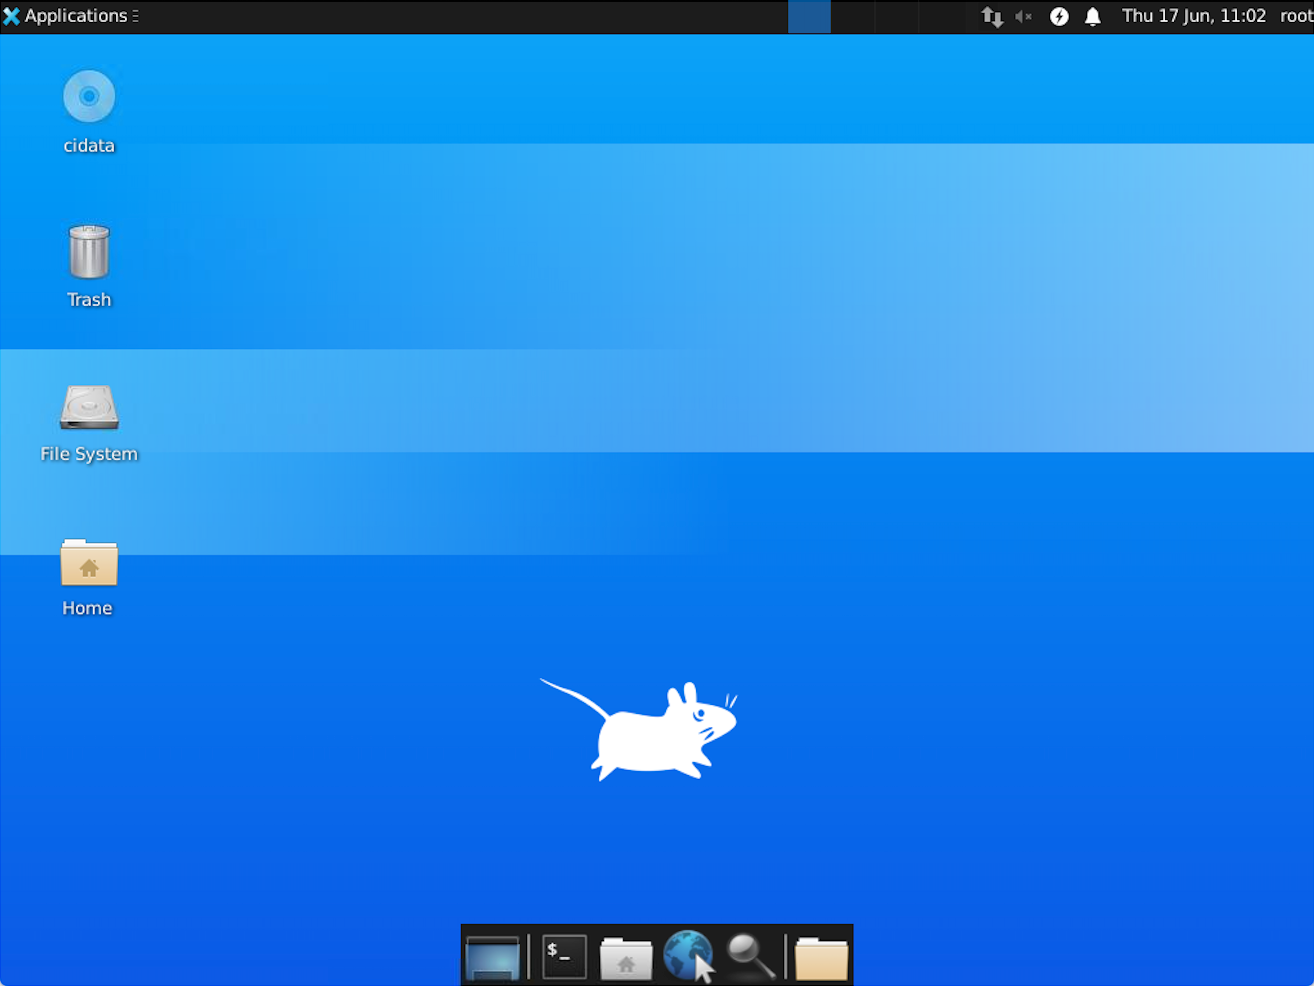
You'll now be taken the desktop of the Xfce (or other) desktop environment and will be able to browse and edit files via the UI. You can also browse the internet, run commands from the terminal, view images, take screenshots, and more.