

Need a privacy-respecting VPS provider to host your mail server? Sign up to BitLaunch today.
Setting up a mail server is generally a complicated and tedious task. With open-source project Mailcow, however, you can get there with little hassle. Today, we're going to show you how to install Mailcow on a VPS, utilizing BitLaunch's new DNS support to simplify things further. As a bonus, we'll also show you how to set up Delta Chat on that server for full messaging services.
What is Mailcow?
At its core, Mailcow is a collection of Docker containers that can be used to run mail server applications like Postfix, Dovecot, and SOGo.
Though you can definitely self-host a mail server without Mailcow, it provides a great, modern interface that makes managing, creating, and deleting mail accounts a breeze.
What do I need for a Mailcow server?
Some basic knowledge of email servers and how they work will be beneficial when it comes to following this tutorial. While we'll try to make things as approachable as possible, some quick research will go a long way.
As well as your brain, you'll want a server to host the mail server on. The requirements really depend on how much mail is going to be flowing through. However, Mailcow lists the minimum requirements as:
| Resource | Amount |
|---|---|
| CPU | 1 GHz |
| RAM | 6 GiB + 1 GiB swap |
| Storage | 20 GiB (not counting emails) |
| Architecture | x86_64 |
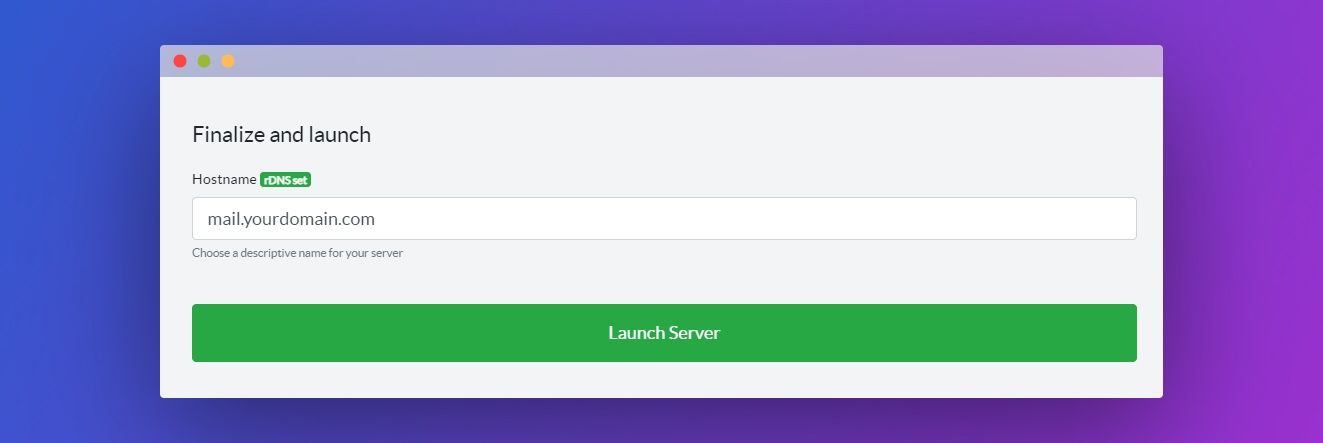
Of course, you also need to think about mail storage, which will vary wildly depending on the amount of mail you receive and how long you want to keep it for. When you set up your server, set the hostname as mail. followed by your domain to enable rDNS for your mail server:
We're going to assume that you already have Docker Compose installed, but if you don't you can follow our quick start guide here. It only takes a few minutes. You should also install Docker, which you can do with the following commands:
curl -sSL https://get.docker.com/ | CHANNEL=stable sh
systemctl enable docker.service
systemctl start docker.service
Finally, make sure you have the right ports open in your firewall so that the mail can operate cleanly:
netstat -tulpn | grep -E -w '25|80|110|143|443|465|587|993|995|4190'Configuring your DNS
If you haven't already, point your domain to BitLaunch's nameservers by following our dedicated help center guide.
For the purposes of this guide, I'm going to pretend my domain is bitlaun.ch and my server's IP is 123.456.78.90. Make sure you replace these values whenever you see them. They'll be indicated with italics where possible.
Create your A record
First, we need to create an A record, which will look something like this:
- Type: A
- Points to: 123.456.78.90
- Hostname: mail
- TTL: default

Once you've entered the information, click "Add Record" next to the TTL.
You can check the record with the following command:
dig mail.bitlaun.ch +noall +answer
Create your CNAME records
Now we need to add the CNAME record for autodiscover:
- Type: CNAME
- Hostname: autodiscover
- Alias of: mail.yourdomain.com
- TTL: default
Once you've entered the details, don't forget to click Add Record on the right-hand side.
You can test it in the same way as the A record:
dig autodiscover.bitlaun.ch +noall +answerWe need to add a CNAME record for autoconfig, too:
- Type: CNAME
- Hostname: autoconfig
- Alias of: 123.456.78.90
- TTL: default
Again, test it with:
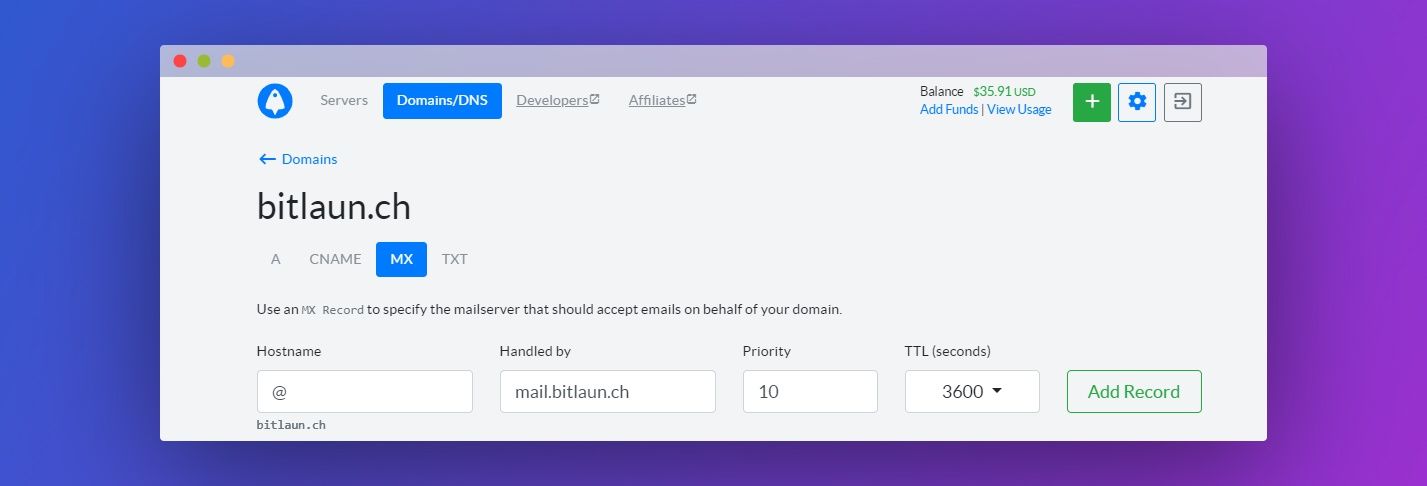
dig autoconfig.bitlaun.ch +noall +answerAdd your MX Record
Our MX record will specify the mail server that will be used to accept mail on behalf of our domain name. As you may have guessed, for us that will be mail.bitlaun.ch:
- Type: MX
- Hostname: @
- Handled by: mail.bitlaun.ch
- Priority: 10 or 0
- TTL: default
Create SPF, DKIM, and DMARC records
While not strictly necessary, it's highly advised that you set up some authentication techniques to prevent phishing attacks. SPF, DKIM, and DMARC are different techniques that prevent spammers or attacks from sending messages on behalf of your domain.
It's worth noting that each of these techniques has a unique way of preventing email spoofing, so it's worth having more than one enabled. To set them up on the DNS side, we need to add some TXT records with specific values. First up is the easiest, SPF.
Create an SPF record
Add the following text record to your root domain:
- Type: TXT
- Value: v=spf1 ip4:123.456.78.90 -all
- Hostname: @
- TTL: Default
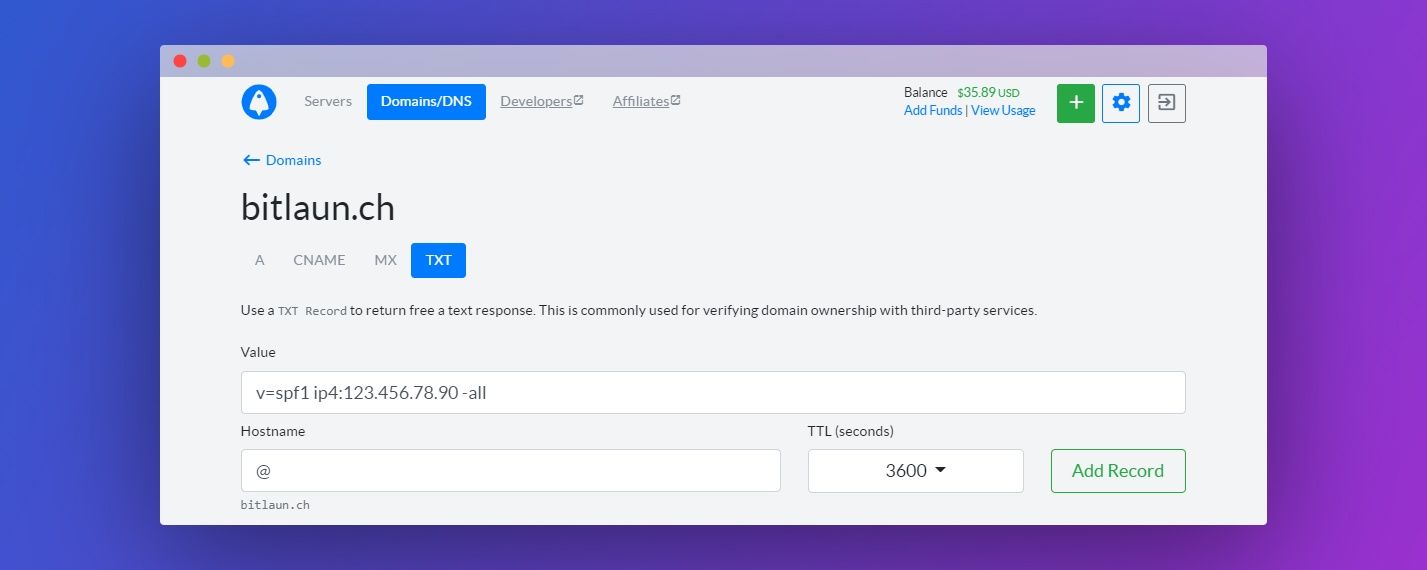
Make sure you remember to change the IP address after ipv4 to your server IP and press Add Record.
Create a DMARC record
The simplest way to configure DMARC is to first set up a free account on dmarcian. On registration, you'll be provided with a record that looks something like this:

Add it in your BitLaunch or registrar DNS panel like so:
- Type: TXT
- Value: v=DMARC1; p=quarantine; adkim=s; rua=mailto:[email protected];
- Hostname: _dmarc
- TTL: Default
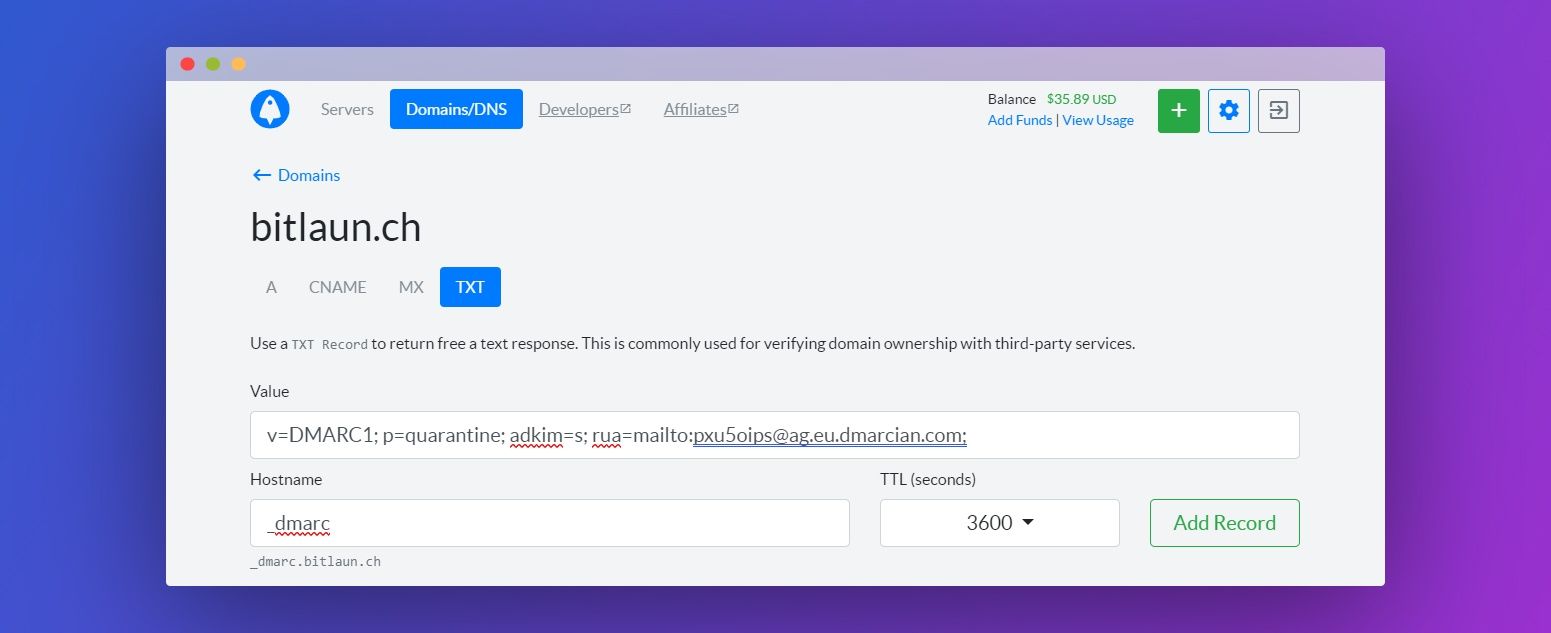
Make sure you change the hostname value to the one in your dmarcian control panel. The mail address will be different for you.
You can test DMARC with the following command once it's set up:
dig _dmarc.mymailserver.com TXT
Create a DKIM record
You won't have all the information to properly set up your DKIM record just yet, as we'll get the public key in the process of our Mailcow setup. You can return to this section afterwards and add this record:
- Type: TXT
- Hostname: dkim._domainkey
- Value: v=DKIM1;k=rsa;t=s;s=email;p=yourpublickey
- TTL: Default

How to install Mailcow on your VPS server
If you haven't already, install git with sudo apt install git or yum install git, then run the following command:
git clone https://github.com/mailcow/mailcow-dockerized && cd mailcow-dockerized
With the repo cloned, we can run its config generation script, generate_config.sh:
./generate_config.sh
In the hostname prompt, enter the hostname you decided on earlier – in our case mail.bitlaun.ch. It will automatically request an SSH certificate from Let's Encrypt so you don't need to worry about setting that up later. You can also choose a timezone and decide whether to install open-source anti-virus ClamAV.
With your config complete, your RSA private key will write to data/assets/ssl-example/key.pem and you can start your Docker containers to initiate your mail server:
docker-compose pull
sudo docker-compose up -d
It's going to take a little while to pull and extract everything. Unfortunately, you can't do much to speed up the process, so now might be a good time to go and grab a drink.
Once it's complete, you should be able to access your Mailcow interface by navigating to your Server IP or domain name in the browser of your local PC.
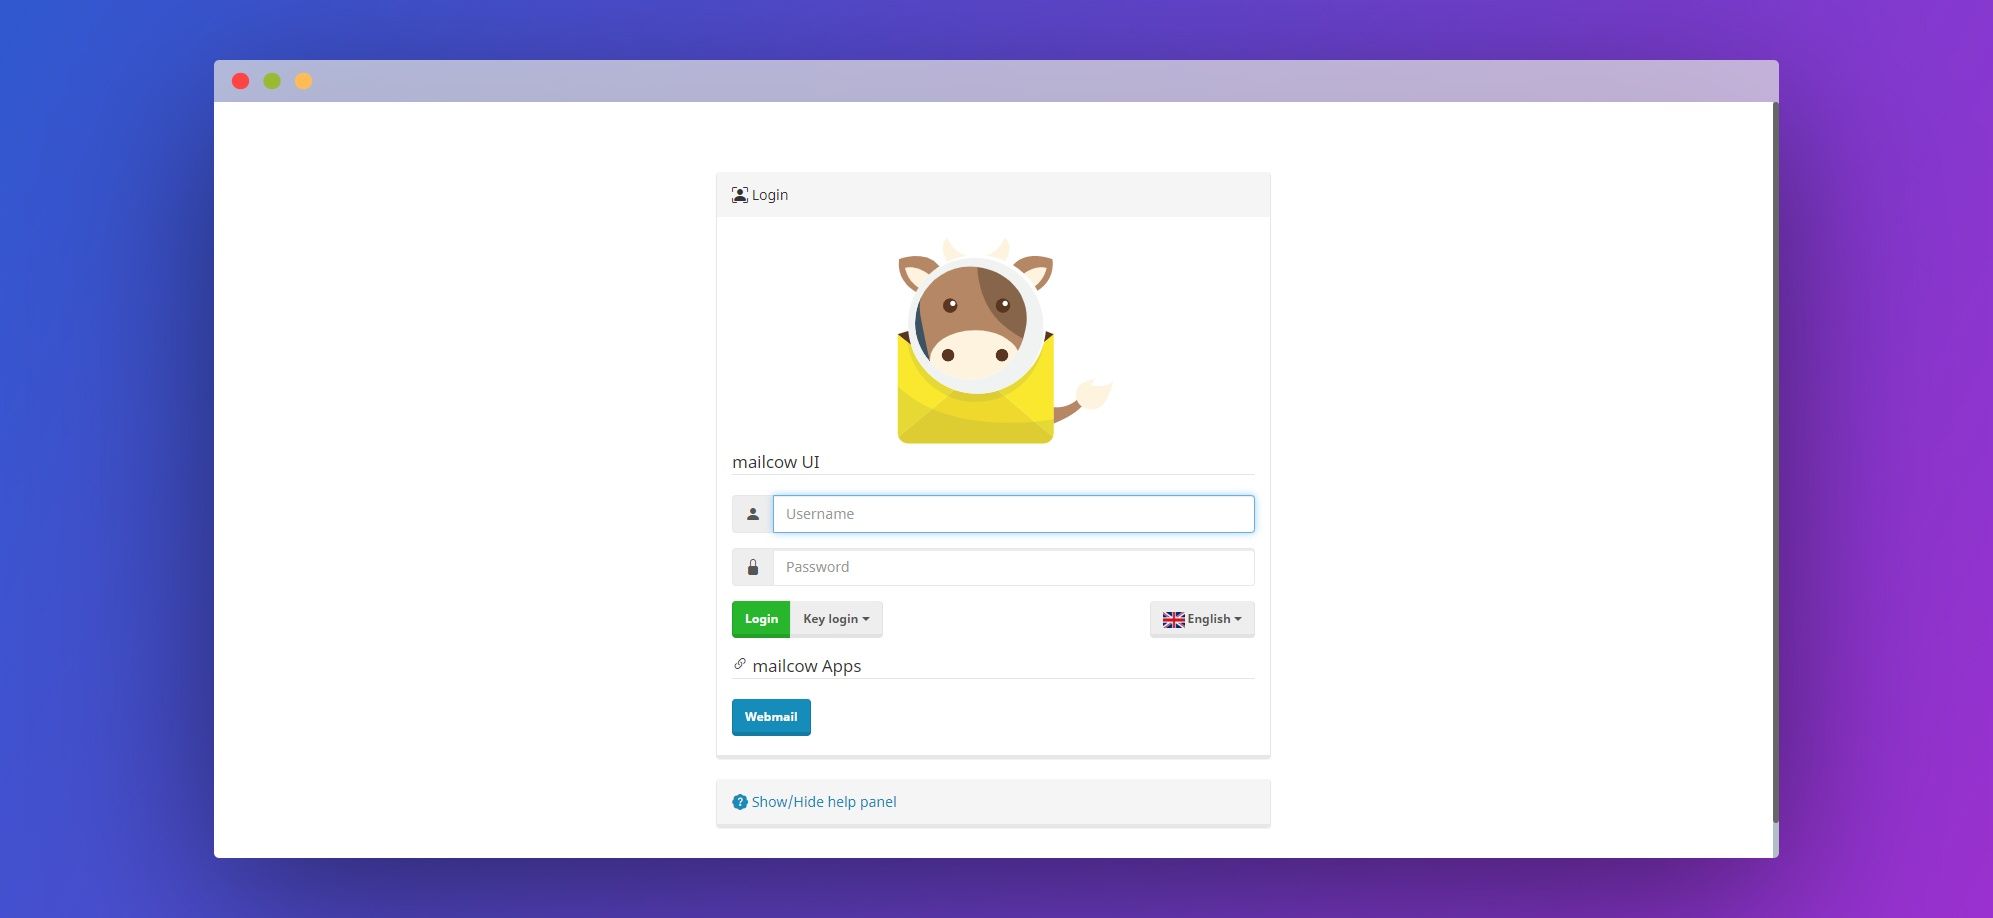
The default login is:
- Username: admin
- Password: moohoo
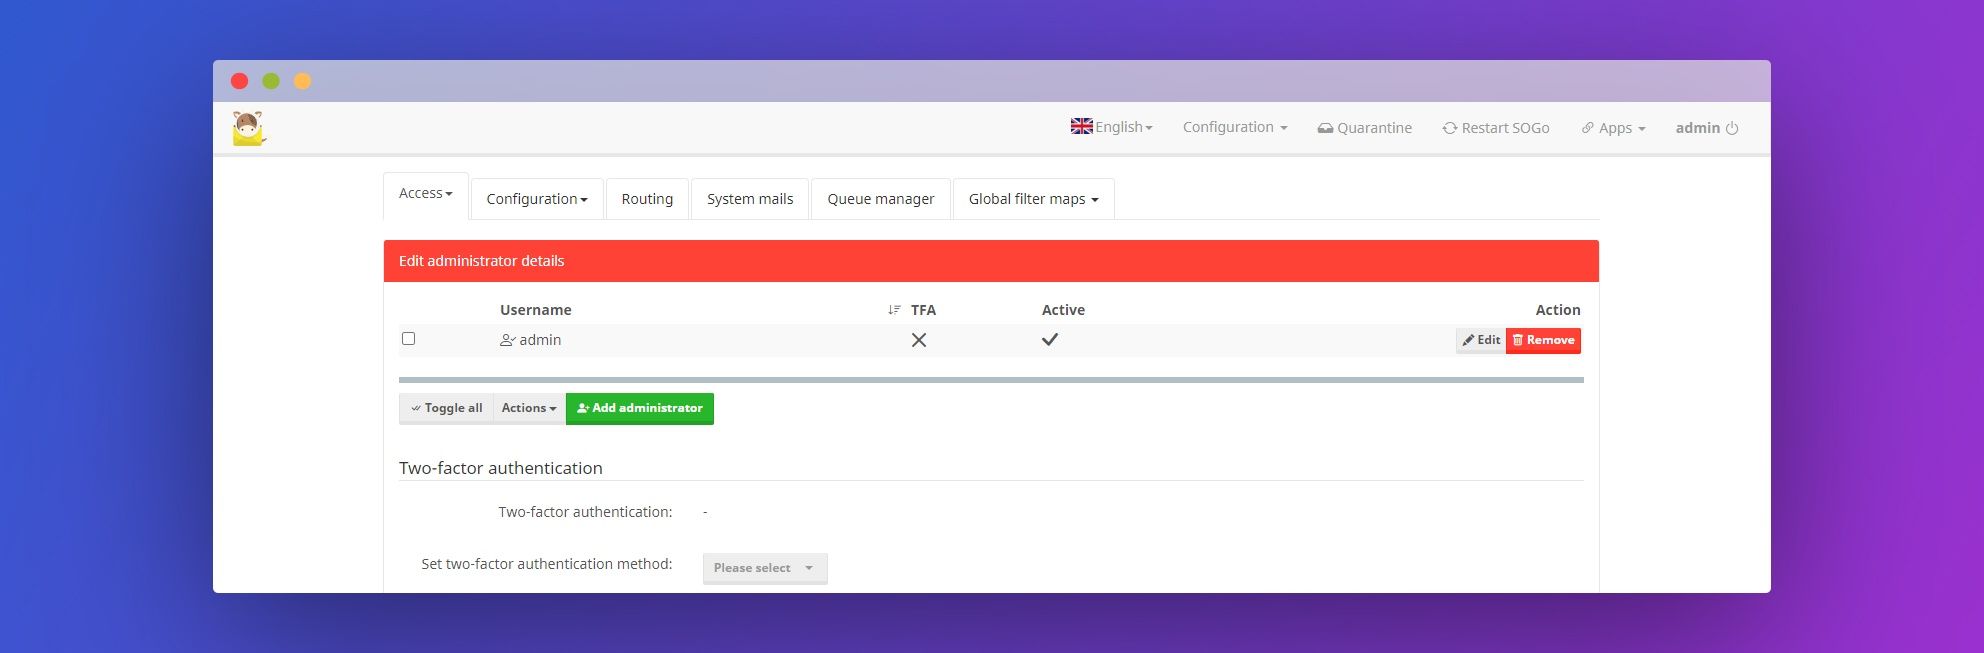
On login, please change your password immediately by pressing the Edit button next to the username. If you fail to do so, you may fall victim to an automated attack. While you're there, it's a good idea to set up two-factor authentication for further protection.
How to configure Mailcow
With that, our mail server is up and running, but we can't really make use of it until we have configured everything. Currently, our domains and mailboxes are empty. Let's change that by selecting Configuration from the top bar and then selecting Mail setup.
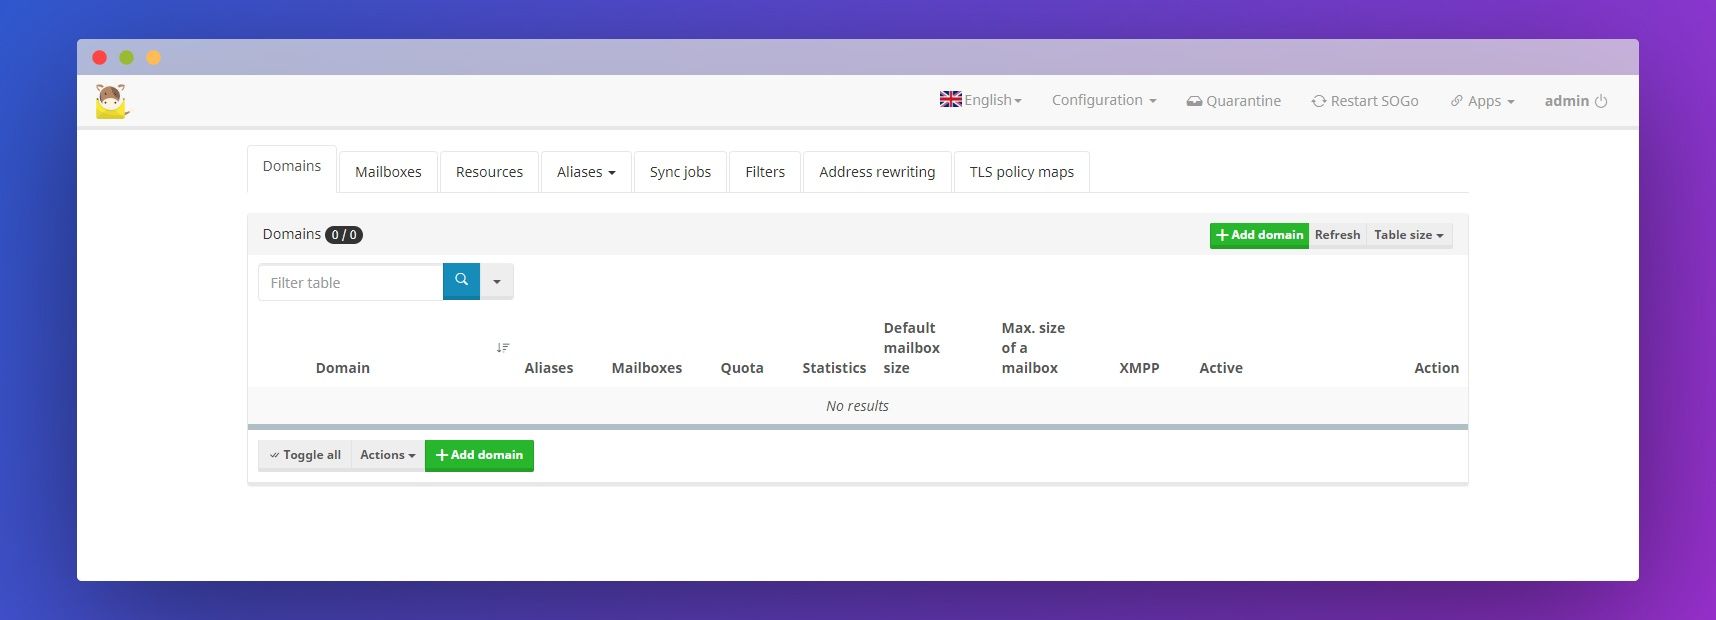
Press the Add domain button and enter your root domain – in our case, bitlaun.ch. Then press Add domain and restart SoGo at the bottom of the page.
Once it has restarted, click Configuration again and press Configuration & Details. Then click the Configuration tab and select ARC/DKIM keys from the sub-menu.
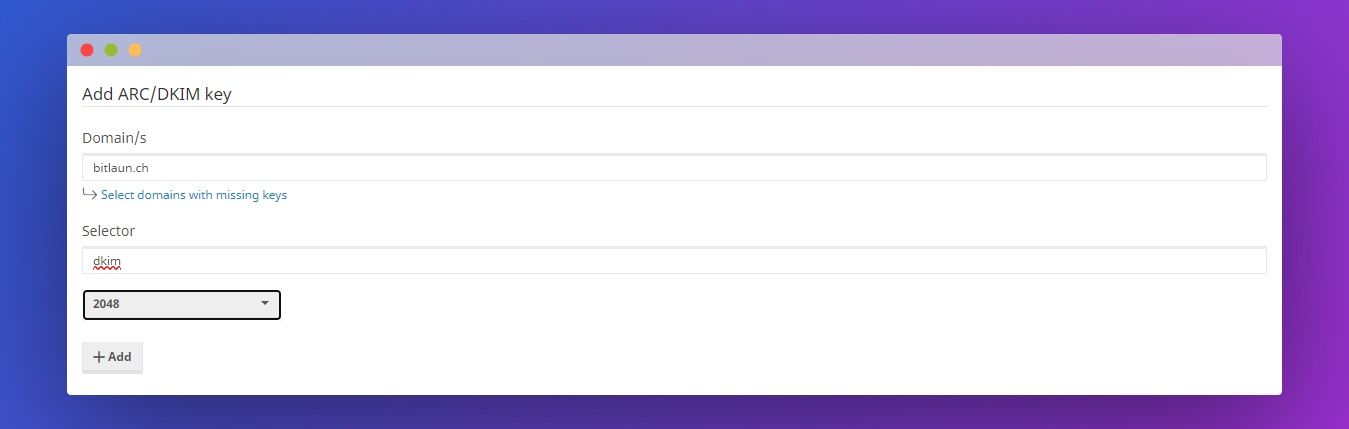
In the ADD ARC/DKIM key section, look for the Doman/s heading. Enter your root mail server domain, in our case bitlaun.ch. Make sure dkim is in the Selector field and change the length to 2048. Press Add underneath your length.
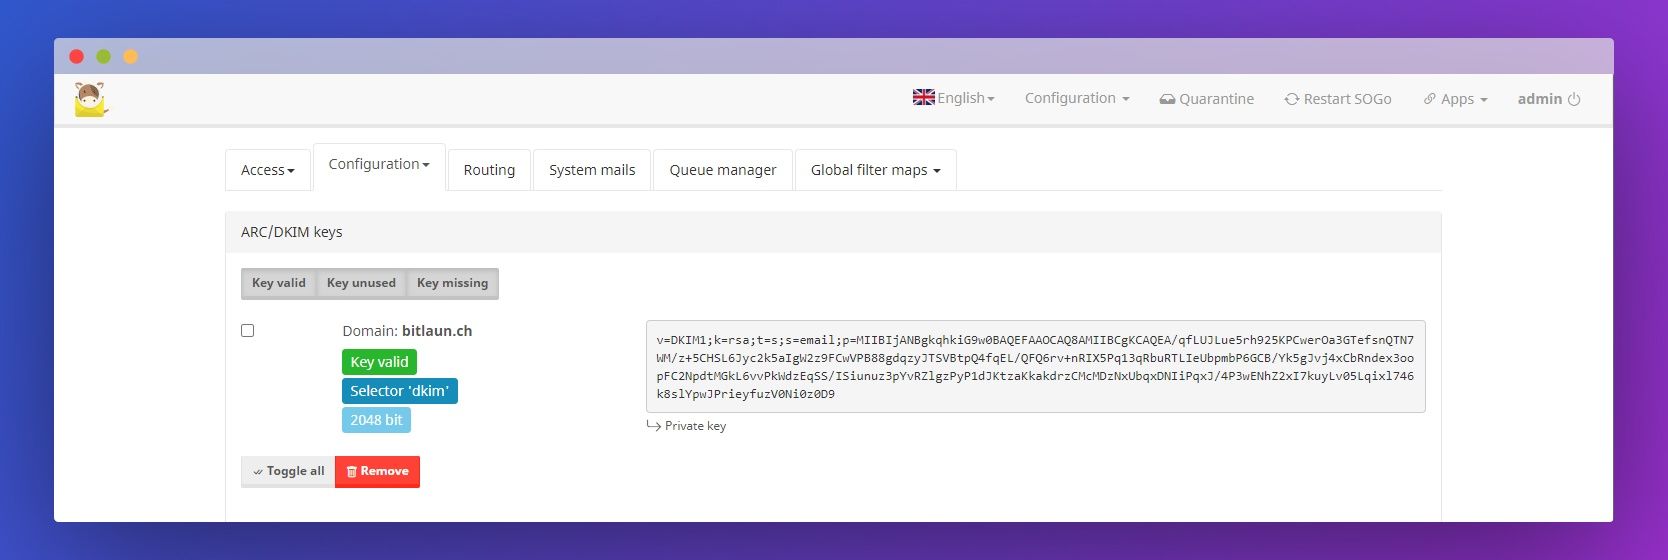
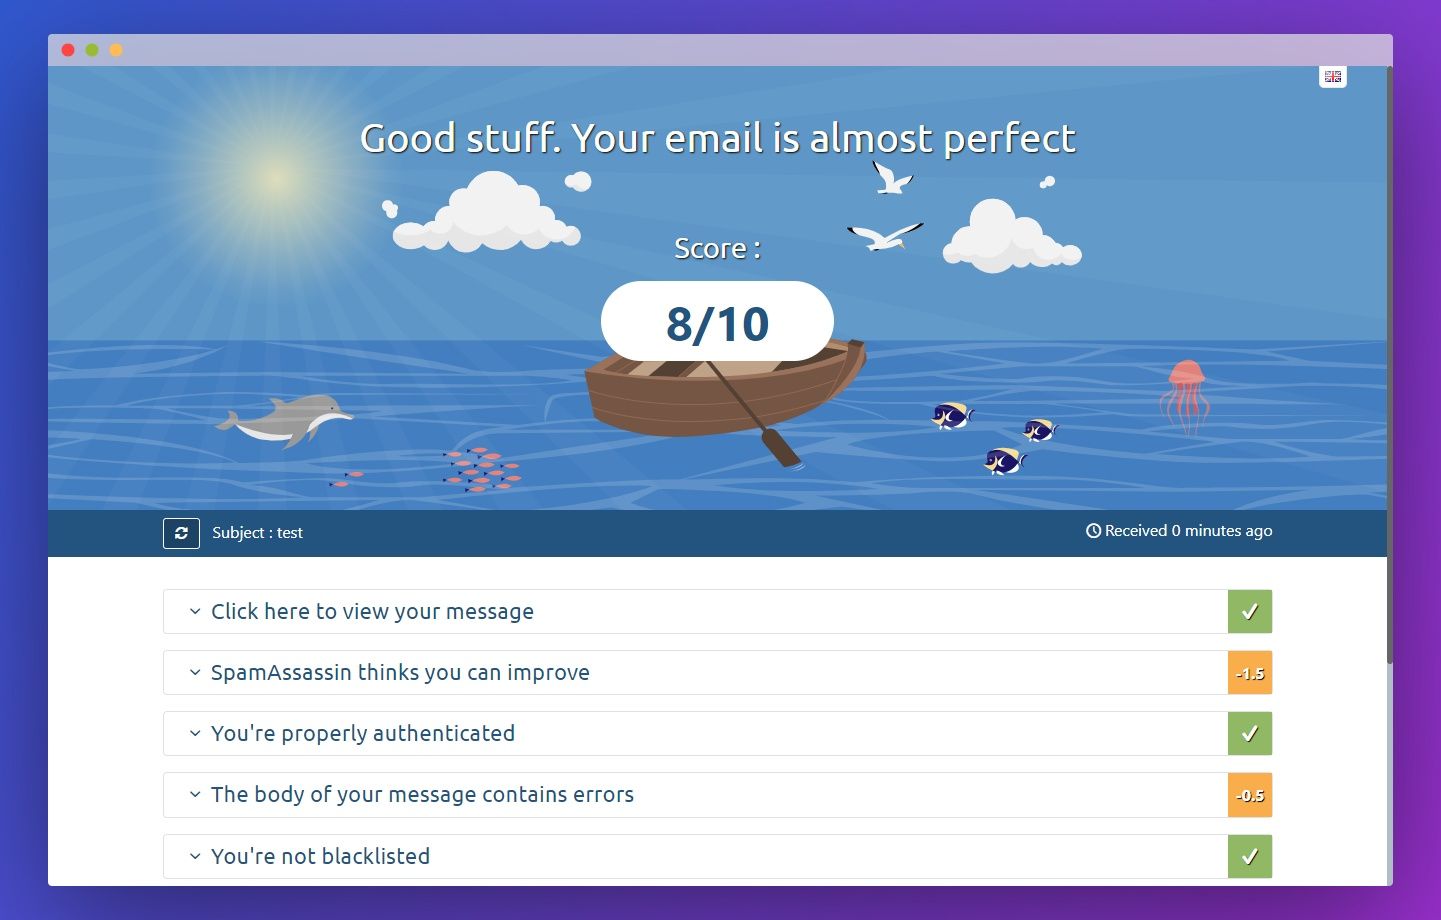
At the top of the page, copy your private key and head back to the DNS section to add your DKIM record. Wait for the changes to propagate, then use the dmarcian site to check your security is working correctly.
Add your Mailboxes
It's time to set up our mailboxes. By default, each mailbox under a domain has 3GB or storage and each domain has 10 GB. However, you can modify the mailbox quota during its setup to match your preferences.
To create a mailbox, first click Configuration again, then Mail setup. In the Mailbox tab, click Add mailbox.
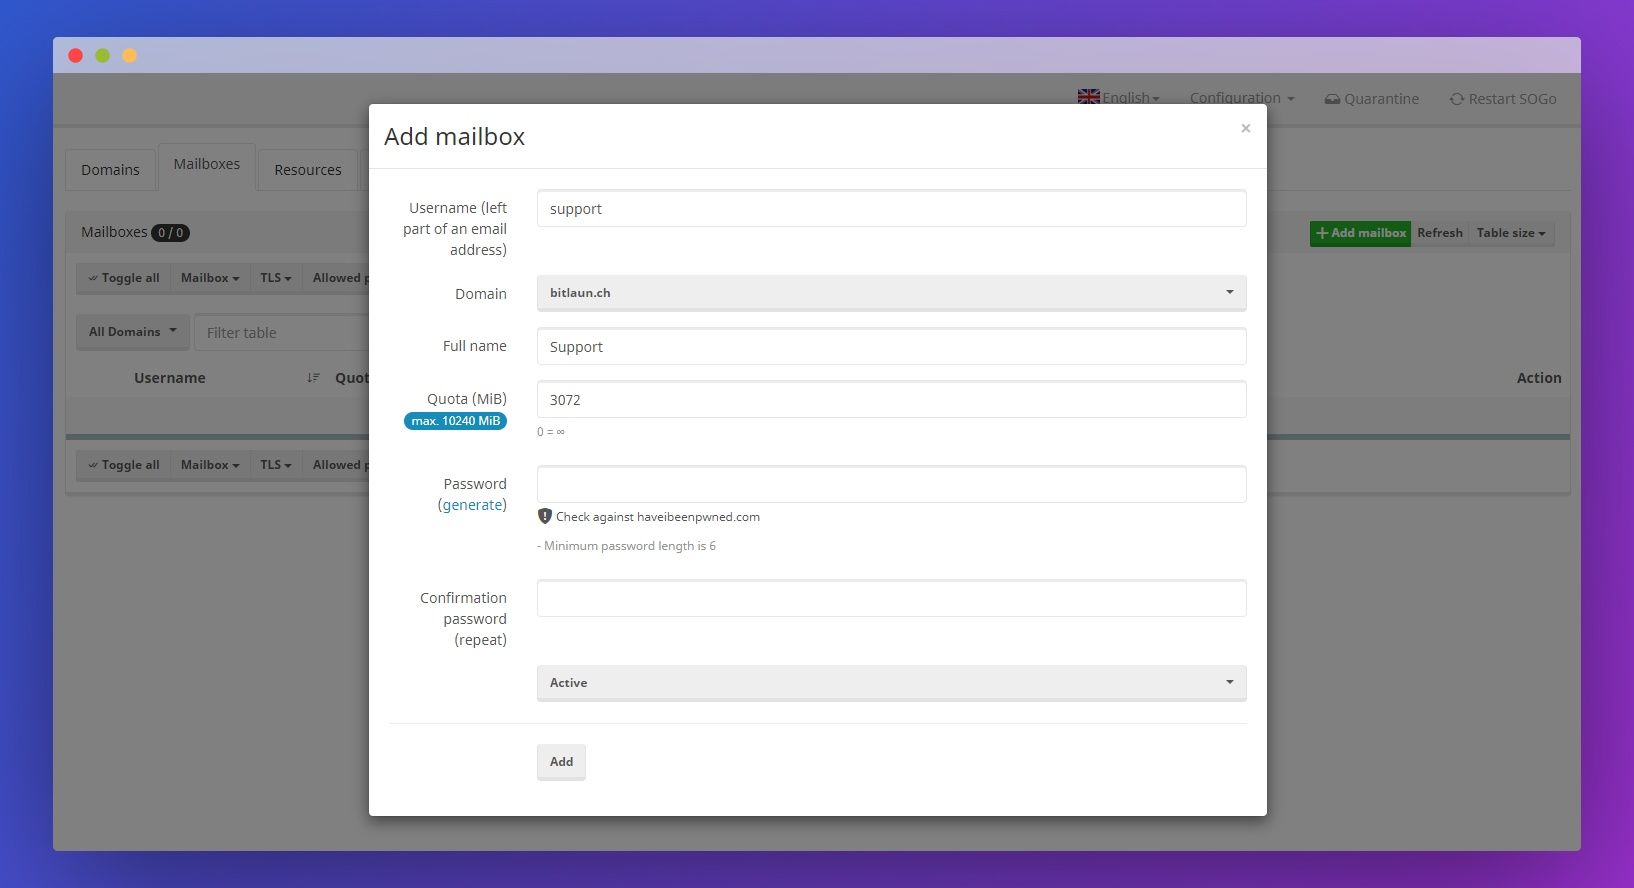
Choose a username and domain, then enter a secure password. Optionally, adjust the Quota field to suit your preferences. Click Add.
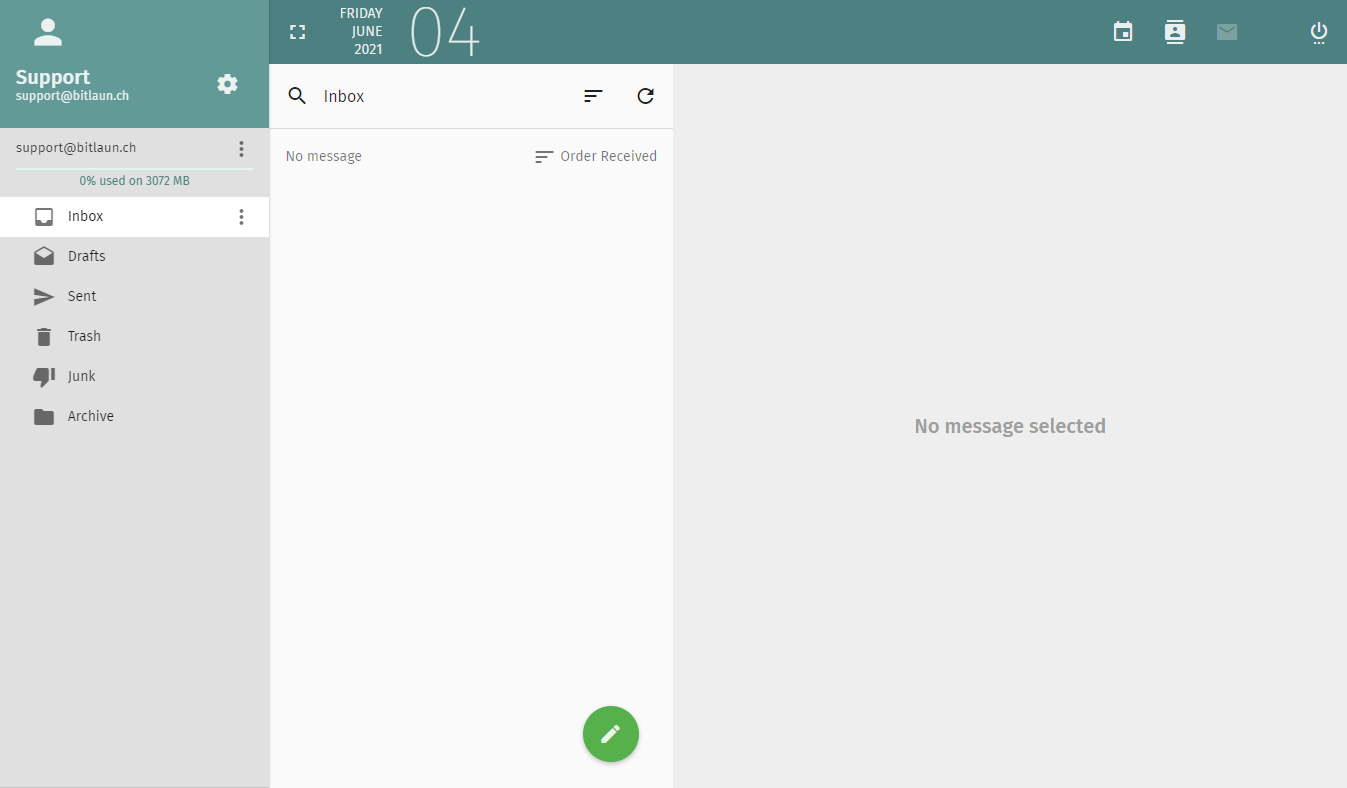
Back on the main page, click Apps in the top bar and then Webmail to be taken to your SOGo login page. Log in with your recently created mailbox email to access your inbox.
If you need to, you can add more domains by repeating the process from "Configuring your DNS" down.
Set up Delta Chat over your email server
Now that you've set up your mail sever, you can additionally install Delta Chat, a free open-source end-to-end encrypted chat service. The great thing about Delta Chat is that it has no central control or tracking. Instead, it makes use of existing mail infrastructure to deliver your messages. They'll appear as a regular message to anyone else with Delta chat, but as an email to those who don't have the app. All of the data is stored locally on your device to maintain your privacy.
To use Delta Chat with your Mailcow server, all you need to do is download it and sign in with your Mailcow email and password.
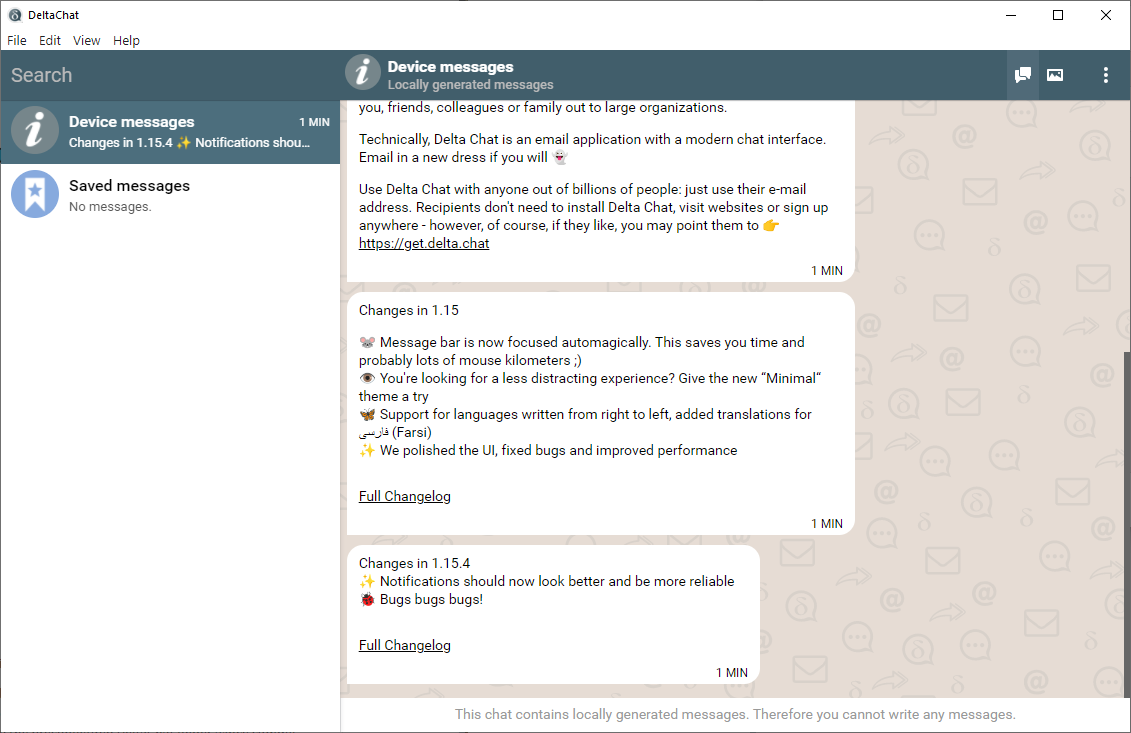
All chats will be moved to a pre-configured DeltaChat folder in your Mailcow so that they don't clog up your regular inbox. You can send messages, images, emoji, audio and documents like you would any other messaging service.
Want voice communication? Follow our guide to set up a TeamSpeak Server on Windows or Linux.