![[Quick Guide] How to install and use Bluestacks](https://images.unsplash.com/photo-1607252650355-f7fd0460ccdb?crop=entropy&cs=tinysrgb&fit=max&fm=jpg&ixid=M3wxMTc3M3wwfDF8c2VhcmNofDF8fGFuZHJvaWR8ZW58MHx8fHwxNzE3NDAyMTczfDA&ixlib=rb-4.0.3&q=80&w=2000)
BlueStacks wasn't the first Android emulator, nor is it necessarily the best. What it excels at, however, is making emulation easy and accessible for the average user. In this guide, we'll quickly cover how to install Bluestacks on Windows, add apps, and optimize your settings for better performance.
How to install Bluestacks on Windows
The process to install Bluestacks on Windows couldn't be much simpler. It's the same as installing any other application:
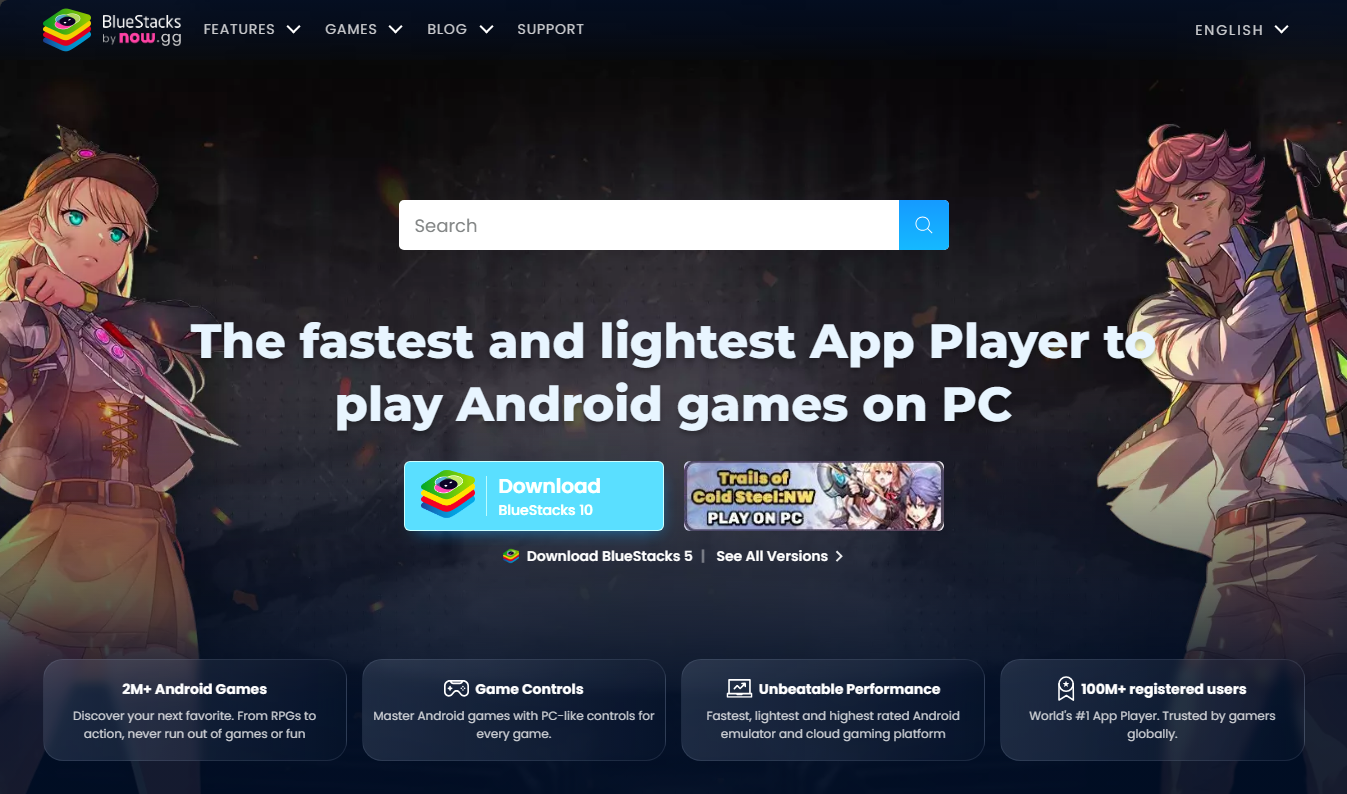
1. Download Bluestacks and press "Open" to run the installer.
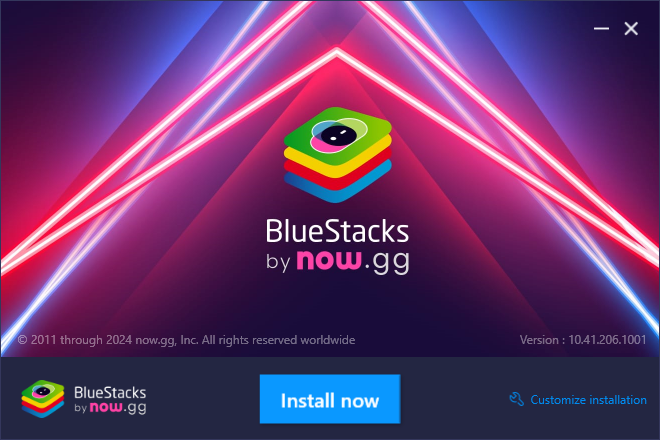
2. Click "Install now" in the pop-up
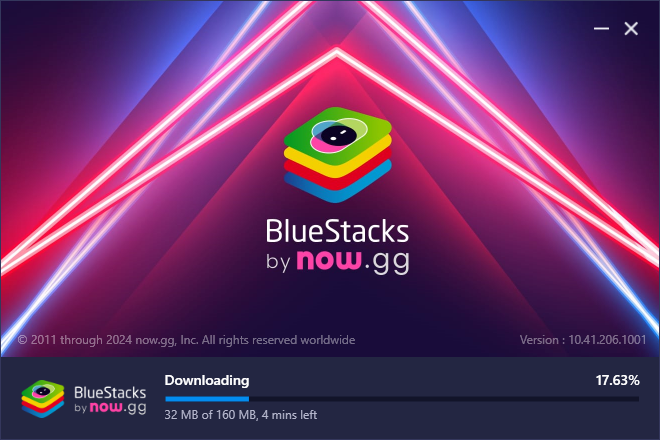
3. Wait for the installation process to complete
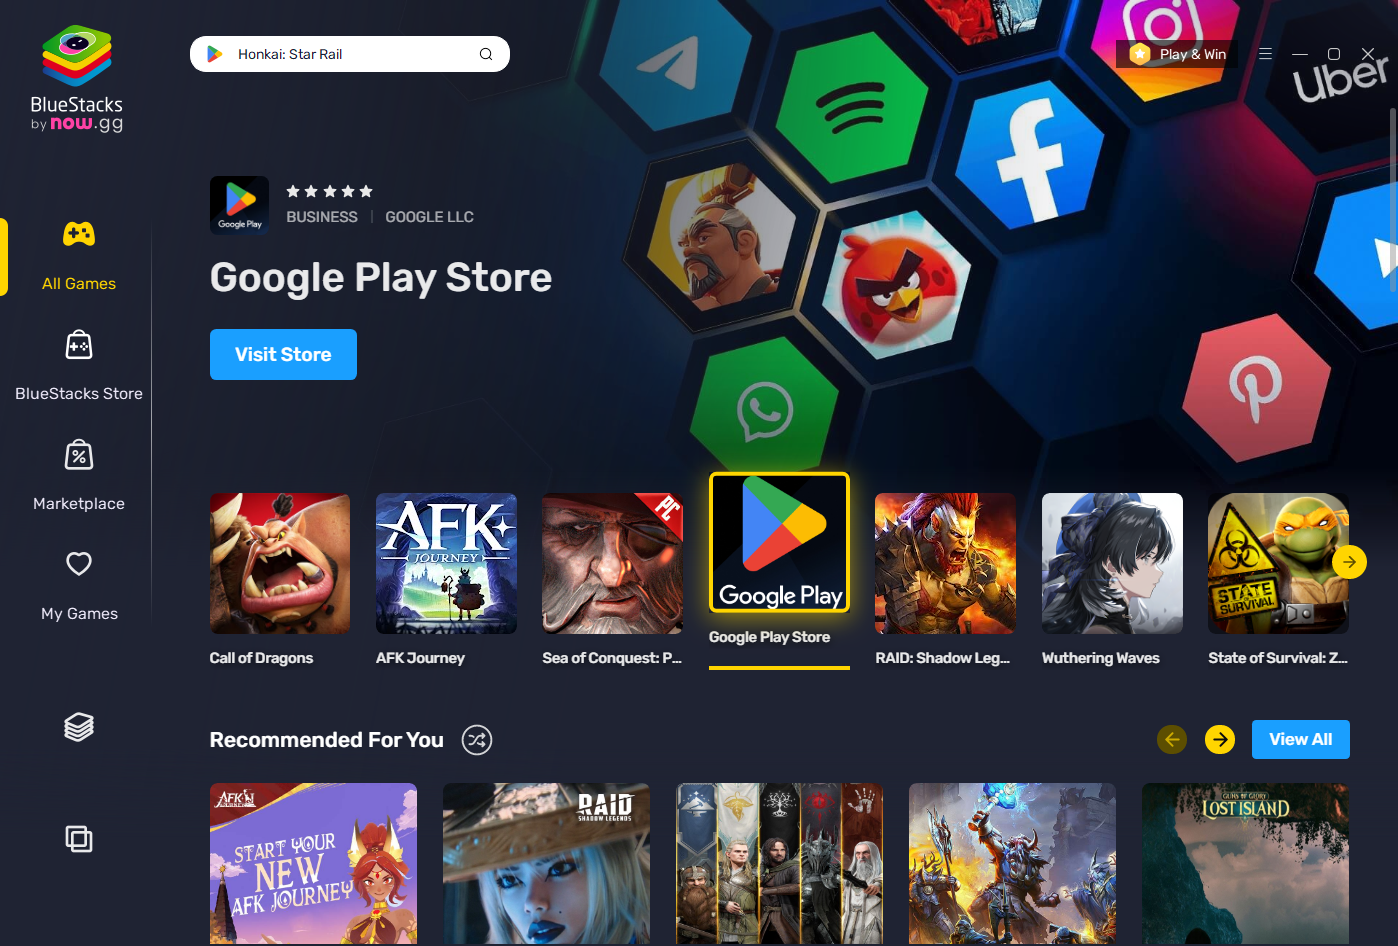
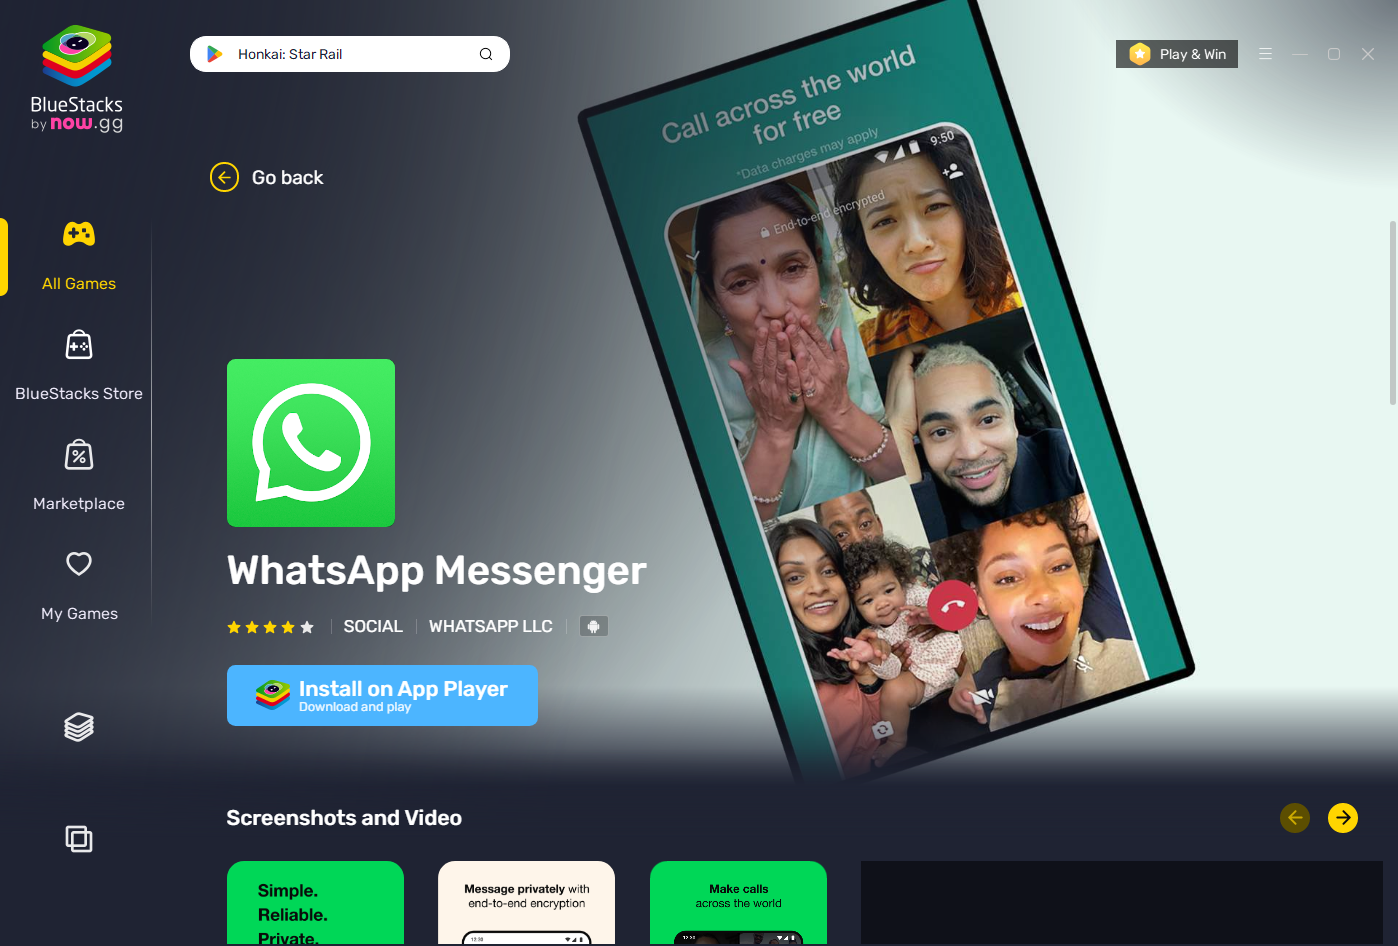
4. Bluestacks will open automatically. Click on “Google Play” or search for a specific app in the search bar to install games and apps. Press “Install on App Player” and then “Play” once the download is finished to use the app.
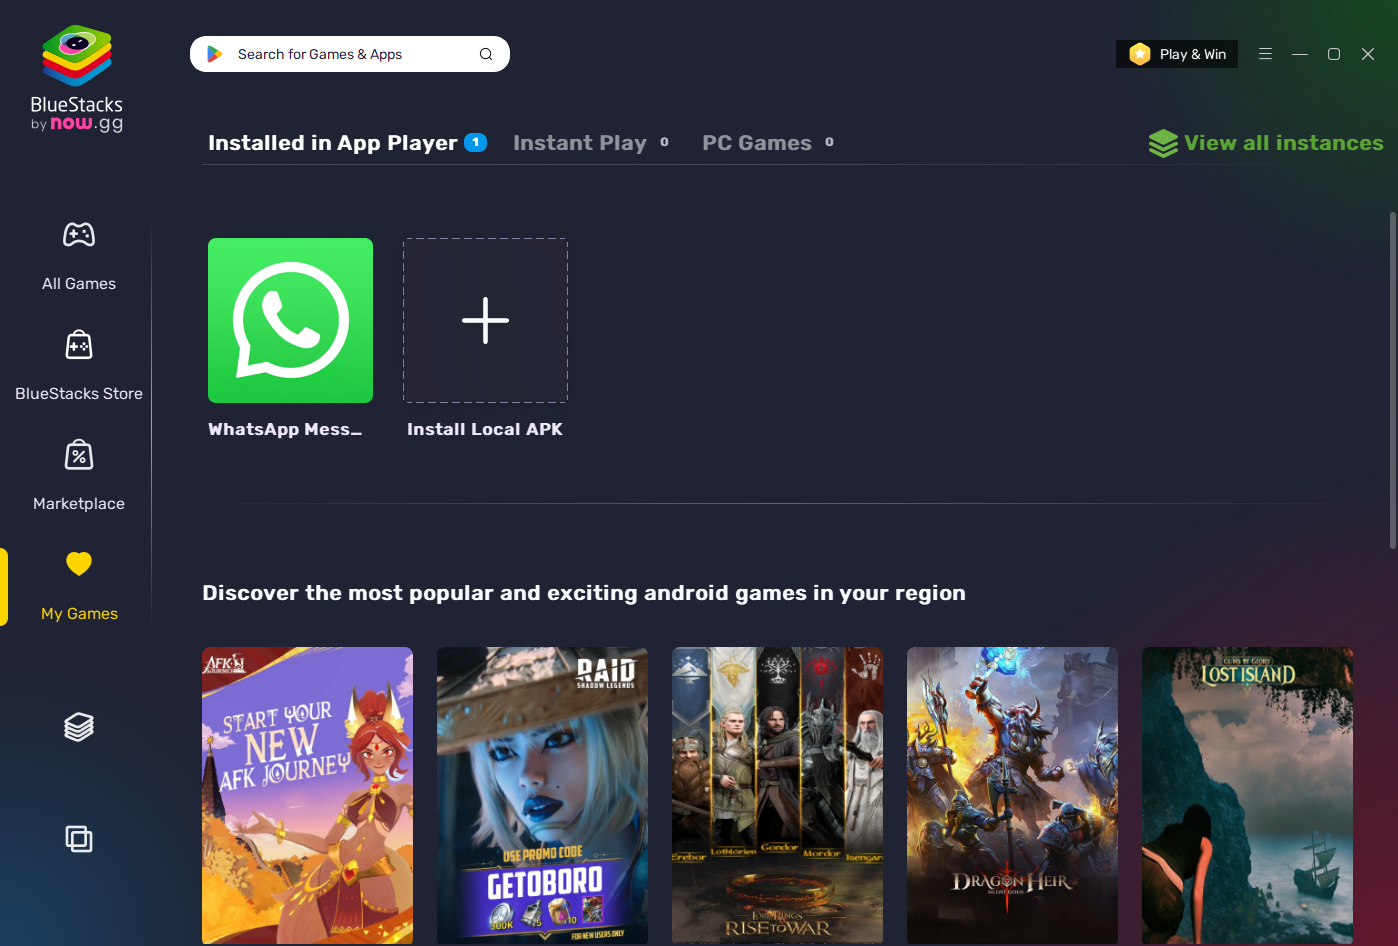
5. You can press the icon with stacked rectangles at any point to open the app player and use Android, or click on the “My Games” button to see your installed apps.
Troubleshooting performance issues
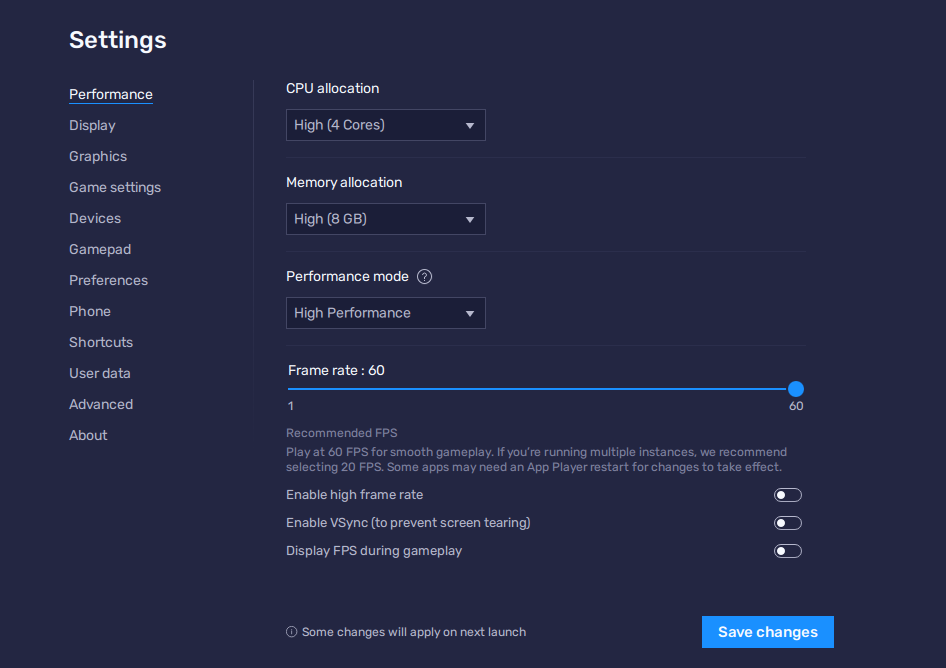
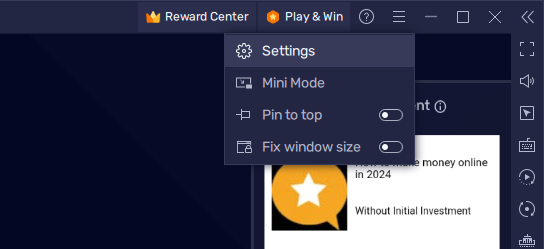
If you are having performance issues, press the hamburger menu in the app player and then press “Settings”. In the performance tab, ensure your CPU cores and memory allocation are suitable for your Bluestacks VPS server.
In the “Graphics” menu, you can also try changing the graphics renderer. If you still have issues, ensure you are running on a device that supports virtualization, such as a BitLaunch VPS server. Also, make sure that your hardware meets Bluestacks' minimum requirements.