
AI image generation has taken the world by storm over the past year, but it's sadly not accessible to everyone. Tools such as Midjourney allow for a very limited number of monthly generations unless you cough up large amounts of money. StableDiffusion is an excellent alternative to this, its open-source nature allowing for an unlimited number of generations. The only problem is that it requires a powerful Nvidia GPU for good results.
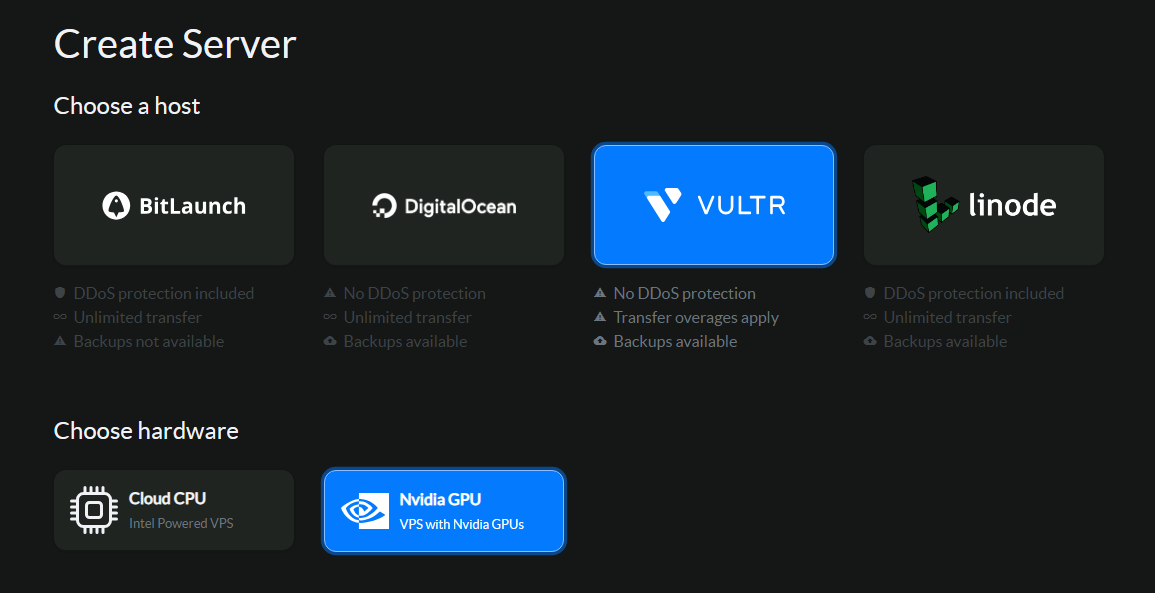
Hosting a StableDiffusion instance on a GPU VPS server offers a good middle ground. You'll still have to pay your server host, but you get full control over your generation (with no censorship) and can generate content to your heart. The best part is that you can spin up an instance when needed because the setup process is so quick. At BitLaunch, we bill hourly, ensuring you only get charged for what you use.
 BitLaunch
Requirements
Before we start, it's worth mentioning that while you can run StableDiffusion on any server, generating images with a CPU is slow and likely to run into problems. Ideally, you'll want to use a GPU-powered server, and for the best experience, one with at least 8GB of VRAM. For BitLaunch customers, we recommend our Nvidia A40 GPU servers on Vultr, which have various configurations to choose from.
Windows
Windows is the easiest way to host a remote Stable Diffusion instance, mostly because you do not have to worry about setting up remote access to your web interface. You can run prompts via RDP and then fetch the output images via SFTP.
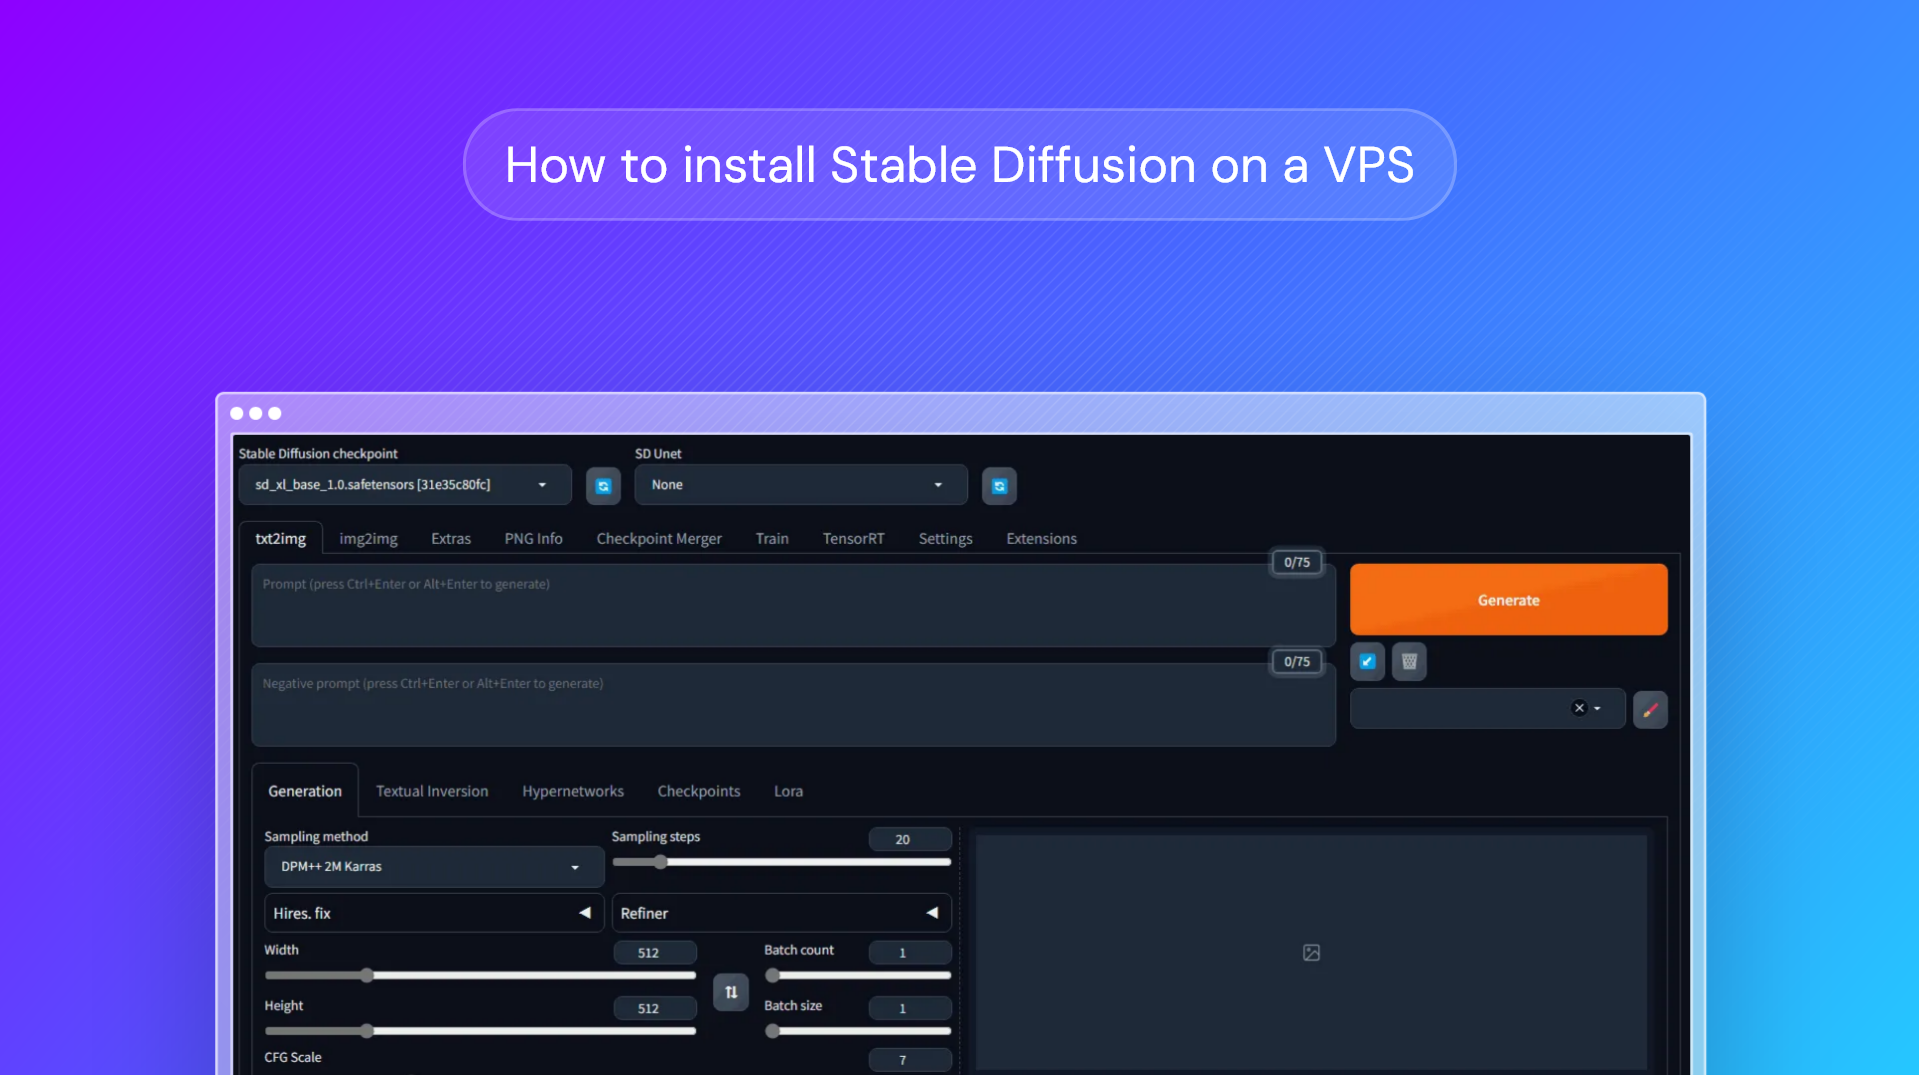
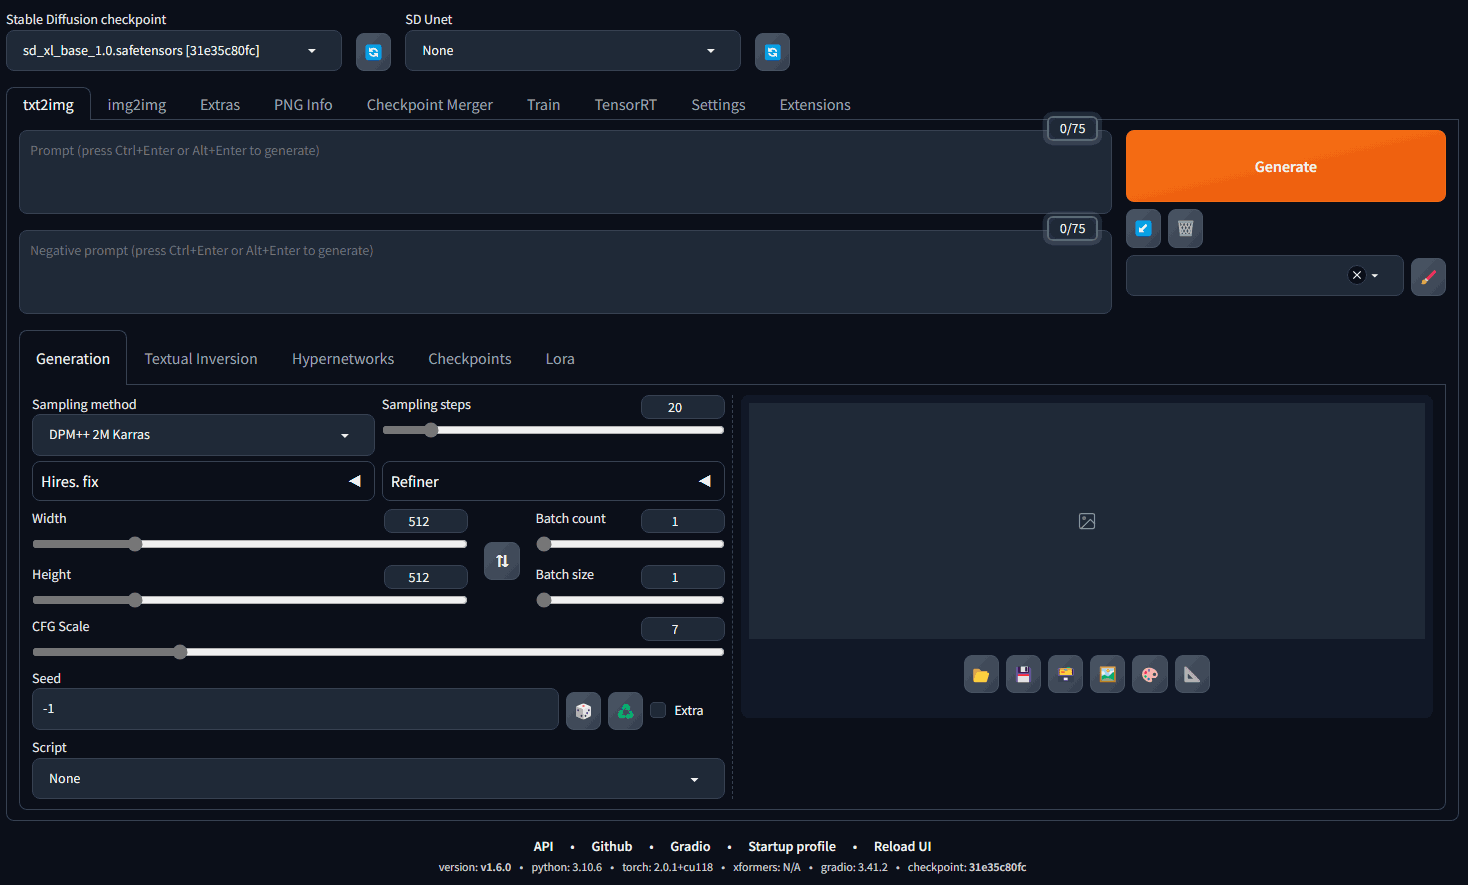
Installing and using Stable Diffusion on Windows is relatively easy, and you have two options: ComfyUI and Automatic 1111. At the time of writing, A1111 has a more traditional UI but generates images slower in some circumstances. ComfyUI uses a more complex node-based interface that won't be familiar to many people but allows for powerful new workflows. If you're new to AI image generation, A1111 will be your best bet.
Installing SDXL with ComfyUI
Setting up ComfyUI only takes a minute or two:
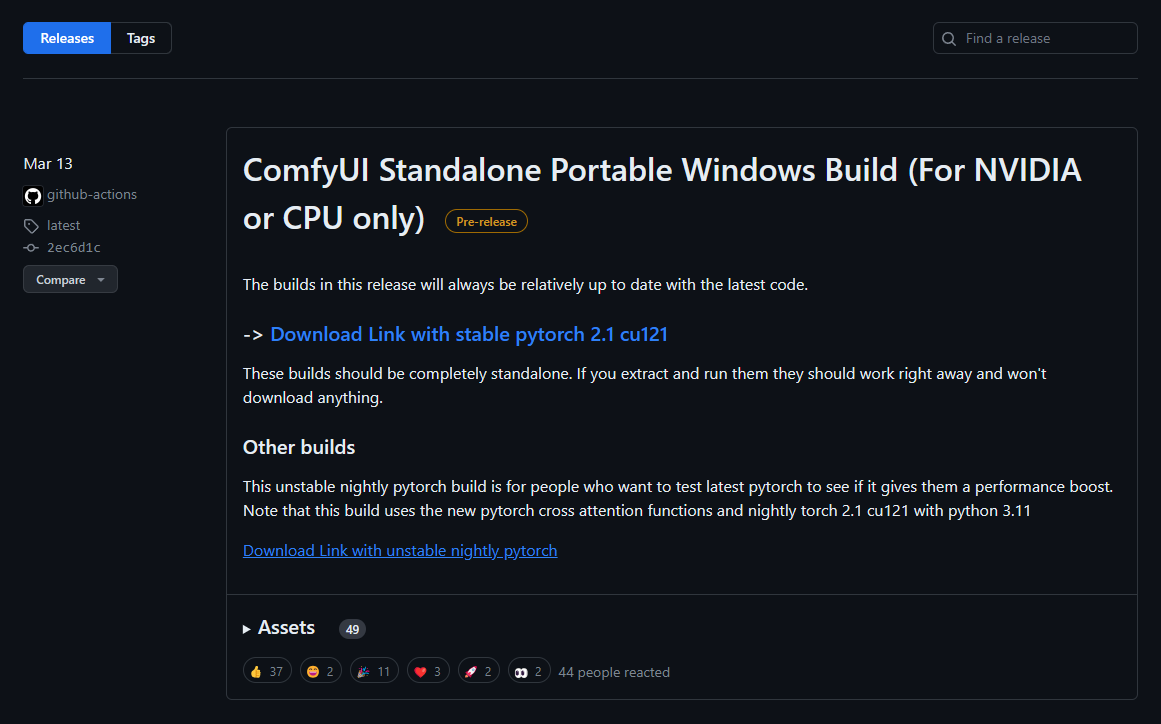
- Download ComfyUI from the releases page of the official GitHub repo and extract it
2. Go to the SDXL repo and download "sd_xl_base_1.0.safetensors" and "sd_xl_base_1.0_0.9vae.safetensors" to \ComfyUI_windows_portable_nvidia_cu121_or_cpu\ComfyUI_windows_portable\ComfyUI\models\checkpoints.

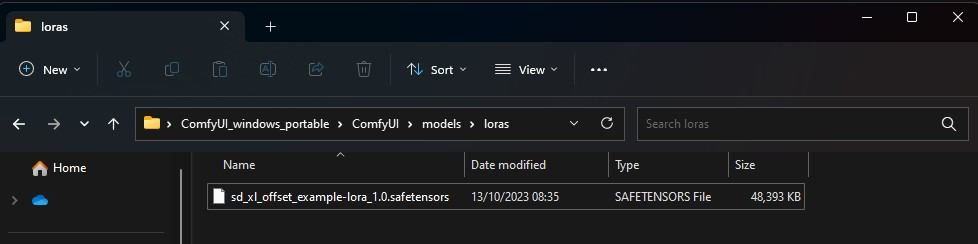
3. Download sd_xl_offset_example-lora_1.0.safetensors to \ComfyUI_windows_portable_nvidia_cu121_or_cpu\ComfyUI_windows_portable\ComfyUI\models\loras
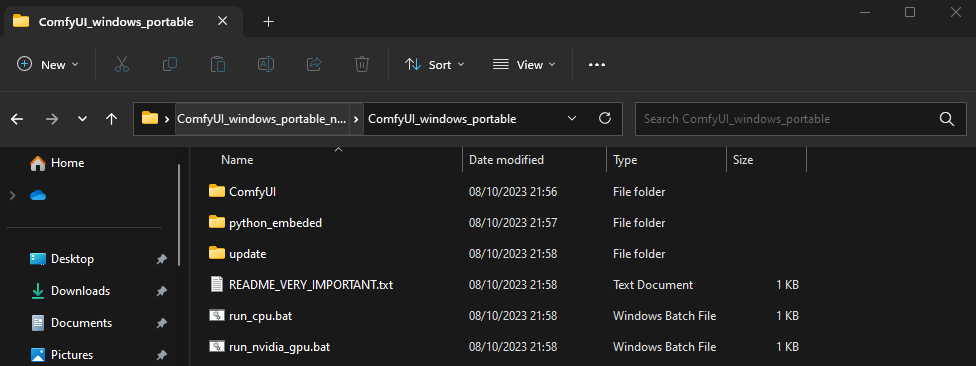
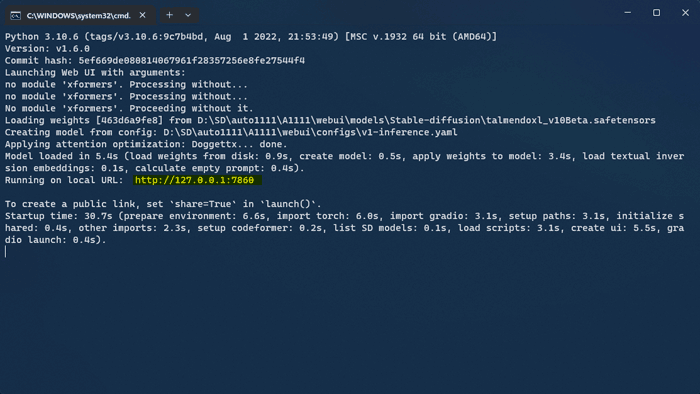
4. In \ComfyUI_windows_portable_nvidia_cu121_or_cpu\ComfyUI_windows_portable\, run webui.bat. Once the setup is done, the browser window should automatically open. If not, copy and paste the URL that appears in the command line into your browser.
Installing Stable Diffusion with Automatic1111
The setup process for A1111 is very similar to ComfyUI:
- Download Automatic1111 from its GitHub releases page and extract it.
2. Go to the SDXL repo and download "sd_xl_base_1.0.safetensors" to \stable-diffusion-webui-1.6.0\models\Stable-diffusion

3. Download "sd_xl_base_1.0_0.9vae.safetensors" and save it to \stable-diffusion-webui-1.6.0\models\VAE
4. Download "sd_xl_offset_example-lora-1.0.safetensors" and save it to \stable-diffusion-webui-1.6.0\models\Loras. You can create this folder if it doesn't exist yet.
5. Run "webui.bat" in your main /stable-diffusion-webui-1.6.0/ folder.
Linux
The two main UI-based workflows for StableDiffusion on Linux are still Comfy UI and Automatic 1111. However, as you are setting up the tools on a headless server, there are a couple of additional steps. We'll walk you through them below.
Automatic 1111
Automatic 1111 cannot be run as root by default (and for good reason). As a result, the first step is to set up a new account for StableDiffusion.
Setting up our Stable Diffusion user
sudo adduser stablediffusionEnter a strong password, as well as any user details you'd like. You'll probably want to add this user to the sudo group for ease of setup, too. You can remove this later once you have everything up and running.
sudo usermod -aG sudo stablediffusionYou can log in to your new user using:
su - stablediffusionInstalling StableDiffusion
With that done, we can move on to the main setup. First, let's install the requirements. We need Python and some packages to run A1111:
sudo apt install wget git python3 python3-venv libgl1 libglib2.0-0Now we can download the Automatic 1111 set up from its GitHub repo:
wget -q https://raw.githubusercontent.com/AUTOMATIC1111/stable-diffusion-webui/master/webui.shIf you type ls, you'll see that we now have a file called webui.sh in our home folder. Before we can run it, we must make it executable:
chmod +x webui.sh
./webui.sh
Once the setup is complete, you'll be presented with a URL to access your instance. However, we aren't ready to use it quite yet. Press Ctrl + C to exit the process and navigate to the newly created stable-diffusion-webui folder:
cd stable-diffusion-webuiWhile we're here in the webui file, we may as well make sure we have all the requirements installed:
pip install requirements.txtNow, we need to edit a script called stable-diffusion-webui to include the --listen parameter, which makes Stable Diffusion accessible over a local network. More on that later. Enter:
nano webui-user.shYou'll see a configuration file. This might look confusing, but all we're looking for is a line near the top:
#export COMMANDLINE_ARGS=""All you need to is add --listen between the quotation marks and then press Ctrl + O followed by Ctrl _+ X to save the changes.
Finally, we can make webui.sh executable and run it:
chmod +x webui.sh
./webui.sh
Take note of the IP address and port (the numbers after : that A1111 spits out.
Now Stable Diffusion is running and accessible to the local network. Which you may realize is...not a lot of use to you, who does not share a local network with the server. However, through the power of SSH, we can make it work.
Open a new terminal window (without closing your current one) and enter:
ssh -L yourSDport:localhost:yourSDport [email protected]Replace yourSDport with the port number you noted down earlier and your.server.ip with the server IP address listed in your BitLaunch control panel. It'll look something like this:
ssh -L 7860:localhost:7860 [email protected]Now, on your local PC, you can open a browser window and enter the full URL and port that you noted down earlier. Usually this will be http://127.0.0.1:7860
Ta-da! Your Stable Diffusion instance is accessible on your local PC without anybody else listening in.
Comfy UI
Comfy UI works perfectly fine on Linux, too. In fact, it's slightly easier to set up than Automatic 1111. After creating a new user, follow these steps:
Download the ComfyUI repo using git:
git clone https://github.com/comfyanonymous/ComfyUINavigate to the ComfyUI folder and install the python requirements from the .txt file:
cd ComfyUI && pip install -r requirements.txtOnce Python has finished installing the packages, go to the models folder and download the SDXL checkpoint (or any other checkpoint you need):
cd models/checkpoints
wget https://huggingface.co/stabilityai/stable-diffusion-xl-base-1.0/resolve/main/sd_xl_base_1.0.safetensors https://huggingface.co/stabilityai/stable-diffusion-xl-base-1.0/resolve/main/sd_xl_base_1.0_0.9vae.safetensors
Now we can run our server. Go back to the main ComfyUI directory using:
cd
cd ComfyUI
You can now run main.py using the --listen option. This will open it to the local network.
python3 main.py --listen 127.0.0.1Once the setup is complete, note down the port (the letters after :).
In a new command prompt/terminal window on your local PC, start a new SSH connection:
ssh -L yourSDport:127.0.0.1:yourSDport [email protected]Replace yourSDport with the port, you noted down earlier and your.server.ip with the IP address of your VPS server.
You can now paste the local IP address and port (i.e. 127.0.0.1:8080) into the browser of your local PC, and the ComfyUI interface should appear. If you receive an error when generating images using ComfyUI, try adding --disable-cuda-malloc to your launch parameters.
Need a GPU-powered server for your Stable Diffusion usage? Sign up to BitLaunch and talk to our support for some free credit.