
Virtual Machines (VMs) are a key tool for many people's work. They enable testing across operating systems, access to exclusive apps, and sandboxing of risky files. However, it's not always ideal or feasible to section off a portion of your resources for VM software such as VirtualBox. This guide will show you how to avoid that eventuality by setting up a VirtualBox server on a VPS.
Pre-requisites
Before we start in full, you'll need to prepare a few things:
- A Windows Virtual Private Server (VPS) which supports nested virtualization and has a GUI enabled. You can get a free trial of a BitLaunch VPS by signing up here and then talking to support for your free credit.
- If you're on Windows, Microsoft C++ 2019 Redistributable is installed on your machine. You can download that here.
- Preferably, a VPS with at least 4 GB of memory, preferably 8 GB or more for Windows.
- An ISO of your target operating system.
How to set up a VirtualBox server on a Windows VPS
If you've set up a VirtualBox VM before, you won't be too surprised by the process on a VPS, but this guide may still be helpful if you run into issues:
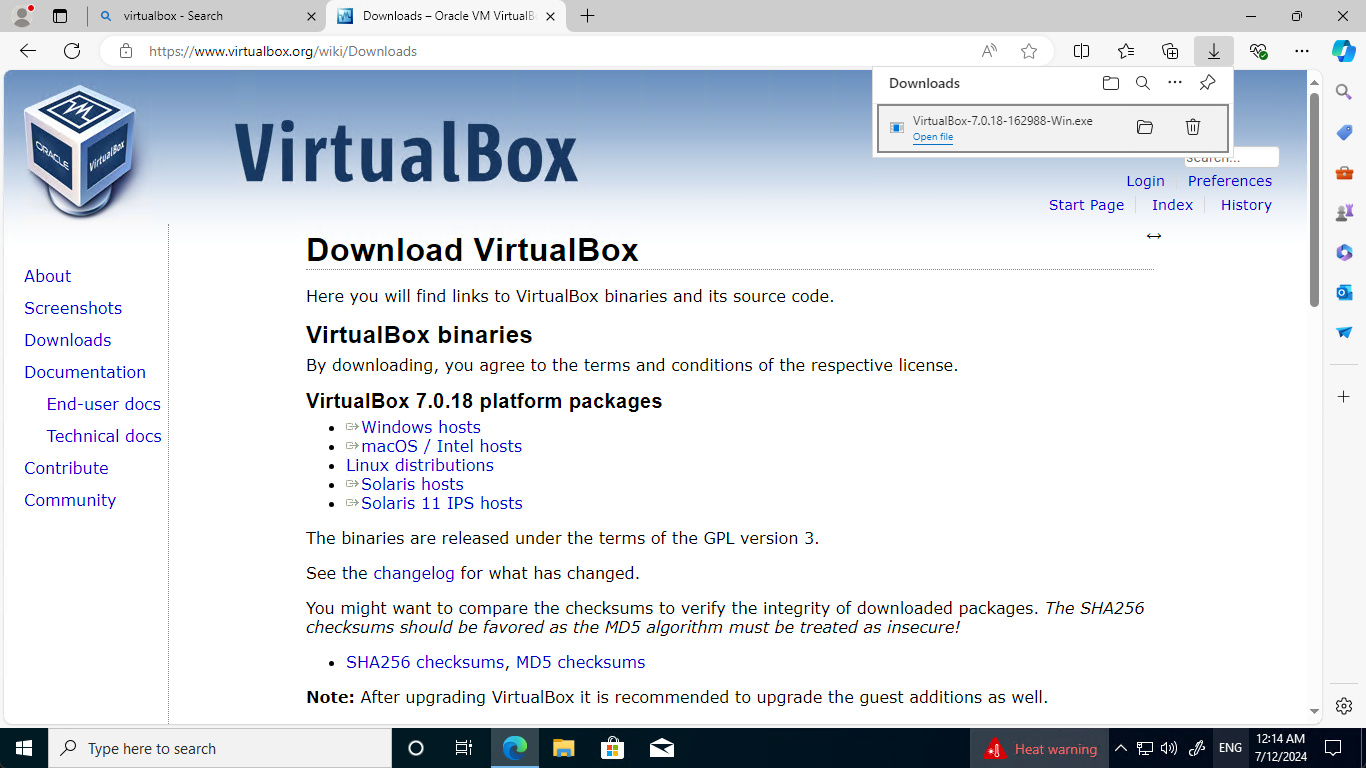
- Go to the VirtualBox download page and click "Windows hosts" to download the latest Windows installer.
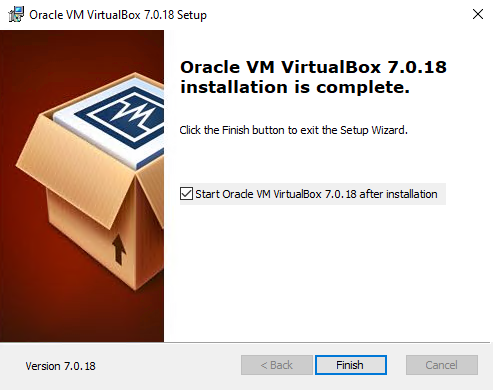
2. Open the file and press "Next" on the installer until the installation is complete. Tick "Start Oracle VM VirtualBox..." and press "Finish".
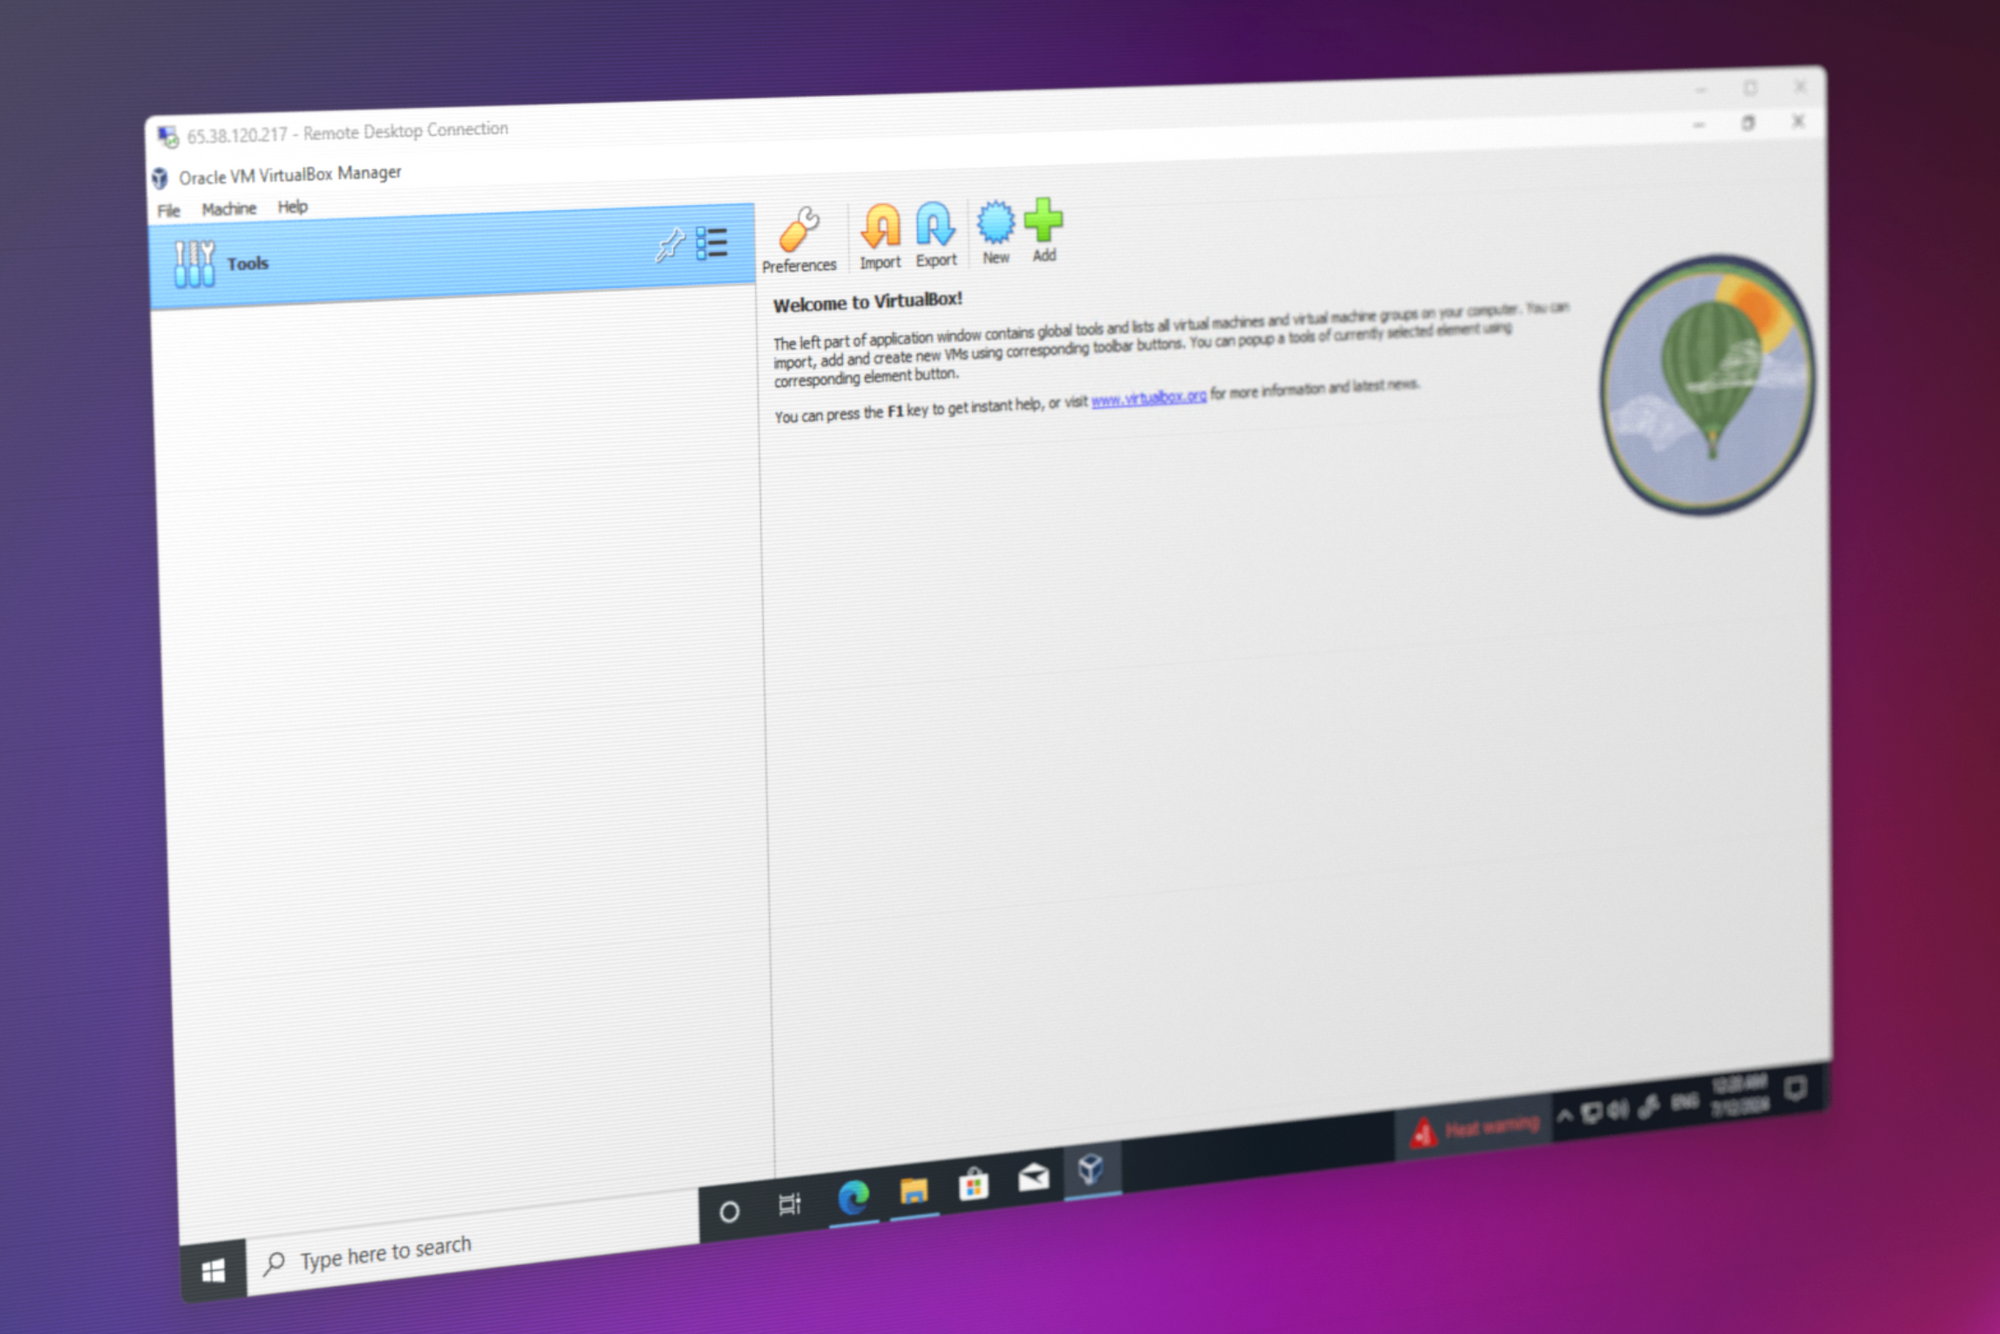
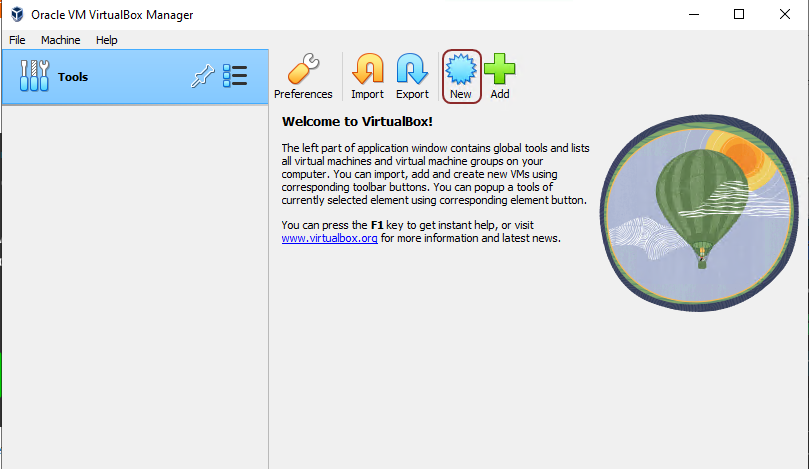
3. In the VirtualBox VM manager, press "New" in the right-hand side panel.
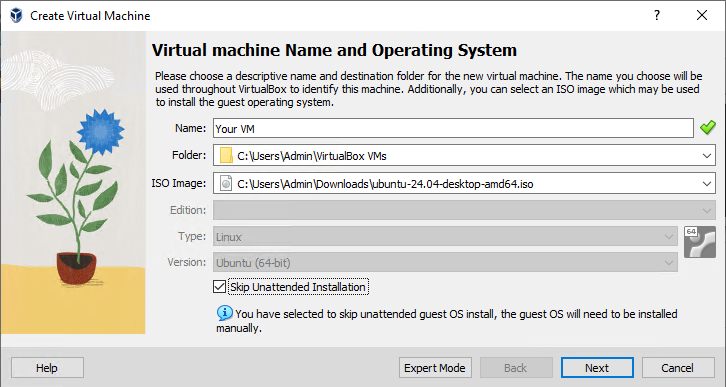
4. Enter a name for your VM and browse to and select your ISO image. We also recommend unticking "Skip Unattended Installation," as it's easier to do it manually when you're only setting up one virtual machine.
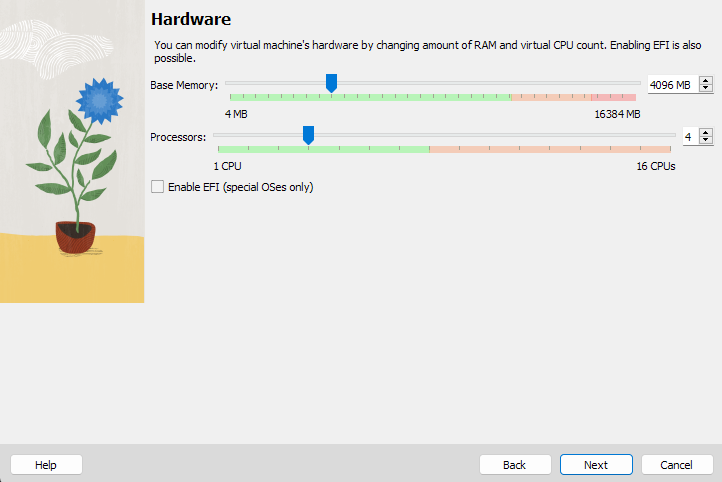
5. Choose a suitable Base Memory and Processor number depending on your operating system and server specifications and press "Next".
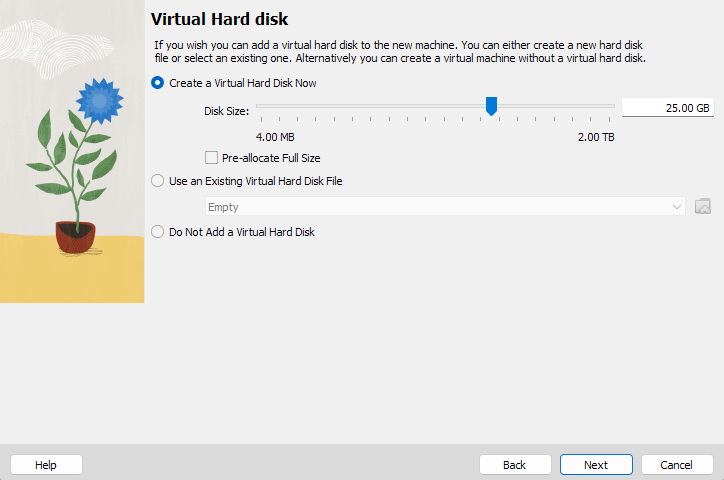
6. Select your Virtual Hard disk size (note: for Windows, this should be at least 20 GB, but we recommend 60 GB+).
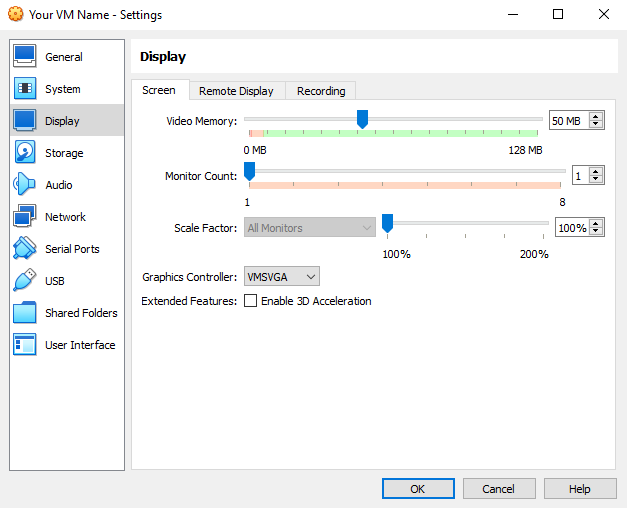
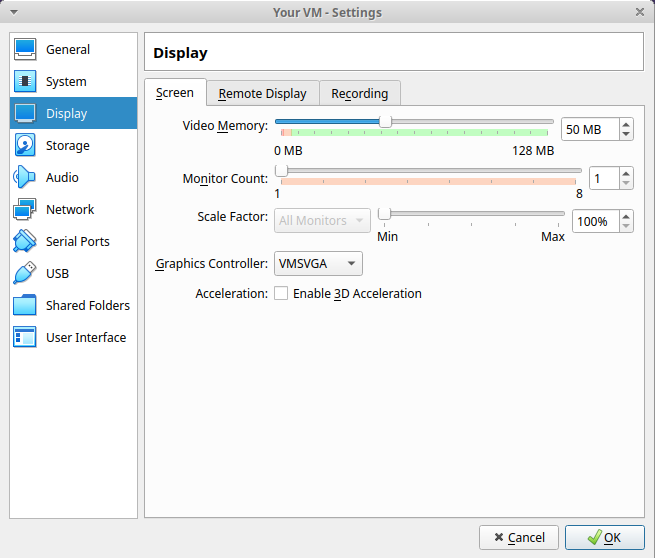
7. Important: After you press "Finish," press the settings to cog in the right-side panel of your VirtualBox Manager.
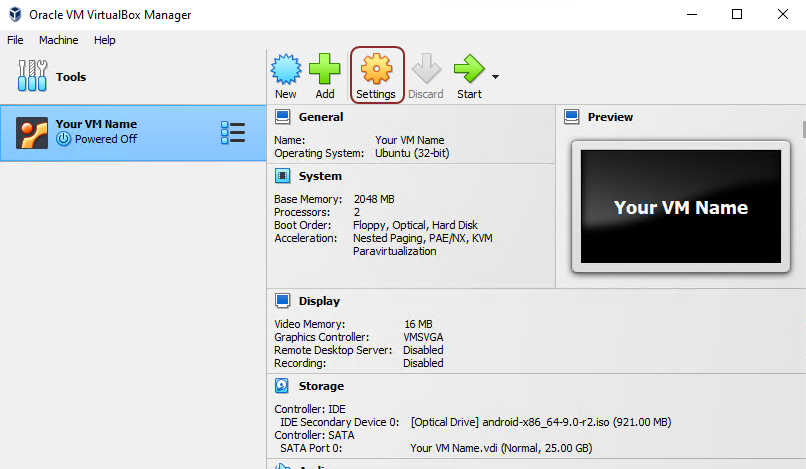
8. Select "Display" in the side menu and increase your video memory to at least 50 MB, or you're likely to see just a black screen.
7. That's it! Start your VirtualBox VM and follow the installation instructions for your OS.

How to set up a VirtualBox server on Linux
Setting up a VirtualBox server on Linux is a little more finicky, but after some trial and error, this is what worked for us on Ubuntu:
- After you log into your Linux server and update your packages (on Ubuntu,
sudo apt update && sudo apt upgrade). - Enable the Universe repository (
sudo add-apt-repository "deb http://archive.ubuntu.com/ubuntu $(lsb_release -sc) universe") - Type
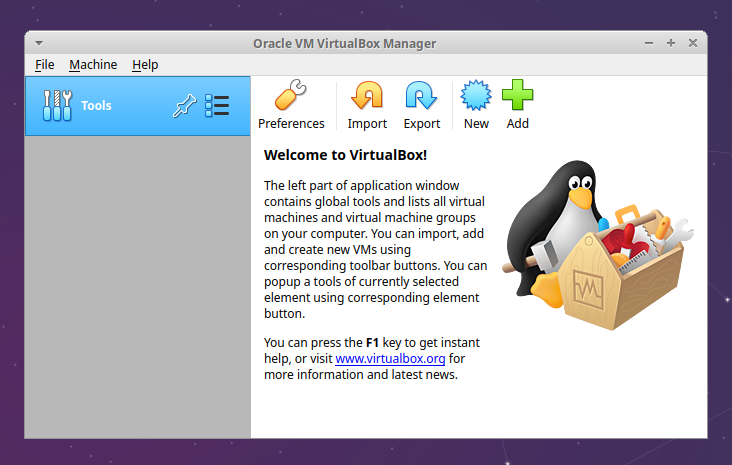
sudo apt install Virtualbox. - Launch VirtualBox and press the "New" icon.
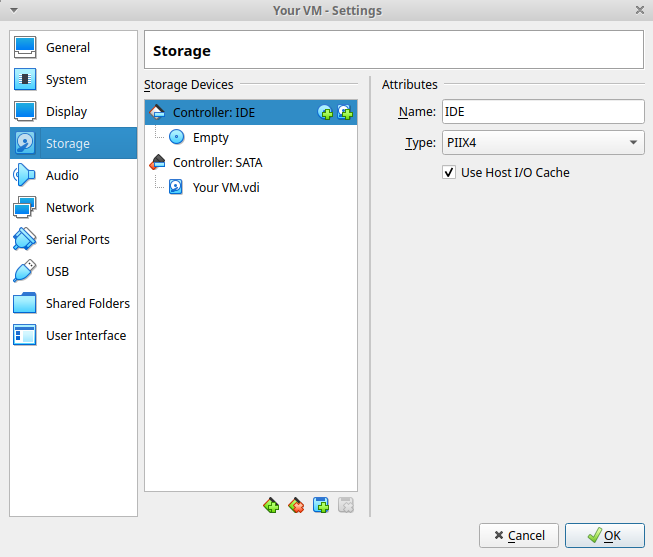
5. After following the setup wizard instructions and selecting your OS, press the settings cog and open the "Storage" menu on the sidebar. Press the add disk icon next to "Controller: IDE".
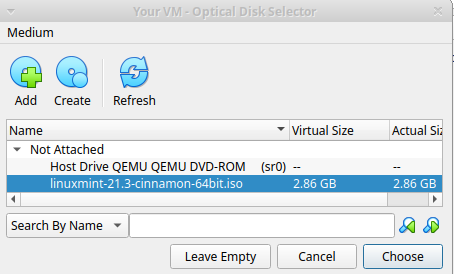
6. Press "Add" and select the ISO file you downloaded earlier. Press "Choose".
7. Open the "Display" section in the sidebar and set your video memory to 50MB or higher.
8. That's it! Launch your VM and enjoy your VirtualBox server.