
Sign up for BitLaunch and get a fast SSD KVM for your Code Server setup.
Everything is moving to the cloud, and software development environments are no exception. Cloud-based development environments' bring better dependency management, powerful environments that can run any build efficiently, thus reduces individual developers' IT costs. It also drives a better environment for developers who can now collaborate in real-time.
Code-server is a cloud development environment based on the popular code editor Visual Studio Code developed by Microsoft, capable of running on multiple platforms including Linux and Windows. It supports many languages built-in and a lot more with its extensions ecosystem. It supports code highlighting, linting, and debugging -- a very powerful development environment.
One of the benefits of running code-server is that you can have your development environment anywhere you go and any device you use, this can be your main laptop to your tablet with a keyboard.
In this tutorial, you will install code-server on an Ubuntu 20.04 LTS system. You will also use Nginx to secure and expose the code-server service.

1. Prerequisites
Any recent Ubuntu Server would work with all the commands provided.
We are using an Ubuntu 20.04 LTS in this article.
You will need a sudo capable user, and at least 1 GB RAM. (2+ GB is recommended.) Check out how to add users to sudoers if you need guidance.
2. Preparing our server
Let's prepare our server for our setup; you will update the local package index and upgrade any packages that are outdated.
First, we run apt-get update command as follows:
$ sudo apt-get update
An output similar to the following (cut for brevity) will be displayed, and indexes will be updated.
Hit:1 http://security.ubuntu.com/ubuntu focal-security InRelease
Hit:2 http://archive.ubuntu.com/ubuntu focal InRelease
Hit:3 http://archive.ubuntu.com/ubuntu focal-updates InRelease
Hit:4 http://archive.ubuntu.com/ubuntu focal-backports InRelease
Reading package lists... Done
...
Now with the following command, you will upgrade outdated packages.
$ sudo apt-get -y upgrade
The output will look like this.
Reading package lists... Done
Building dependency tree
Reading state information... Done
Calculating upgrade... Done
The following packages were automatically installed and are no longer required:
...
...
3. Installing code-server
Code-server developers have prepared a multi-distribution installation script; you will be using this method for installation.
We'll first do a dry run of the script. You can download with cURL, pipe the result to sh, and use the --dry-run flag to test.
$ sudo curl -fsSL https://code-server.dev/install.sh | sh -s -- --dry-run
An output similar to the following will be displayed.
Ubuntu 20.04 LTS
Installing v3.4.1 deb package from GitHub releases.

+ mkdir -p ~/.cache/code-server
+ curl -#fL -o ~/.cache/code-server/code-server_3.4.1_amd64.deb.incomplete -C - https://github.com/cdr/code-server/releases/download/v3.4.1/code-server_3.4.1_amd64.deb
+ mv ~/.cache/code-server/code-server_3.4.1_amd64.deb.incomplete ~/.cache/code-server/code-server_3.4.1_amd64.deb
+ sudo dpkg -i ~/.cache/code-server/code-server_3.4.1_amd64.deb
To have systemd start code-server now and restart on boot:
systemctl --user enable --now code-server
Or, if you don't want/need a background service you can run:
code-server
Note: you can also use systemctl for listing services. Now it is time for an actual install.
$ sudo curl -fsSL https://code-server.dev/install.sh | sh
The following output will be shown.
Ubuntu 20.04 LTS
Installing v3.4.1 deb package from GitHub releases.

+ mkdir -p ~/.cache/code-server
+ curl -#fL -o ~/.cache/code-server/code-server_3.4.1_amd64.deb.incomplete -C - https://github.com/cdr/code-server/releases/download/v3.4.1/code-server_3.4.1_amd64.deb
######################################################################## 100.0%#=#=#
+ mv ~/.cache/code-server/code-server_3.4.1_amd64.deb.incomplete ~/.cache/code-server/code-server_3.4.1_amd64.deb
+ sudo dpkg -i ~/.cache/code-server/code-server_3.4.1_amd64.deb
[sudo] password for <USER>:
Selecting previously unselected package code-server.
(Reading database ... 96104 files and directories currently installed.)
Preparing to unpack .../code-server_3.4.1_amd64.deb ...
Unpacking code-server (3.4.1) ...
Setting up code-server (3.4.1) ...
To have systemd start code-server now and restart on boot:
systemctl --user enable --now code-server
Or, if you don't want/need a background service you can run:
code-server
Let's enable code-server to run at boot using systemctl.
$ systemctl --user enable --now code-server
The command creates the required sysmlink.
Created symlink /home/<USER>/.config/systemd/user/default.target.wants/code-server.service → /usr/lib/systemd/user/code-server.service.
Let's check if the code-server is running as expected using systemctl command with the status parameter.
$ systemctl --user status code-server
● code-server.service - code-server
     Loaded: loaded (/usr/lib/systemd/user/code-server.service; enabled; vendor preset: enabled)
     Active: active (running) since Sat 2020-06-20 11:12:14 UTC; 3min 48s ago
   Main PID: 826 (node)
      Tasks: 22 (limit: 614)
     Memory: 24.1M
     CGroup: /user.slice/user-0.slice/[email protected]/code-server.service
             ├─826 /usr/lib/code-server/lib/node /usr/lib/code-server
             └─844 /usr/lib/code-server/lib/node /usr/lib/code-server

Jun 20 11:12:14 5eca71a0aa8cc30001a9eb8e systemd[595]: Starting code-server...
Jun 20 11:12:14 5eca71a0aa8cc30001a9eb8e systemd[595]: Started code-server.
Jun 20 11:12:14 5eca71a0aa8cc30001a9eb8e code-server[826]: info  Wrote default config file to ~/.config/code-server/config.yaml
Jun 20 11:12:14 5eca71a0aa8cc30001a9eb8e code-server[826]: info  Using config file ~/.config/code-server/config.yaml
Jun 20 11:12:14 5eca71a0aa8cc30001a9eb8e code-server[844]: info  Using user-data-dir ~/.local/share/code-server
Jun 20 11:12:14 5eca71a0aa8cc30001a9eb8e code-server[844]: info  code-server 3.4.1 48f7c2724827e526eeaa6c2c151c520f48a61259
Jun 20 11:12:14 5eca71a0aa8cc30001a9eb8e code-server[844]: info  HTTP server listening on http://127.0.0.1:8080
Jun 20 11:12:14 5eca71a0aa8cc30001a9eb8e code-server[844]: info      - Using password from ~/.config/code-server/config.yaml
Jun 20 11:12:14 5eca71a0aa8cc30001a9eb8e code-server[844]: info      - To disable use `--auth none`
Jun 20 11:12:14 5eca71a0aa8cc30001a9eb8e code-server[844]: info    - Not serving HTTPS
Installation is complete, and the code-server is running on port 8080.
4. Installing nginx
You will use Nginx to expose the code-server to the outside world.
First, install Nginx webserver with the following command.
$ sudo apt install -y nginx
Reading package lists... Done
Building dependency tree
Reading state information... Done
....
You should now enable Nginx to run at boot.
$ sudo systemctl enable nginx
Configuring nginx
Let's remove the default configuration's symlink from sites-enabled.
$ sudo rm /etc/nginx/sites-enabled/default
Let's create a configuration file under sites-available.
$ sudo touch /etc/nginx/sites-available/code-server
Now you need to create a symlink under sites-enabled.
$ sudo ln -s /etc/nginx/sites-available/code-server /etc/nginx/sites-enabled/code-server
Now edit the configuration file using nano or editor of your choice.
$ sudo nano /etc/nginx/sites-available/code-server
Code-server uses WebSockets to communicate, so we need to pass additional headers in Nginx configuration to make WebSocket proxy work.
Paste the following into nano and exit with Ctrl-X.
upstream code-server {
        server 127.0.0.1:8080;
}

server {
  listen 80 default_server;
  listen [::]:80 default_server;
  server_name _;

  location / {
        proxy_pass http://code-server;
    		proxy_http_version 1.1;
		    proxy_set_header Upgrade $http_upgrade;
    		proxy_set_header Connection "Upgrade";
		    proxy_set_header Host $host;
    }
}
Here we define the upstream to code-server , and configure reverse-proxy, also we add headers to allow WebSocket traffic.
5. Testing the nginx configuration
$ sudo nginx -t
nginx: the configuration file /etc/nginx/nginx.conf syntax is ok
nginx: configuration file /etc/nginx/nginx.conf test is successful
6. Reloading the nginx server
Let's reload the Nginx server so that the new configuration is loaded.
$ sudo systemctl reload nginx
7. Checking the status of the nginx server
Let's check the status of the Nginx server.
$ sudo systemctl status nginx
● nginx.service - A high performance web server and a reverse proxy server
     Loaded: loaded (/lib/systemd/system/nginx.service; enabled; vendor preset: enabled)
     Active: active (running) since Sun 2020-05-24 13:16:41 UTC; 3min 16s ago
       Docs: man:nginx(8)
    Process: 3525 ExecReload=/usr/sbin/nginx -g daemon on; master_process on; -s reload (code=exited, status=0/SUCCESS)
   Main PID: 3331 (nginx)
      Tasks: 2 (limit: 614)
     Memory: 4.2M
     CGroup: /system.slice/nginx.service
             ├─3331 nginx: master process /usr/sbin/nginx -g daemon on; master_process on;
             └─3526 nginx: worker process

May 24 13:16:41 5eca7132aa8cc30001a9eb8b systemd[1]: Starting A high performance web server and a reverse proxy server...
May 24 13:16:41 5eca7132aa8cc30001a9eb8b systemd[1]: Started A high performance web server and a reverse proxy server.
May 24 13:19:38 5eca7132aa8cc30001a9eb8b systemd[1]: Reloading A high performance web server and a reverse proxy server.
May 24 13:19:38 5eca7132aa8cc30001a9eb8b systemd[1]: Reloaded A high performance web server and a reverse proxy server.
8. Securing nginx with Let's Encrypt
First, you will install the required packages for Let's Encrypt agent.
$ sudo apt-get install software-properties-common
$ sudo add-apt-repository universe
$ sudo apt-get update
You will now install certbot; Let's Encrypt's certification management tool and Python module for Nginx package.
$ sudo apt-get install certbot python3-certbot-nginx
Reading package lists... Done
Building dependency tree
Reading state information... Done
....
Run certbot with Nginx parameter.
$ sudo certbot --nginx
You must follow the instructions as below; you should use a hostname from xip.io such as code-server.<EXTERNAL_IP>.xip.io if you don't have a domain, you can use.
Saving debug log to /var/log/letsencrypt/letsencrypt.log
Plugins selected: Authenticator nginx, Installer nginx
Enter email address (used for urgent renewal and security notices) (Enter 'c' to
cancel): [email protected]

- - - - - - - - - - - - - - - - - - - - - - - - - - - - - - - - - - - - - - - -
Please read the Terms of Service at
https://letsencrypt.org/documents/LE-SA-v1.2-November-15-2017.pdf. You must
agree in order to register with the ACME server at
https://acme-v02.api.letsencrypt.org/directory
- - - - - - - - - - - - - - - - - - - - - - - - - - - - - - - - - - - - - - - -
(A)gree/(C)ancel: a

- - - - - - - - - - - - - - - - - - - - - - - - - - - - - - - - - - - - - - - -
Would you be willing to share your email address with the Electronic Frontier
Foundation, a founding partner of the Let's Encrypt project and the non-profit
organization that develops Certbot? We'd like to send you email about our work
encrypting the web, EFF news, campaigns, and ways to support digital freedom.
- - - - - - - - - - - - - - - - - - - - - - - - - - - - - - - - - - - - - - - -
(Y)es/(N)o: n
Enter the email address you would like to get the notifications, agree to the terms (after reading the terms of service), and select if you want to share your email with EFF.
No names were found in your configuration files. Please enter in your domain
name(s) (comma and/or space separated)  (Enter 'c' to cancel): code-server.<EXTERNAL_IP>.xip.io
Obtaining a new certificate
Performing the following challenges:
http-01 challenge for code-server.<EXTERNAL_IP>.xip.io
Waiting for verification...
Cleaning up challenges
Deploying Certificate to VirtualHost /etc/nginx/sites-enabled/code-server

Please choose whether or not to redirect HTTP traffic to HTTPS, removing HTTP access.
- - - - - - - - - - - - - - - - - - - - - - - - - - - - - - - - - - - - - - - -
1: No redirect - Make no further changes to the webserver configuration.
2: Redirect - Make all requests redirect to secure HTTPS access. Choose this for
new sites, or if you're confident your site works on HTTPS. You can undo this
change by editing your web server's configuration.
- - - - - - - - - - - - - - - - - - - - - - - - - - - - - - - - - - - - - - - -
Select the appropriate number [1-2] then [enter] (press 'c' to cancel): 2
Redirecting all traffic on port 80 to ssl in /etc/nginx/sites-enabled/code-server
Enter a domain name, here you can use your own domain, additionally select the redirection setup; you have two choices, one HTTP with no redirect and the second to redirect HTTP to HTTPS.
- - - - - - - - - - - - - - - - - - - - - - - - - - - - - - - - - - - - - - - -
Congratulations! You have successfully enabled
https://code-server.<EXTERNAL_IP>.xip.io

You should test your configuration at:
https://www.ssllabs.com/ssltest/analyze.html?d=code-server.<EXTERNAL_IP>.xip.io
- - - - - - - - - - - - - - - - - - - - - - - - - - - - - - - - - - - - - - - -

IMPORTANT NOTES:
 - Congratulations! Your certificate and chain have been saved at:
   /etc/letsencrypt/live/code-server.<EXTERNAL_IP>.xip.io/fullchain.pem
   Your key file has been saved at:
   /etc/letsencrypt/live/code-server.<EXTERNAL_IP>.xip.io/privkey.pem
   Your cert will expire on 2020-09-18. To obtain a new or tweaked
   version of this certificate in the future, simply run certbot again
   with the "certonly" option. To non-interactively renew *all* of
   your certificates, run "certbot renew"
 - Your account credentials have been saved in your Certbot
   configuration directory at /etc/letsencrypt. You should make a
   secure backup of this folder now. This configuration directory will
   also contain certificates and private keys obtained by Certbot so
   making regular backups of this folder is ideal.
 - If you like Certbot, please consider supporting our work by:

   Donating to ISRG / Let's Encrypt:   https://letsencrypt.org/donate
   Donating to EFF:                    https://eff.org/donate-le
Now your certification and private keys are saved, and Nginx is configured.
You can access to the code-server via https://code-server.<EXTERNAL_IP>.xip.io
9. Using code-server
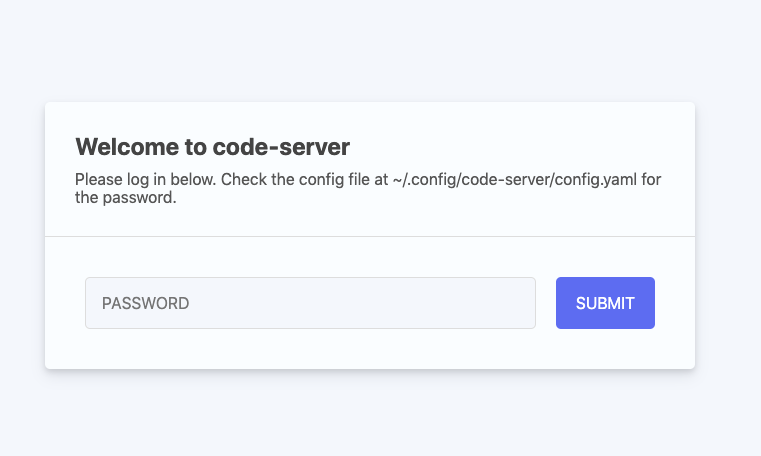
Login
Your initial password for code-server can be found in ~/.config/code-server/config.yaml. You can change the password within the same file, don't forget to restart the service with the following command:
$ systemctl --user restart code-server
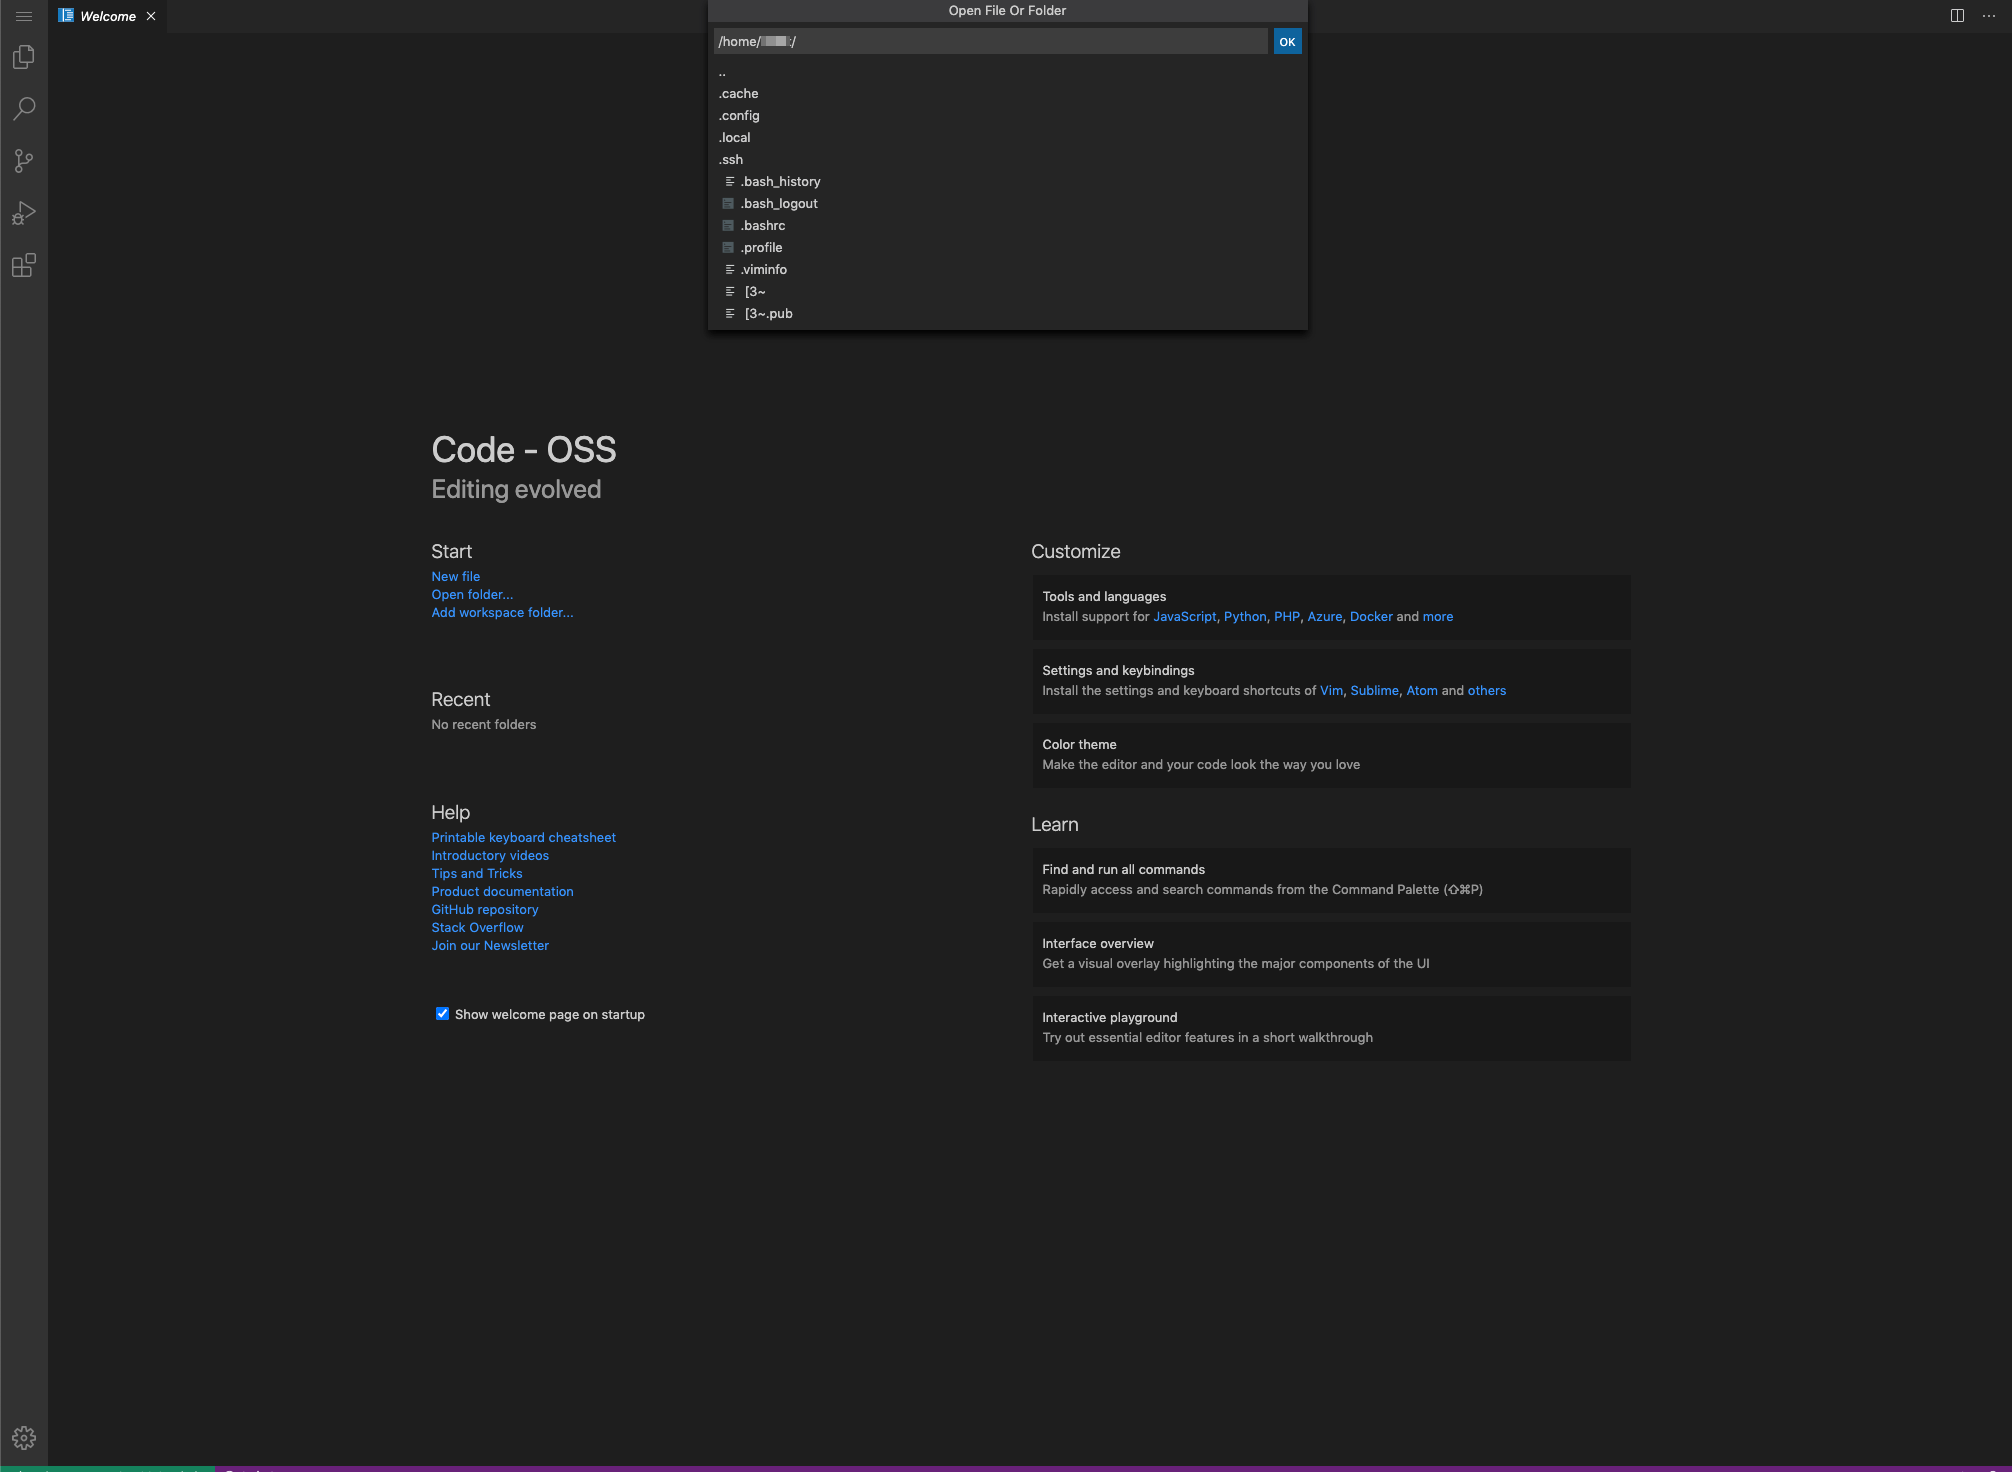
Editor View
Initial "Welcome Screen" is shown on first login. This screen has links to opening folders, to install extensions and customize your installation.
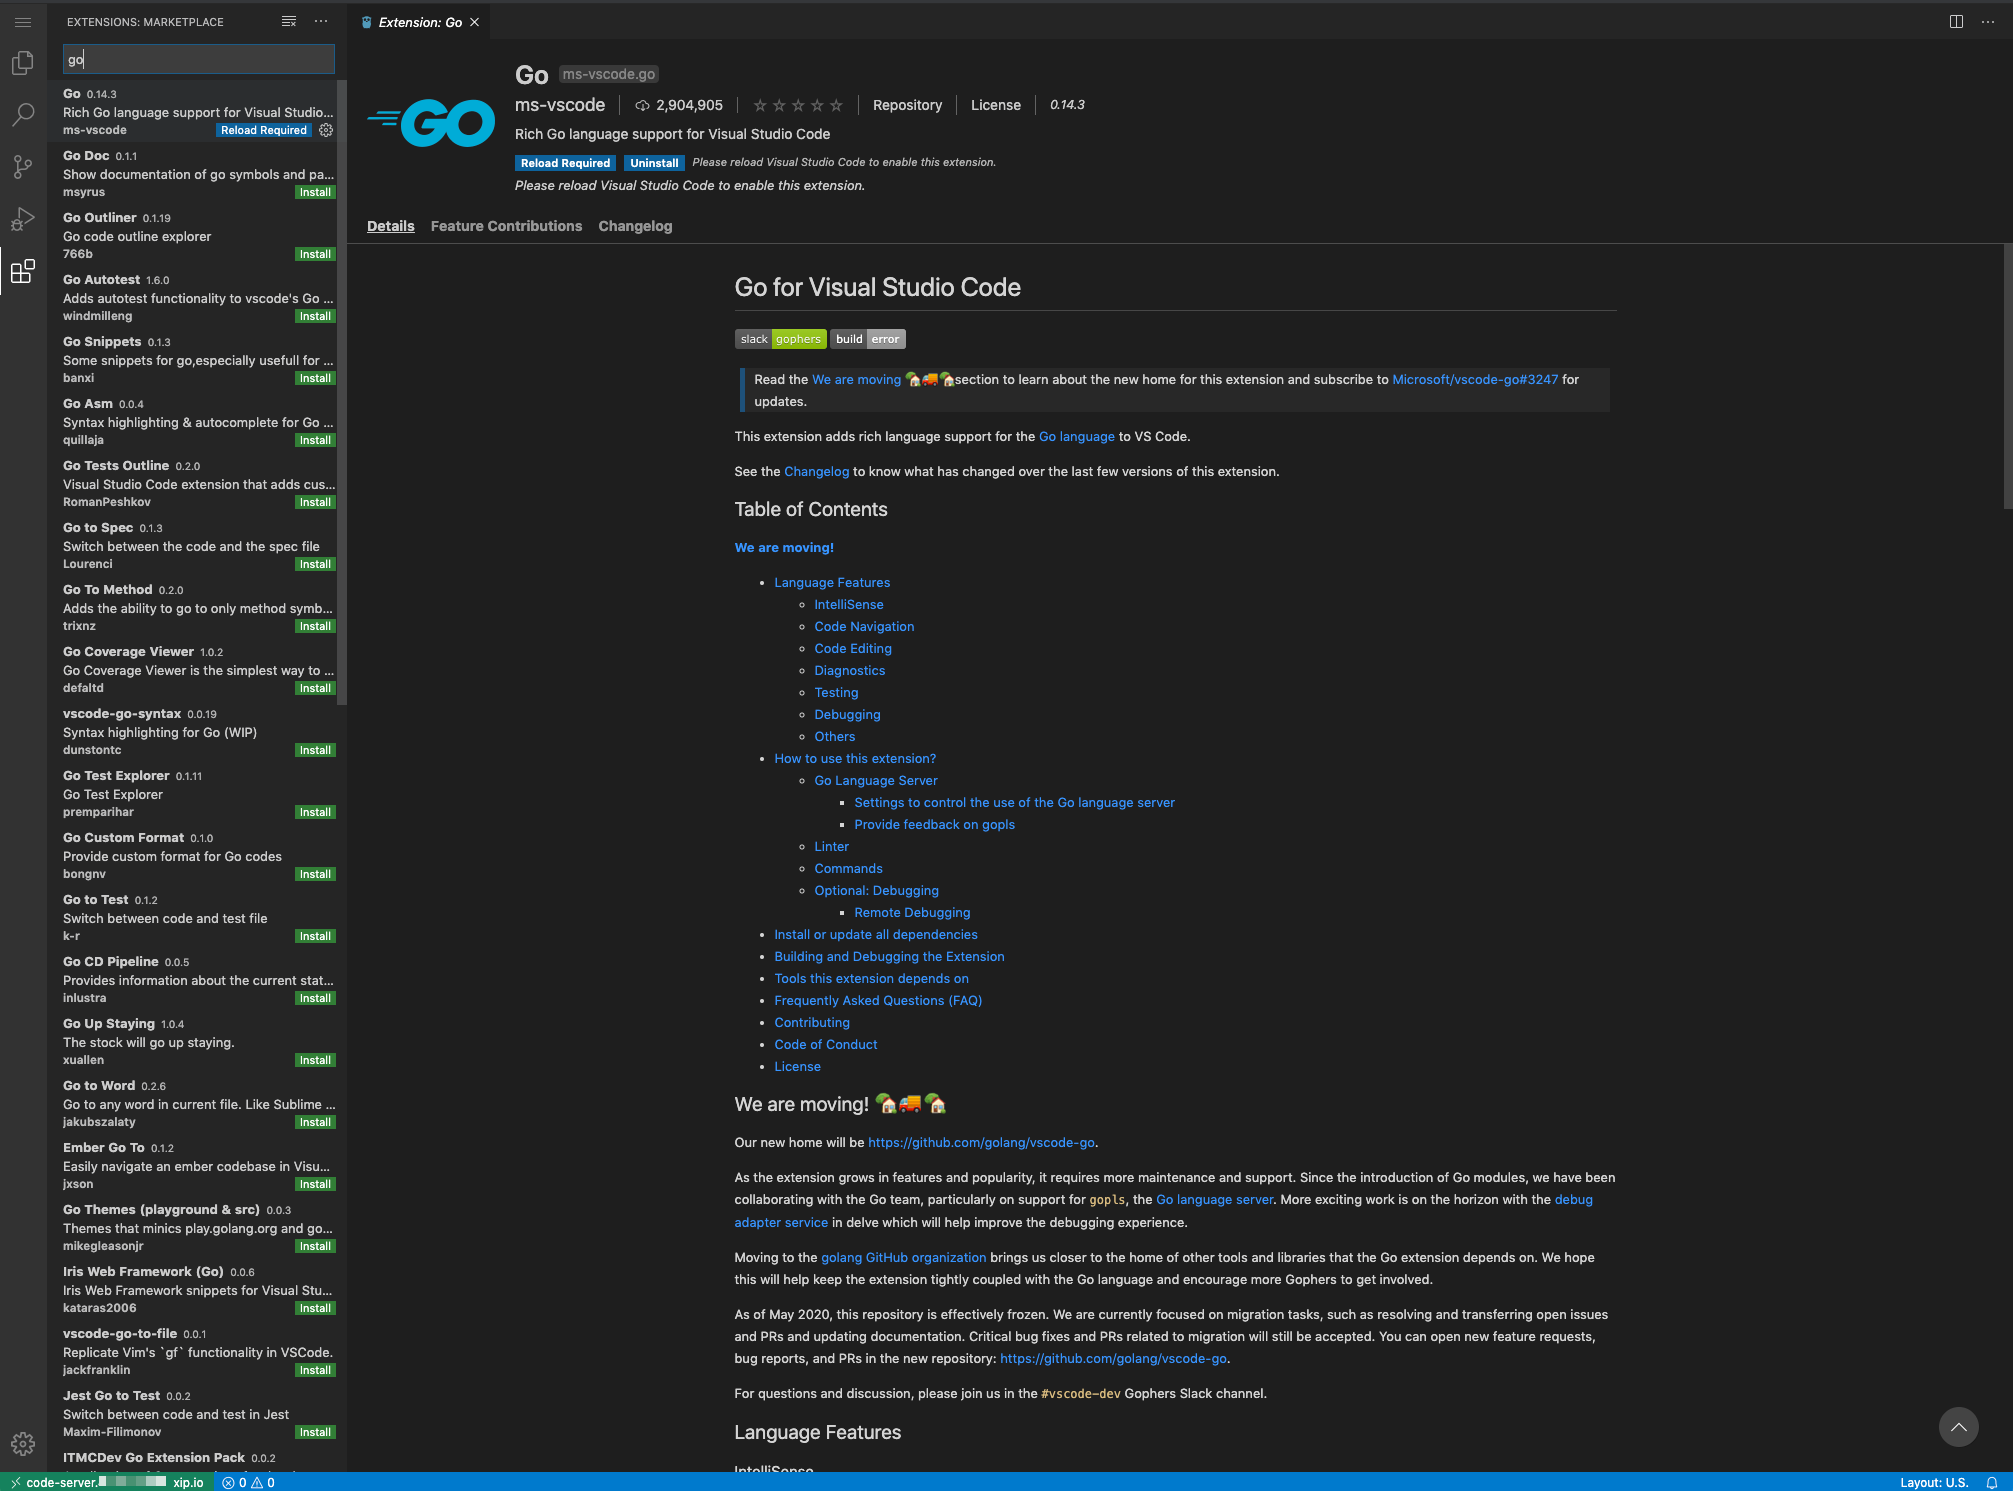
Extensions
Now you can install extensions you require from the "Extensions" menu to finish your setup. There are many extensions for VS Code, from language packs to linters, minifying tools.
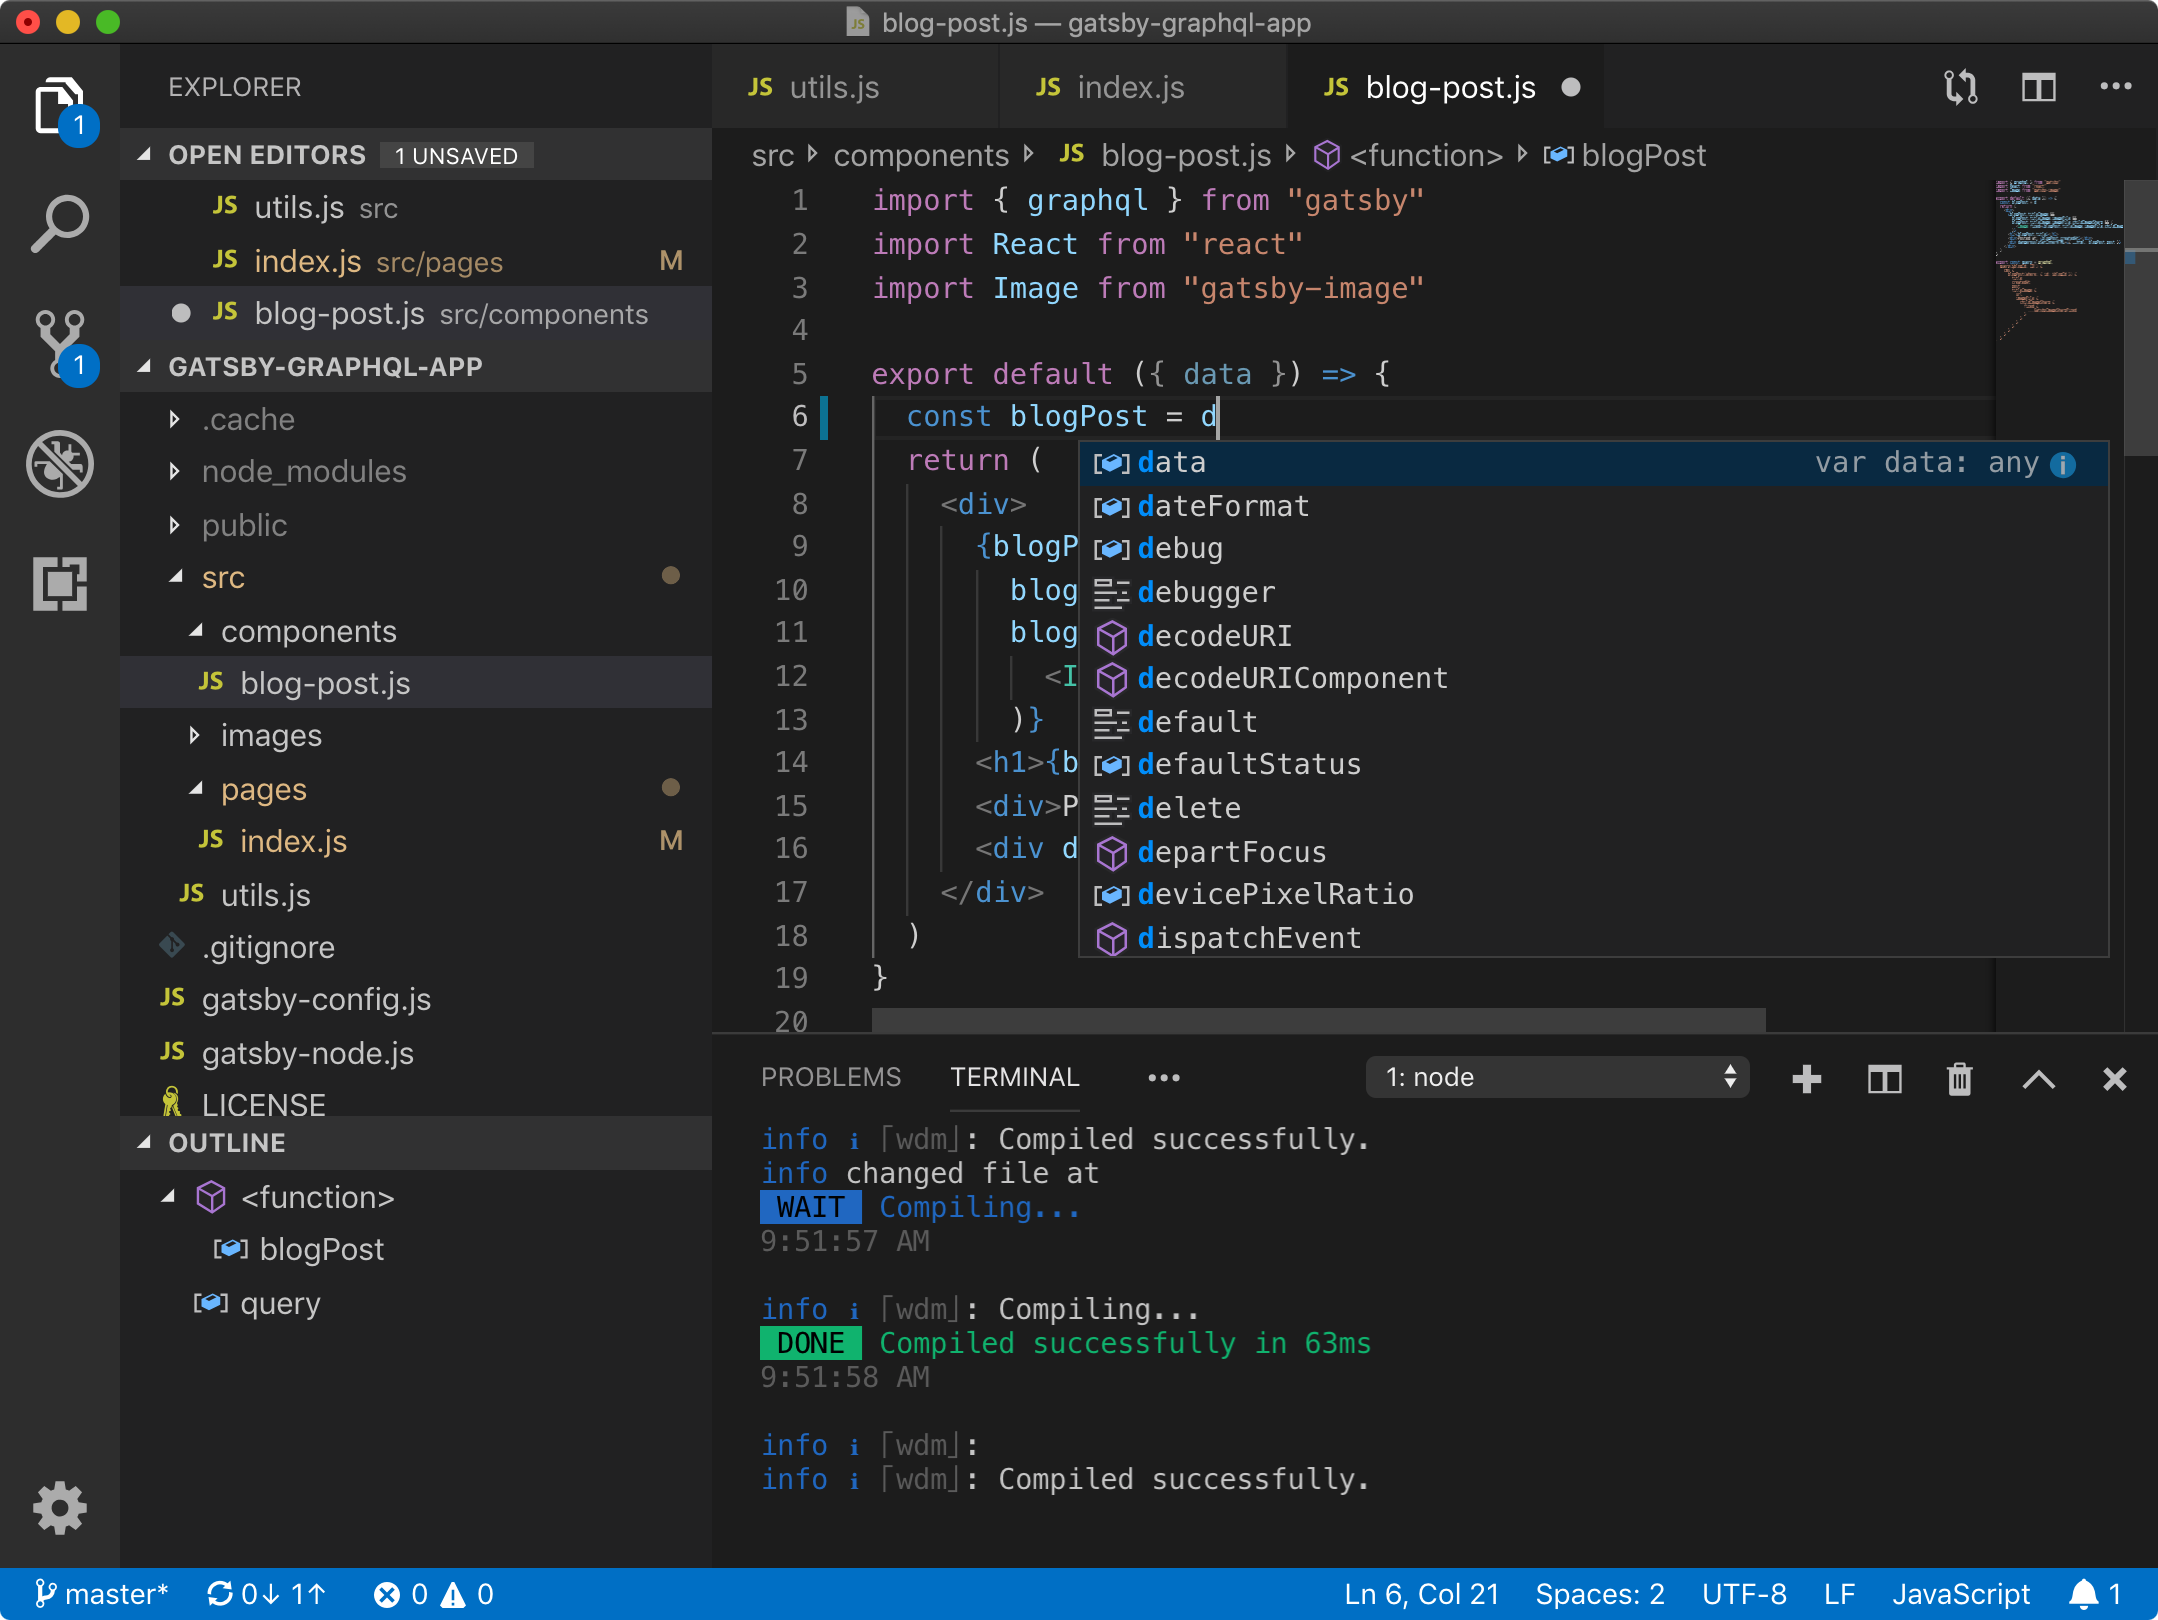
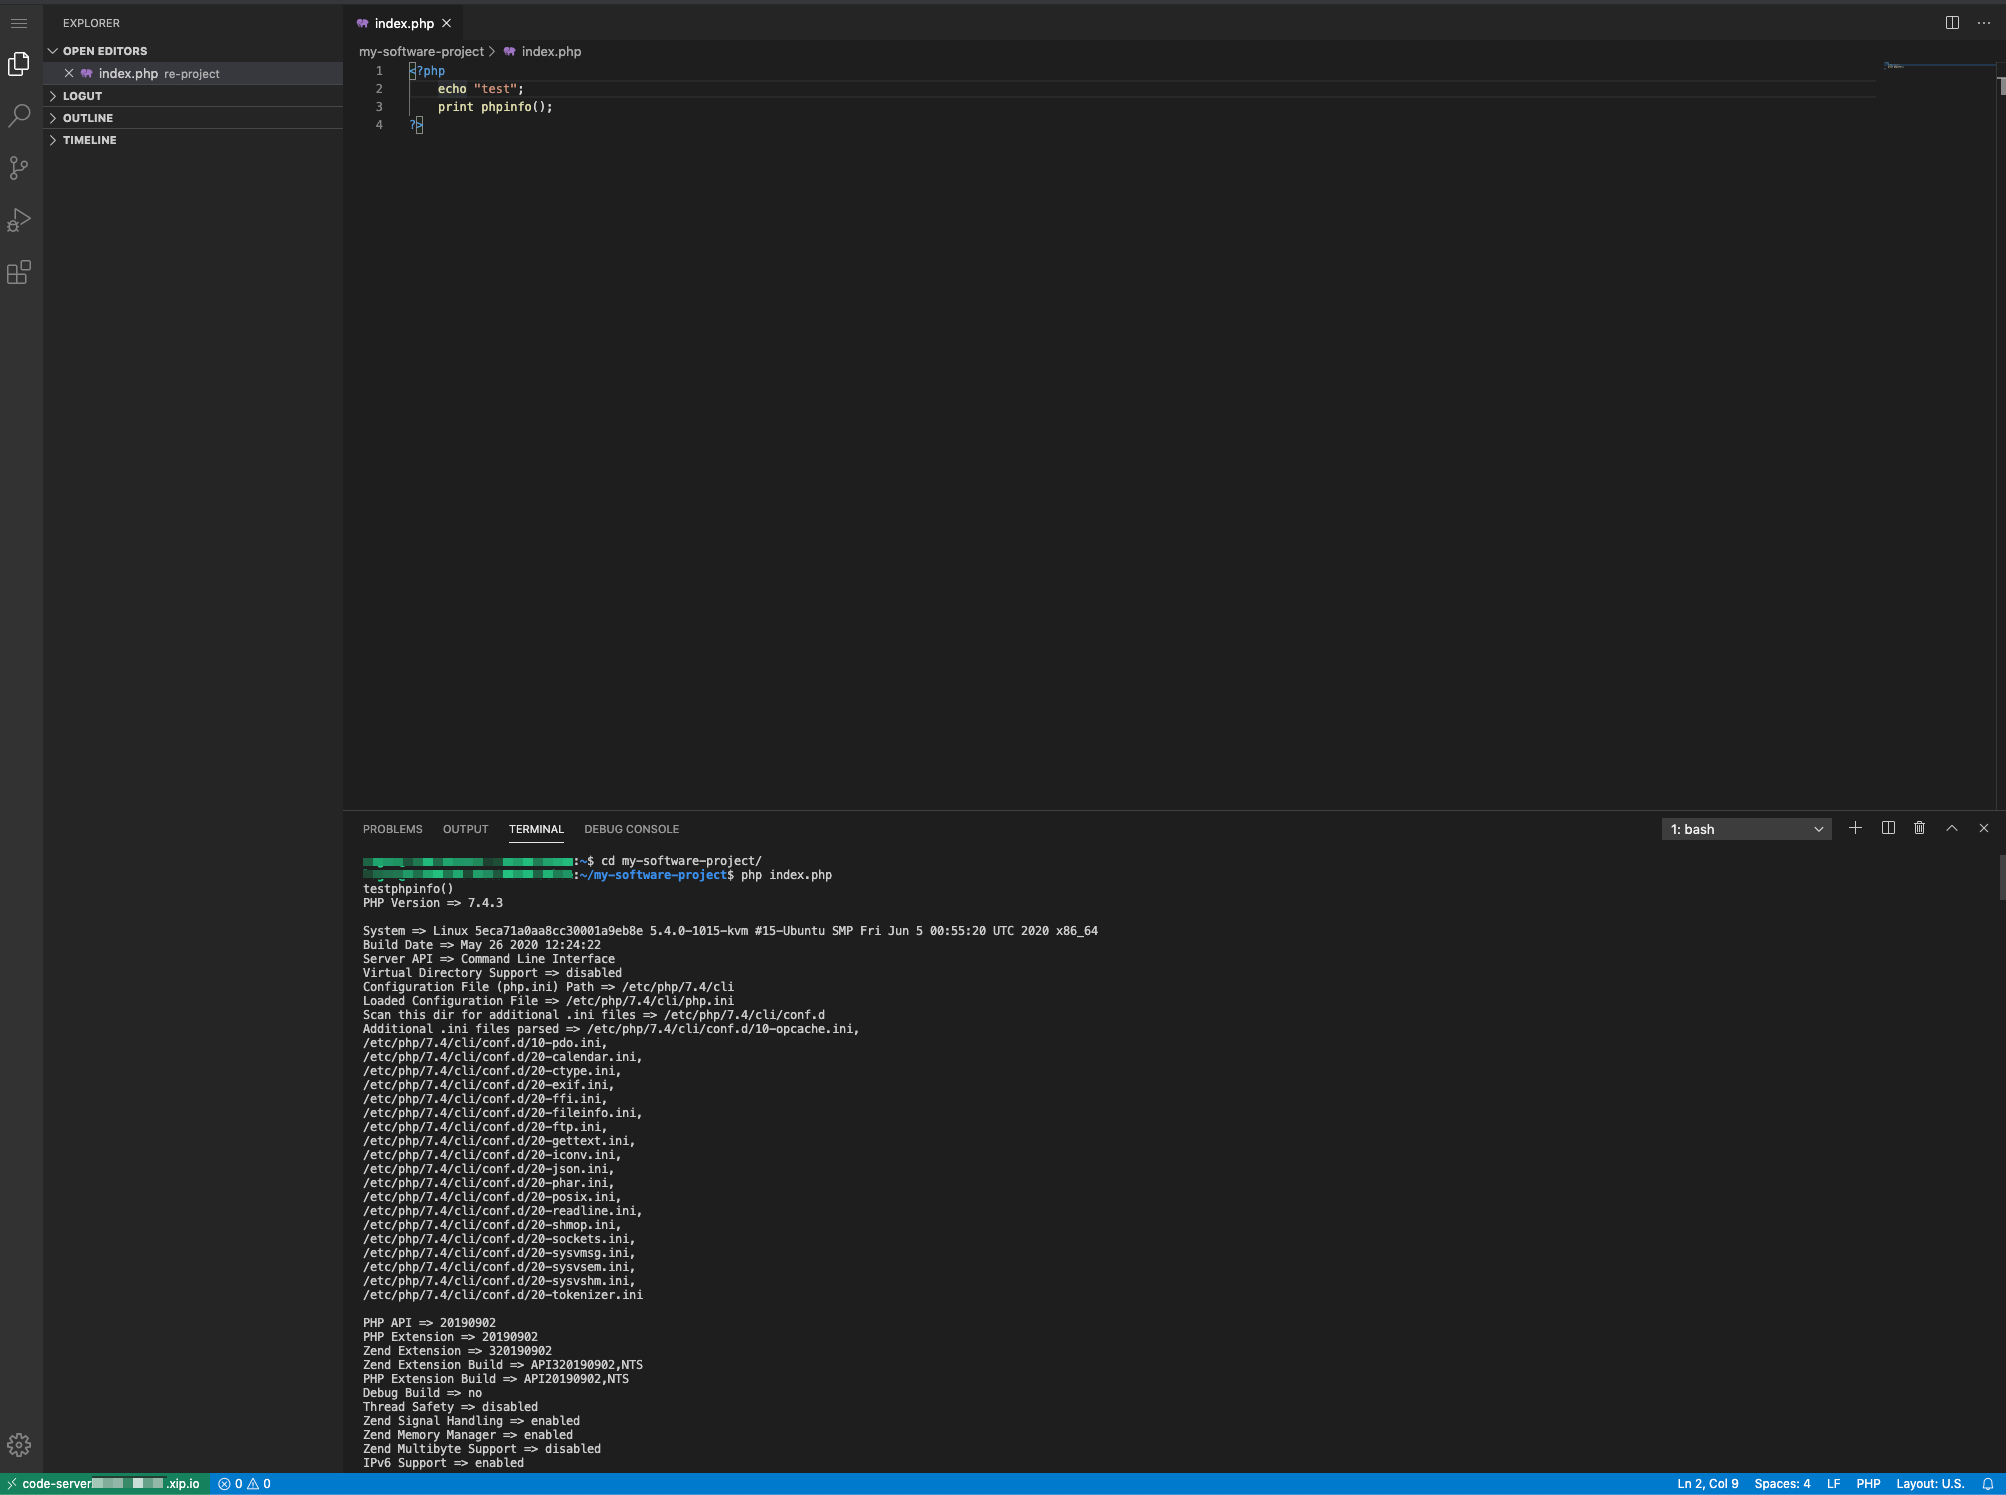
Editor and terminal
One of the great benefits of the Visiual Studio Code is that a powerful terminal is built-in, you can simultaneously code and check from the terminal if needed.
Conclusion
You successfully configured and setup code-server with all its dependencies. Later we secured the installation with Nginx and Let's Encrypt.
Now you can code from your browser from anywhere.