

With the rise in popularity of on-demand streaming apps like Popcorn Time and King Club X, more users than ever are exposing themselves to legal issues. Many don't realize that when they use Popcorn Time it's downloading a torrent in the background. Torrent traffic is trivial for ISPs to detect and copyright holders have been known to spy on torrent magnets and note down users' IP addresses.
Though an IP address only gives the copyright holder a general idea of a users' location, they can request the details of the specific customer from the ISP. Depending on your region, your ISP may even have an agreement with copyright holders to hand over your information with little hassle.
Sign up for BitLaunch and quickly trial a free WireGuard VPN for Popcorn Time.
1. Should I sign up with a VPN provider?
Torrent services work on a peer-to-peer basis, meaning that while you stream a movie or TV show, you're also distributing to other users. This can make things even scarier if you do get caught, and some Popcorn Time clients take advantage of that fear to convince users to pay for commercial VPN services.
However, while the best way to avoid getting caught is not to torrent at all, at BitLaunch we believe the best option is a self-hosted anonymous VPN like Algo. In recent times, there have been high profile hacks of VPN providers and some have even been found to lie about their logging policies.
Though a VPN provider is often seen as more convenient than creating your own anonymous VPN, BitLaunch has a one-click setup process that levels the playing field. At the same time, you'll benefit from complete control over the (Bitcoin) VPS server your VPN is hosted on. You can verify that zero logs are being kept and can harden your security as much as you wish. On top of that, attackers have little to gain from coming after you (all that effort for one user?), and your traffic will look less suspicious to services like Google, Netflix, or Amazon.
2. How to set up an anonymous VPN for Popcorn Time
Anonymous VPNs take two forms on BitLaunch's servers: WireGuard, a new, faster VPN protocol, and OpenVPN, which is older but tried and tested over many years. It's entirely up to you which you choose, but either way, you'll want to start the process by signing up for BitLaunch.
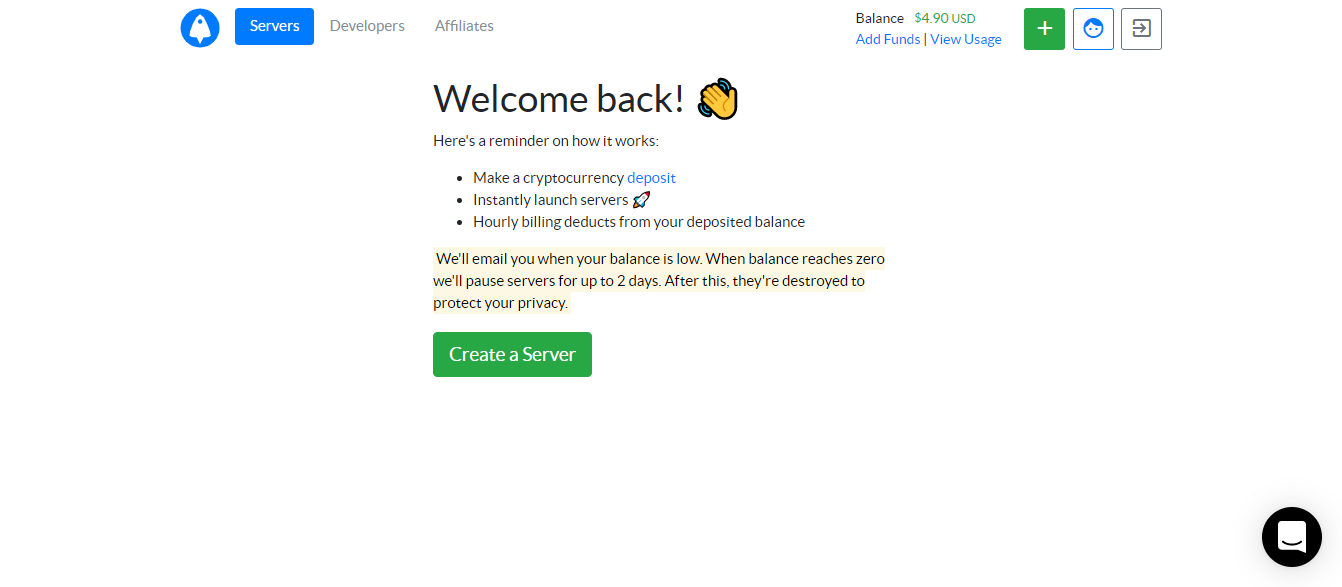
Once your account is created and has credit, click the green Create a Server button to get started.
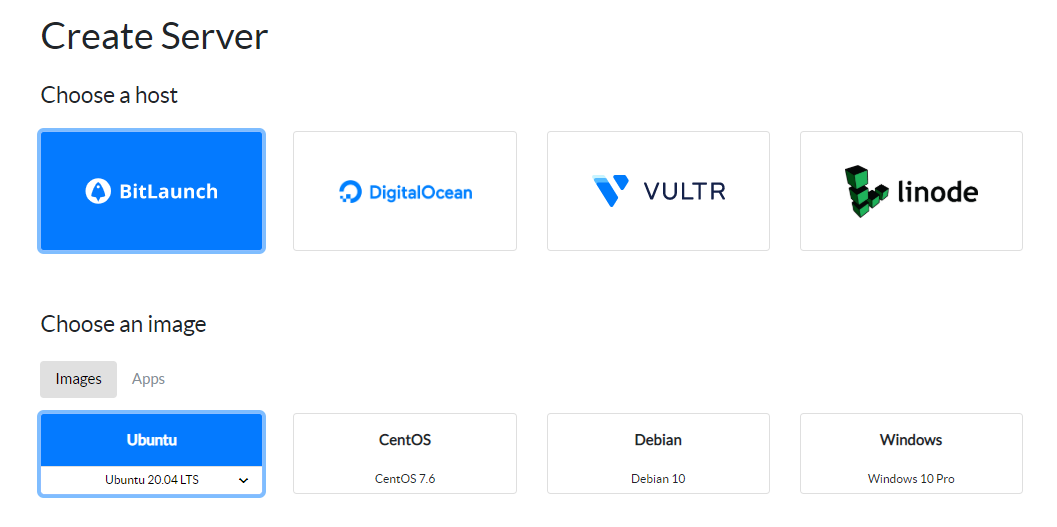
In the 'Create Server' interface, choose BitLaunch as your host and select Ubuntu as the image.
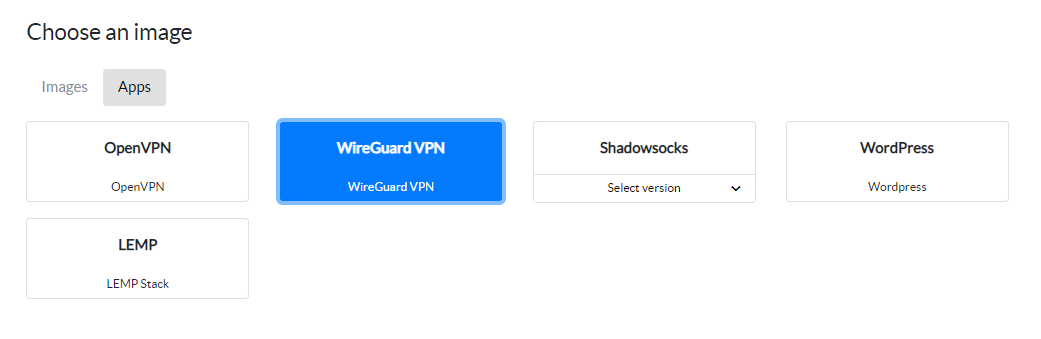
Click the Apps tab, and then on WireGuard VPN or OpenVPN. We're going to be using WireGuard for this tutorial.
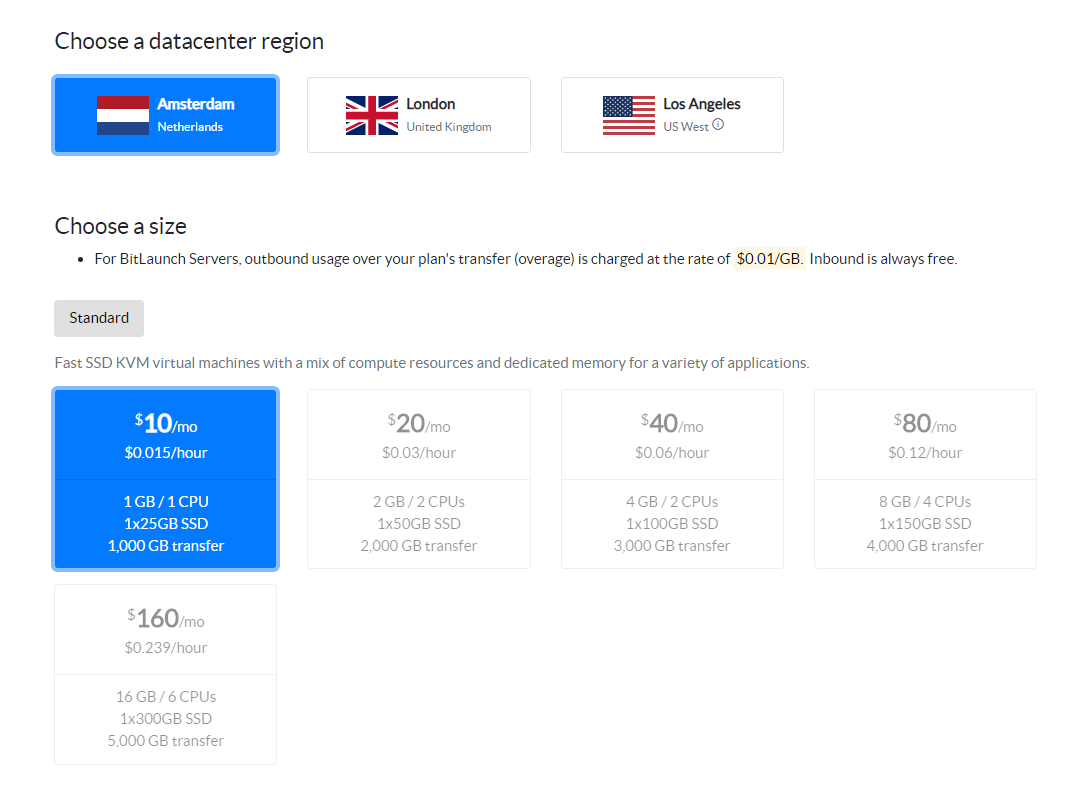
Choose the datacenter region that's closest to you and the specs of the server. For the most part, being closer to the server means lower ping and faster speeds. However, it's worth noting that the Netherlands tends to be more respectful of privacy than other countries.
Enter a secure password and hostname and click Launch Server.
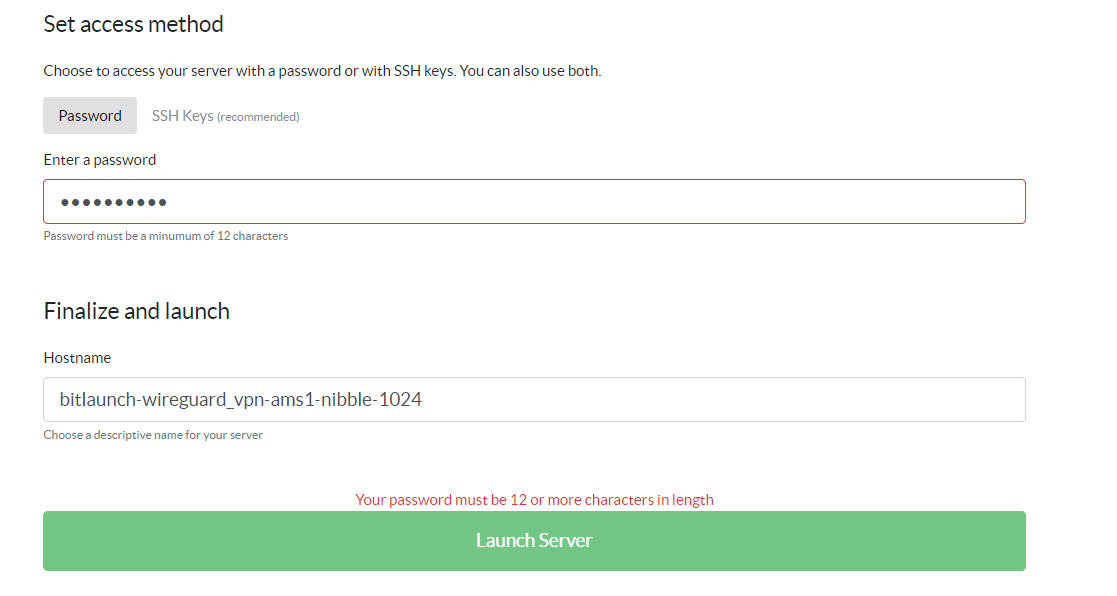
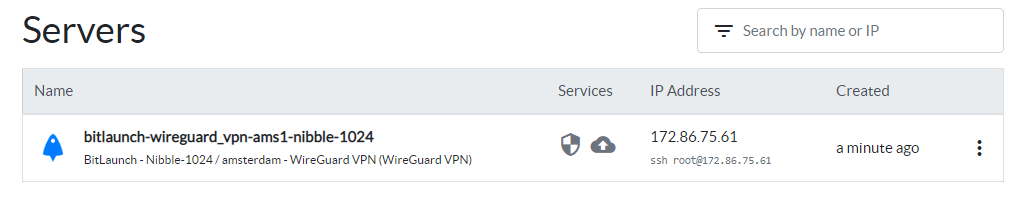
BitLaunch will now create your VPS server and automatically install WireGuard on it. This process should only take a minute or so.
Alternatively, you can create a VPN yourself if you want full visibility. Our Algo VPN guide is a good place to start.
3. How to connect to your anonymous VPN
Connect to the VPS with PuTTy and enter the password you chose earlier. You'll see a welcome message with your WireGuard or OpenVPN config details.
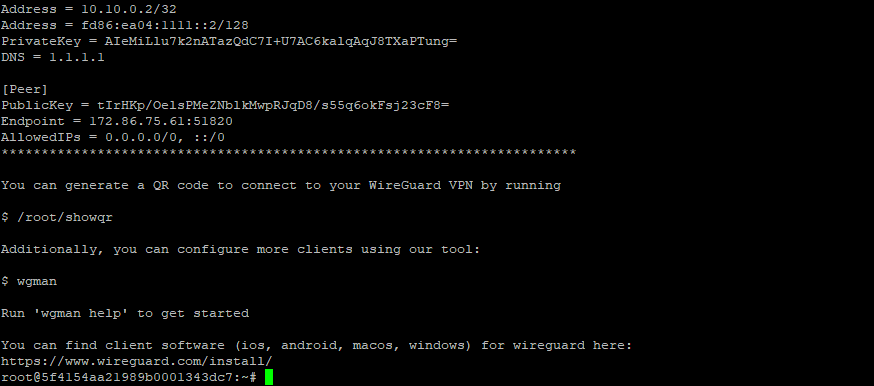
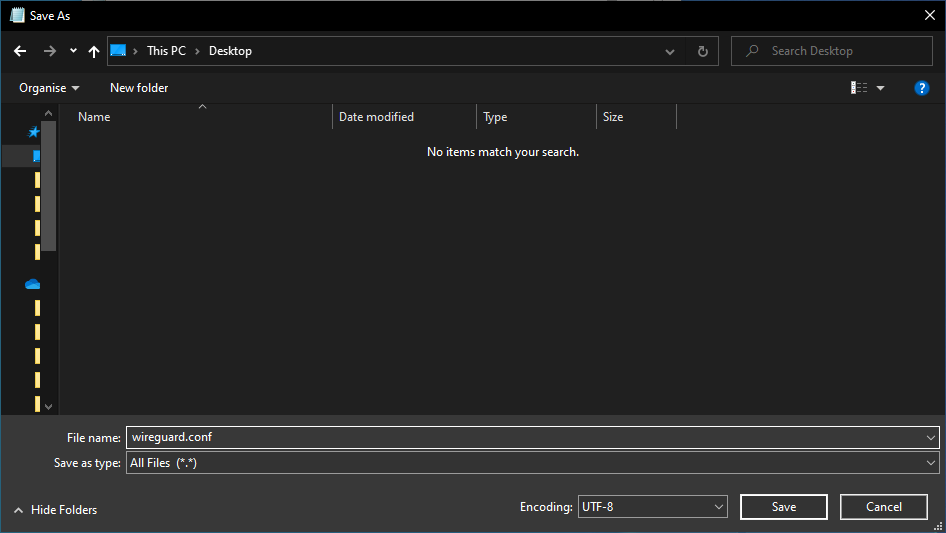
Copy the information and paste it into a text file on your local pc. Save it as wireguard.conf.
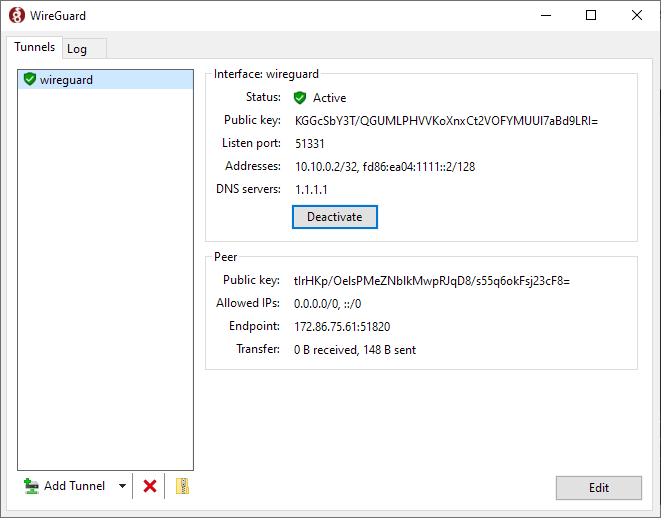
Grab the latest WireGuard or OpenVPN installer. Once the software is set up on your computer, press the Import button and select your config file. Press Activate to connect to your VPN.
To connect with WireGuard Android or iOS app, run the command /root/showqr

In the app, press the blue plus button to add a tunnel, then click Scan from QR code.

Accept camera permissions and point the camera at your screen until the QR code scans. Name the tunnel "AnonymousVPN" and press tap the toggle icon to connect.
Now, you can check out more VPN guides:
 BitLaunch
 BitLaunch
 BitLaunch