

Sign up for BitLaunch today and get started with V2Ray and VMess on Linux.
If you're a privacy enthusiast, you may or may not have heard of V2Ray. The tool forms a core part of Project V, an effort to provide users with the software to deploy specific network environments privately.
Though V2Ray can be used for various purposes, its primary mission is to combat internet censorship. Through the use of V2Ray and its protocols, users in heavily monitored countries like China can access content that would otherwise be blocked. Today, we're going to explain the basics of V2Ray and its components, as well as how to install it.
What is V2Ray?
V2Ray is the sub-section of Project V that's responsible for network protocols and communication. It draws some parallels to proxy software Shadowsocks, but is intended more of a platform, with any developers able to use the provided modules to develop new proxy software.
V2Ray and its VMess protocol were designed to improve on the performance and features of Shadowsocks and aid in detection prevention. When deploying V2Ray, you can dynamically change port, access advanced routing features, use obfuscation techniques, chain proxies, and more. Though this makes V2Ray more complicated than single proxy protocols like Shadowsocks, it means it can be used for more niche configurations and scenarios.
 BitLaunch
How to Install V2Ray on Linux
Though its configuration can be complex, V2Ray's setup on Linux is very easy thanks to a one-command script by 233blog.com. First, perform upgrades and updates to your VPS:
sudo apt-get update
sudo apt-get upgrade
Now we can install curl (if you don't have it already) and download and run the script from GitHub:
sudo apt-get install curl -y
bash <(curl -s -L https://git.io/v2ray.sh)
The script will install the following files as it walks you through its installer:
- V2Ray executable:
/usr/bin/v2ray/v2ray: - Config file:
/etc/v2ray/config.json - Utility:
/usr/bin/v2ray/v2ctl - IP data file:
/usr/bin/v2ray/geoip.dat - Domain data file:
/usr/bin/v2ray/geosite.dat
You'll first be asked the version of V2Ray you wish to install. There aren't any major differences between 1 and 2, so just type 1 and press Enter.
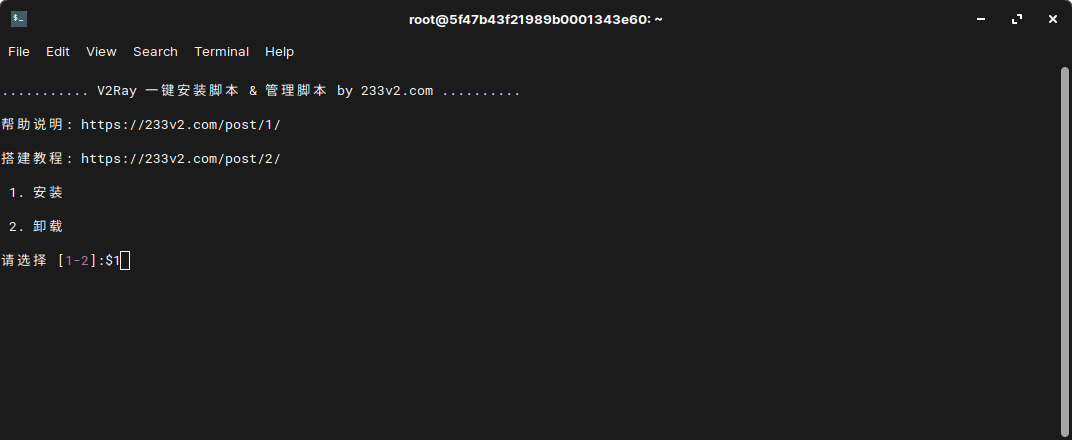
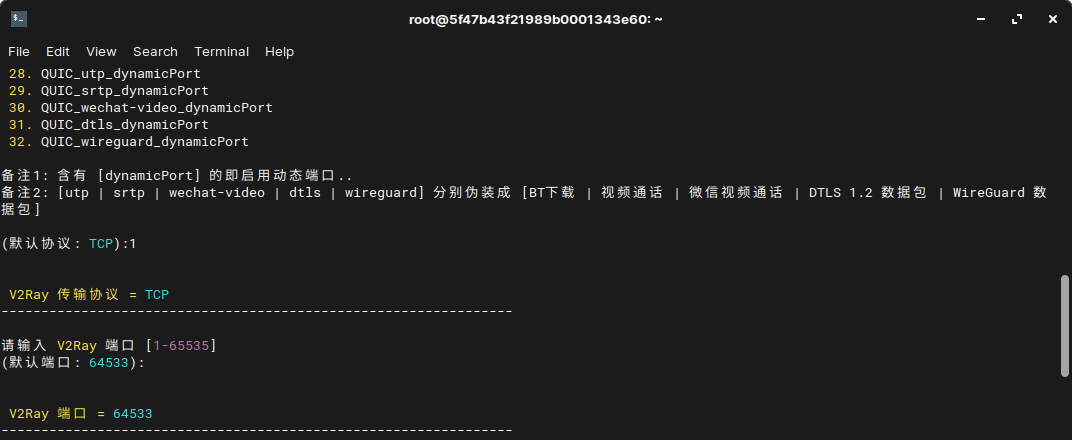
You'll be asked to choose the protocol. We'll have a short explanation of protocol options below, but for now, just choose TCP for simplicity by pressing 1 and then Enter.

V2Ray will now pose the following question:
请输入 V2Ray 端口 [1-65535]
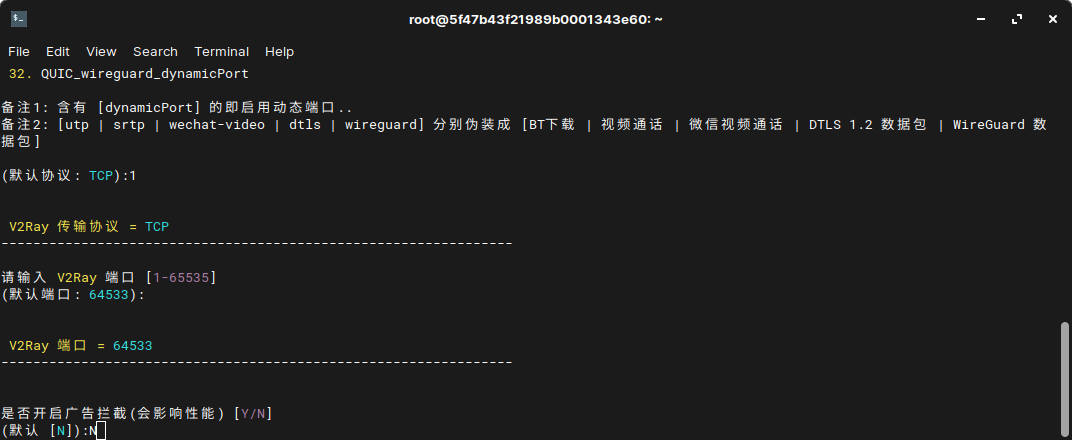
(默认端口: 64533):Type your port or leave it as the default by just pressing Enter.
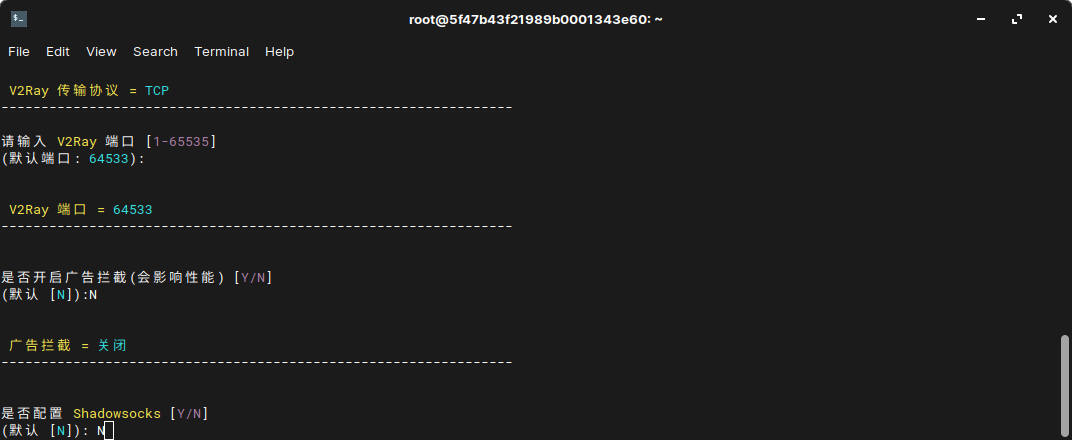
The next step is asking whether you'd like to install an ad blocker. This is a personal choice, but do note that it can affect performance. For a more barebones experience, we're going to enter N.
You can now choose whether to install Shadowsocks. Again, this depends on your use-case, but we're going to enter N for no.
Finally, press Enter to confirm the installation. V2Ray will take a little while to download and install everything, placing the following config files to run it as a service:
- systemd:
etc/systemd/system/v2ray.service - SysV:
/etc/init.d/v2ray
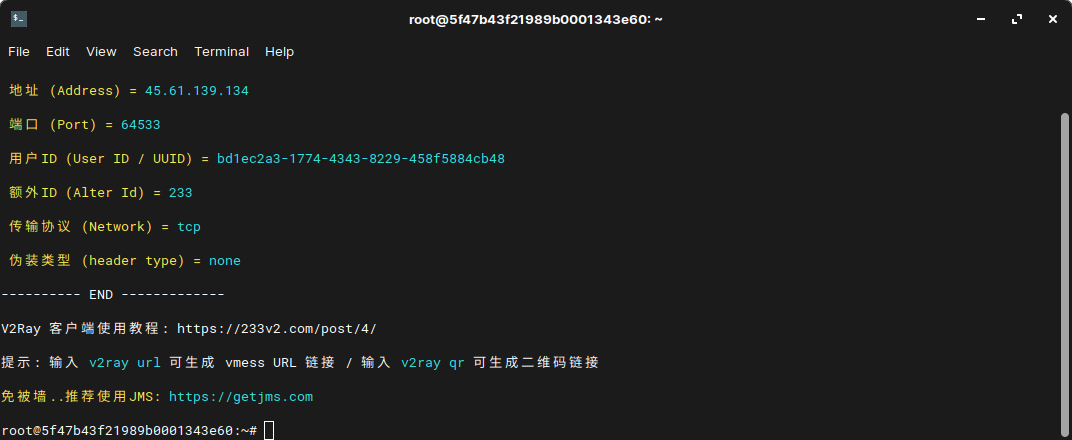
On successful install, it will display the configuration options you chose, followed my the commands to get your vray url and qr code, like so:
With installation complete, you can edit /etc/init.d/v2ray via:
sudo nano /etc/init.d/v2ray
Change the config files to suit your preferences, using the configuration section of the official wiki for guidance and read our protocol explanation below.
You can then type service v2ray start to start v2ray.
V2Ray Protocols Explained
Unlike Shadowsocks, V2ray supports numerous protocols, both inbound and outbound. As mentioned previously, VMess is chief among them, providing an inbound and output proxy for use in encrypted communications. However, there's also the following to consider:
- Blackhole: A protocol for outbound connections that blocks all connections with pre-defined responses. Despite V2Ray's functionality as an anti-censorship tool, this can be used with routing to block access to certain websites where necessary.
- Dockodemo-door: Dockodemo-door passes inbound connections to a specified destination, and as such can be used as a transparent proxy.
- Freedom: Passes all outbound TCP and UDP connections to their intended destinations. Typically used in instances where you want to sent traffic to its true destination.
- HTTP: A very common inbound protocol for distributed information systems.
- MT Proto: Used for Telegram, a privacy-focused chat app. A pair of inbound and outbound proxies can be used via V2Ray to build a proxy for a telegram server.
- Shadowsocks: A previously mentioned protocol that provides a secure proxy based on SOCKS5.
- Socks: The standard SOCKS protocol, with support for SOCKS5, SOCKS4, and SOCKS 4.A.
Each of V2Ray's protocols can be configured to the user's liking, with users able to specify in Blackhole's config the responses that will be blocked, for example.
How to add a client to V2Ray
With V2Ray set up on your VPS, you can begin adding other devices, known as clients, to the connection. The process to do so depends on your device, but there are apps for Windows, MacOS, Android, iOS, Free BSD, and more. You can find them here:
- V2Ray Windows:
- V2Ray Mac:
- V2Ray Android:
- V2Ray iOS:
Connecting with V2Ray Windows
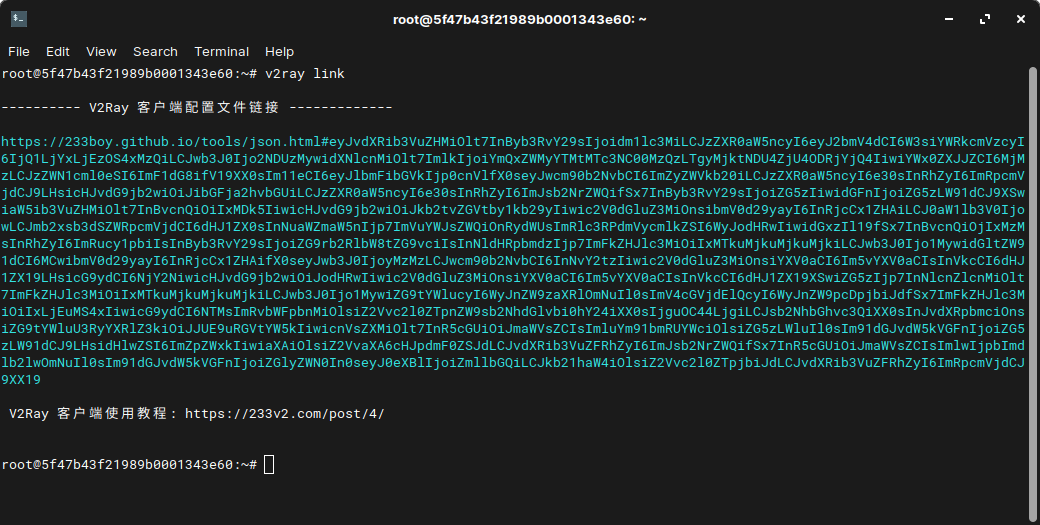
To import your config on a Windows client, instead type v2ray link. Copy the link and send it to the client somehow - whether via email or a messaging service.
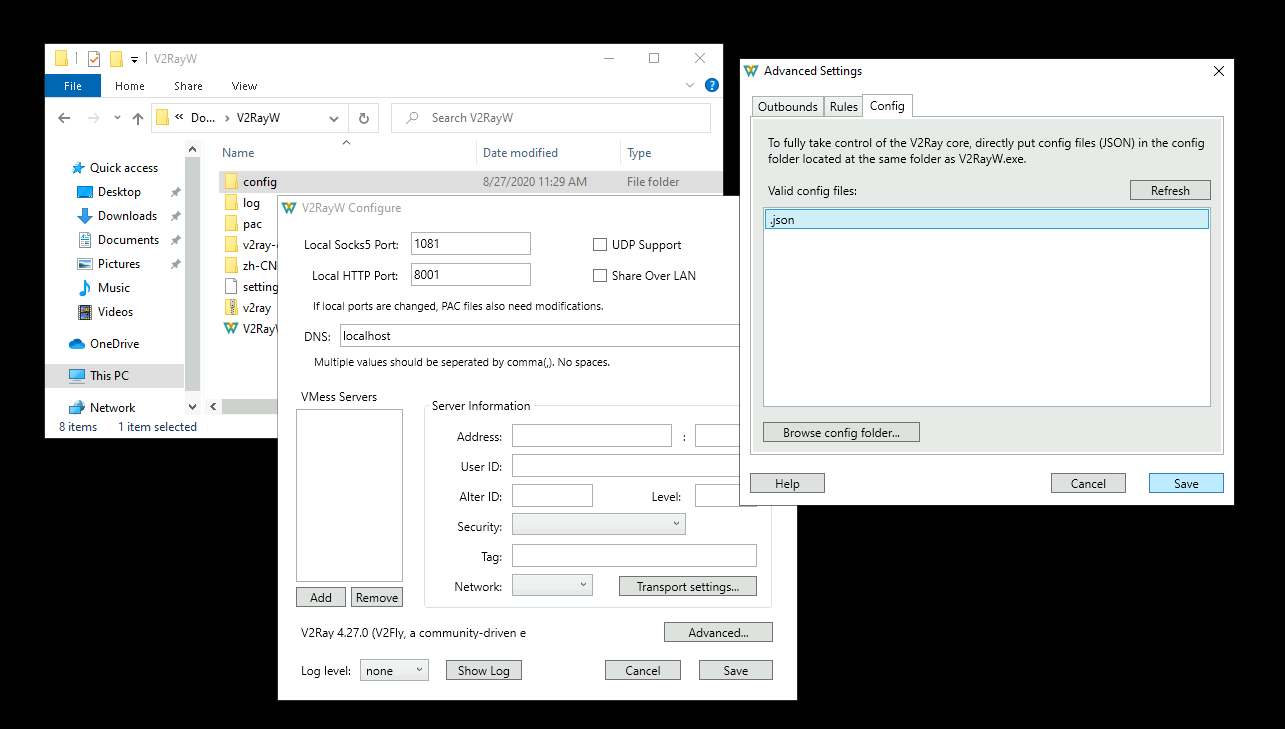
Paste the file into the client's browser and download the resulting .json file. Place it in your application's config folder, open its configuration options, and click Advanced.... Switch to the Config tab, select .json, and press Save. You can now connect to V2Ray.
Connecting on Mobile
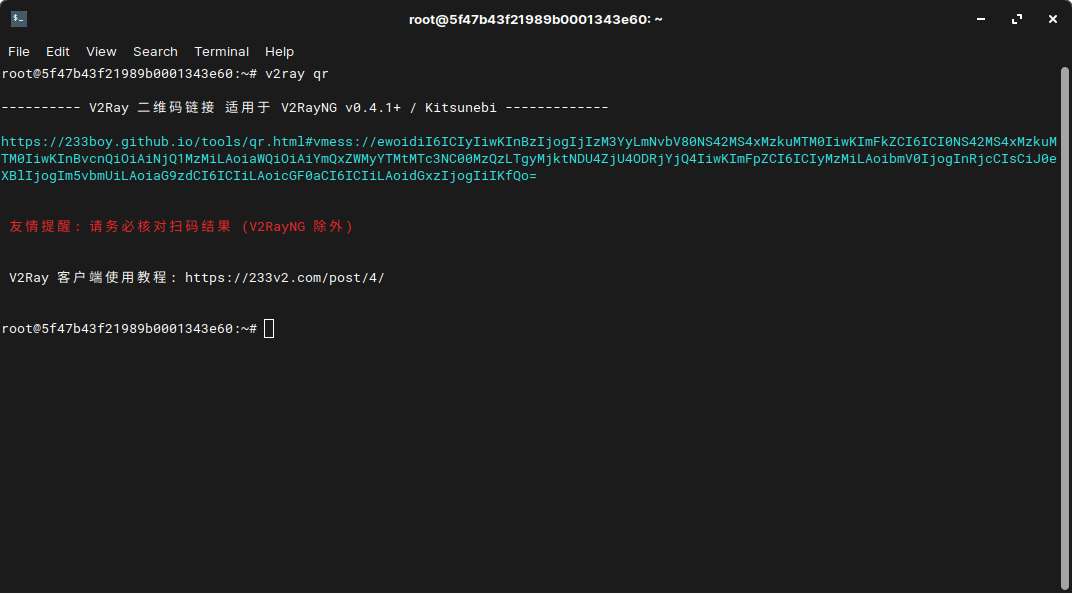
Most V2Ray apps on mobile support QR code scanning to quickly import the configuration parameters from your server. To view this code, type v2ray qr when it's running and click the link it outputs.
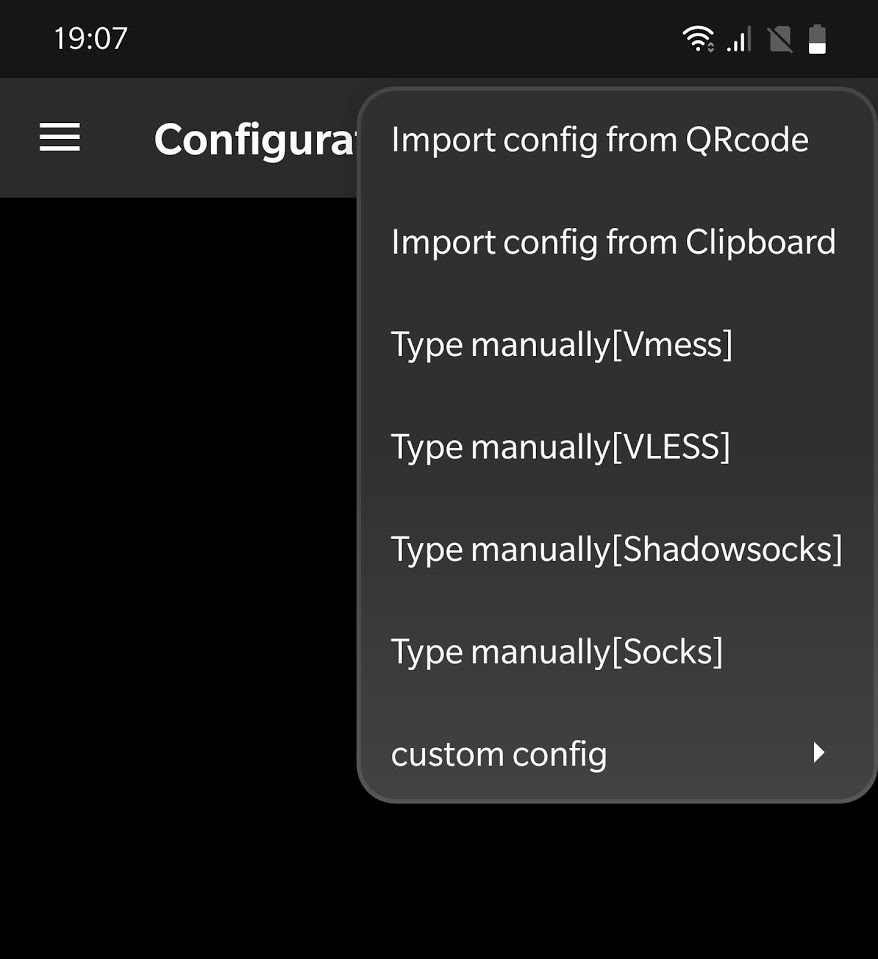
In your V2Ray app (in this case v2rayNG) click the plus icon in the top-right, then Import config from QRcode.
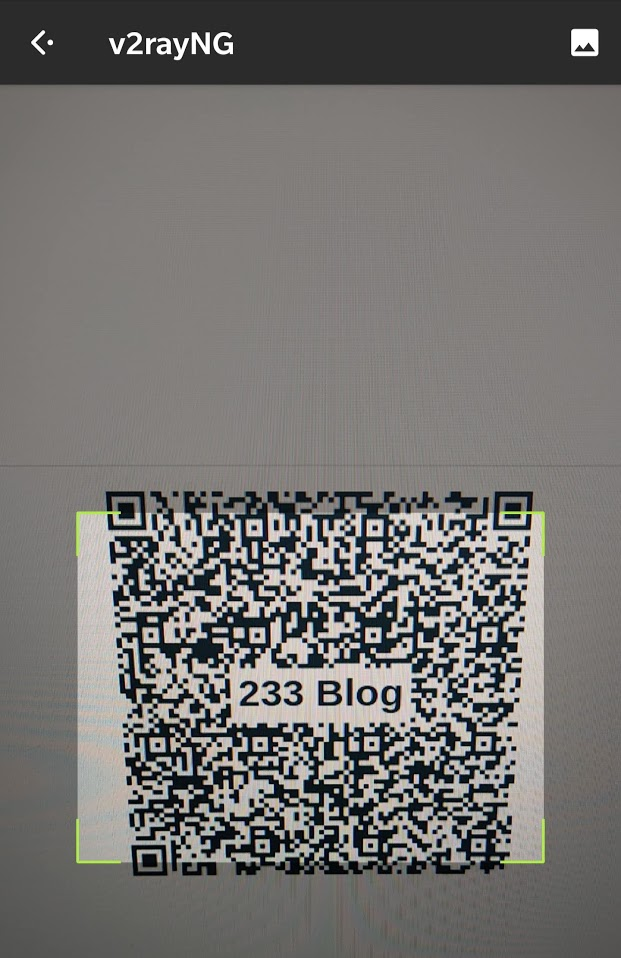
Point your phone's camera at the QR code on your screen until it imports.
Press the connection button to enable V2Ray on your device.