If you've followed our getting started guides, set up LEMP, and added your DNS records, you may have noticed one major issue. Anybody who visits your site will be doing so in HTTP, and will therefore see a security warning in their browser.
It's important that you don't ignore this security warning and add SSL to your Nginx server. SSL helps to keep your customer's sensitive information safe via encryption and it's also a ranking factor – good luck getting to the first page of Google when your server isn't considered safe.
Thankfully, Nginx SSL setup isn't very complex. In fact, it only takes a minute or so. Before we start, however, you should know that there are three routes to set up SSL on Nginx.
The first is through the SSL certificate bundle provided by a certificate authority (CA). These usually come from your domain registrar, and in many cases, you'll have to pay extra for the privilege. You'll have either been sent it via email or you'll be able to download it from your account dashboard.
The second route is through Let's Encrypts free SSL/TLS certificate offering. Let's Encrypt is a free, non-profit Certificate Authority. The relevant part to us, however, is the Electronic Frontier Foundation's Let's Encrypt tool, which provides a quick and convenient way to generate and install an SSL certificate on your Nginx server.
Last but not least, you can use the new SSL tool bundled with BitLaunch's one-click LEMP stack install for an even easier install.
We'll of course show you all three routes today.
Pre-requisites
Before we start, at a minimum you'll need:
- A VPS server with LEMP installed (you can use BitLaunch's one-click app for a fast setup)
- A domain with an A record pointing to your server IP
- An nginx server block/virtual host for your domain
You will need these things regardless of whether you'll be using certbot or a certificate bundle to configure your SSL on Nginx
How to install an SSL certificate on Nginx via a CA Bundle
Your SSL certificate was probably provided to you as a .zip file. usually, this file consists of a server certificate, root certificate, and intermediate certificate. We won't go into what each does here, but suffice it to say that you'll want to combine them all into a single .crt file.
Step 1 – Combine your certificates into a single file
If you're yet to upload the certificates to your server, one route to combine your certificate is to manually copy and paste all of their contents into a single file in a text editor such as Notepad. You can then save the new file as combined-ssl.crt or something along those lines.
The other option is to use cat to combine them in Linux. The command will vary slightly depending on whether each of your certificates is a separate file or if your intermediate certificates are already in a single ca-bundle file.
If they're all separate, your command should look something like this:
cat your_domain_name.crt intermediate_certificate.crt root_certificate.crt >> bundle.crtObviously, you should replace the names of the .crt files with the names of your actual certificates.
If your intermediate certificates are bundled, it's even easier:
cat your_domain_name.crt your_domain.ca-bundle >> bundle.crtThat's all there is to it. Your certificate bundle is ready to use. You can upload it to /etc/ssl/ on your server with SFTP or another tool. You'll want to add your private key to this folder, too.
Step 2 – Perform your Nginx SSL configuration
You will have already edited the .conf file for your server block, so you should know where it is. If you don't, check your /etc/nginx/sites-available folder. Once you find it, edit it with:
sudo nano your_config_file_name.confThere are a few changes you'll now want to make in the server { section:
- Find the
listenline and make sure it sayslisten 443; - Add or uncomment
ssl on;if it's not there already. - Add the path to your certificate with
ssl_certificate /etc/ssl/bundle.crt; - Add the path to your SSL key:
ssl_certificate_key /etc/ssl/your_domain_name.key;
Once these are done, your config should look something like this:
server {
listen 443;
ssl on;
ssl_certificate /etc/ssl/bundle.crt;
ssl_certificate_key /etc/ssl/your_domain_name.key;
root /var/www/your_domain_bame;
server_name your_domain_name.com;
}
Save the file with Ctrl + O and press Ctrl + X to exit.
You should then check that your config has no errors with nginx -t. If no errors come back, restart Nginx using:
sudo systemctl restart nginxThis will apply the Nginx SSL config changes.
Step 3 – Check that SSL is working
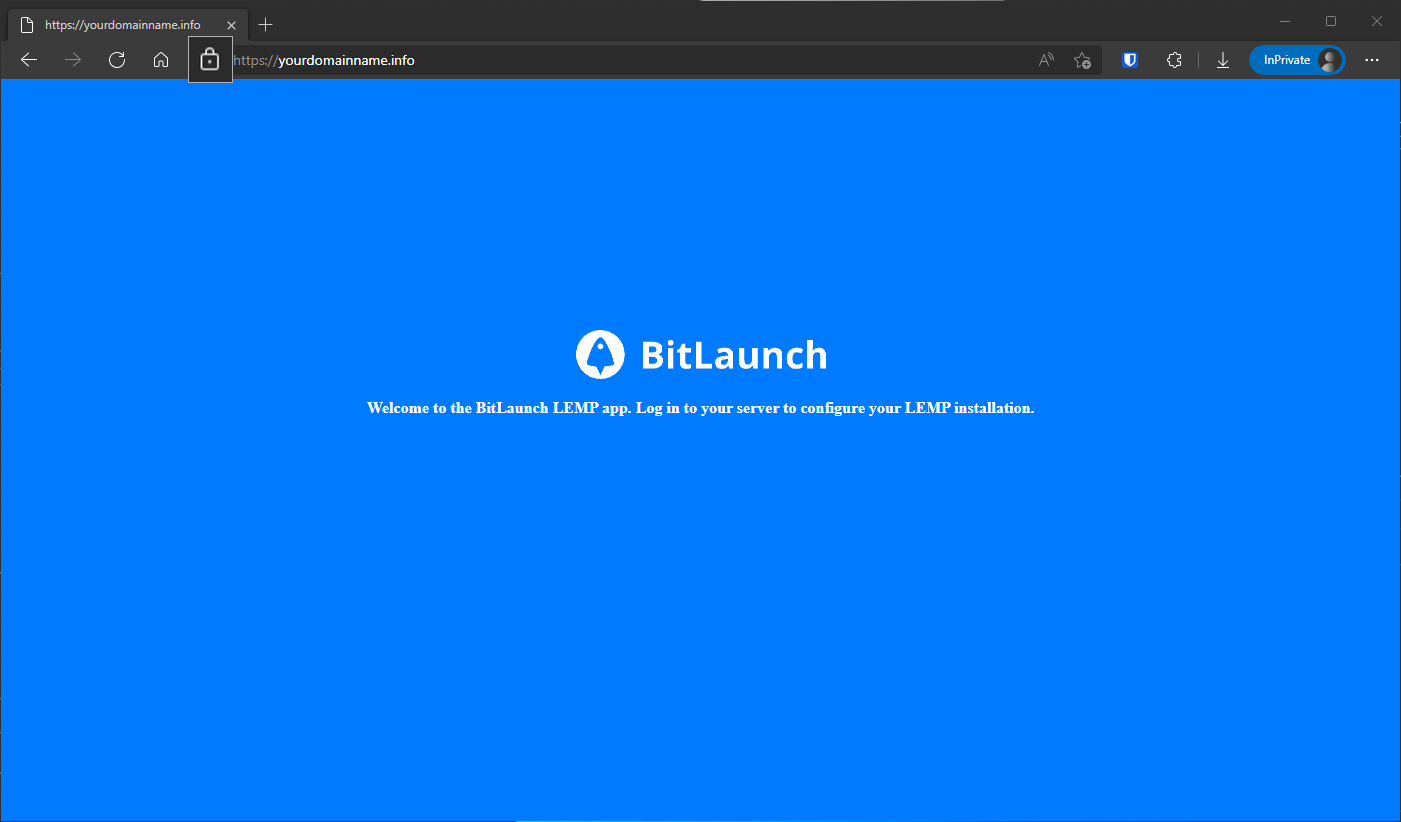
SSL should now be enabled for your domain. You can verify this by going to https://yourdomainname.com in your local browser and checking for the padlock symbol in the address bar.
How to install a free SSL certificate on nginx with Certbot
If you don't have an SSL certificate as part of your domain name package, you can use Certbot to quickly install one on your Nginx server.
Step 1 – Install snap
The first step is to install snapd so we can use that to install Certbot. On Ubuntu, you can do so with:
sudo apt install snapdIf you're on another distribution you should be able to use your relevant package manager (yum for centos etc.).
Make sure you have the latest snapd version:
sudo snap install core; sudo snap refresh coreStep 2 – Install Certbot
We can install Certbot now with the following command:
sudo snap install --classic certbotFor the final step of the installation process, create a symlink to ensure Certbot runs when we type its command:
sudo ln -s /snap/bin/certbot /usr/bin/certbotStep 3 – Create and install your SSL certificate
From here, we can run a single command to create our certificate and edit the nginx config to automatically serve it:
sudo certbot --nginx -d yourdomainname.info -d www.yourdomainname.infoThat's it. Visit your domain in your local browser to check whether SSL is enabled. You can optionally do a test run of certbot's automatic certificate renewal to make sure that works:
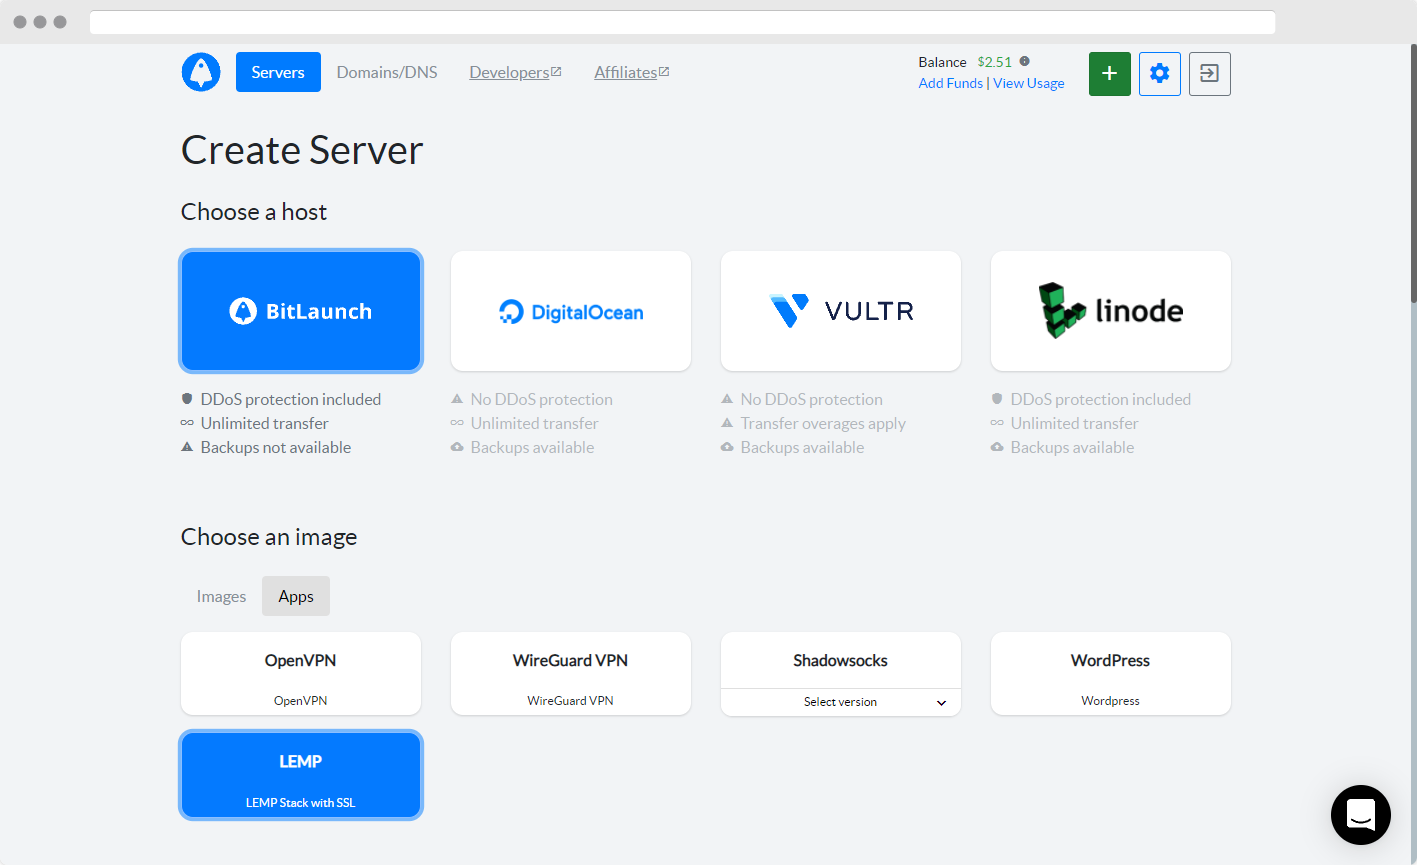
sudo certbot renew --dry-runHow to Install SSL via BitLaunch's LEMP with SSL app
If you're a BitLaunch user, the most streamlined way to set up nginx with SSL is to use our one-click LEMP install tool when you create your server. It should look something like this:
After your server has been created, point an A record to your server's IP address is your domain's DNS settings and run the following command after the change has propagated:
install-ssl
Type your domain name when prompted and press Enter.
The SSL tool will take a few seconds to verify that your domain's DNS records are pointing to your server before performing all the configuration for you. You'll see the following success message:
 Congratulations! Your certificate and chain have been saved at:
   /etc/letsencrypt/live/yourdomainname.info/fullchain.pem
As you can see, Bit Launch's SSL tool still uses the widely praised lets encrypt certificates and its certbot tool, but simplifies the process even further.
You can visit your domain in your browser to verify that everything is working as it should.