

Even those with no familiarity are likely to know about the ping, a networking utility used to test if a device is reachable and determine the time it takes for information to travel from one destination to another (often seen in video games). Unfortunately, many will also find that ping can stop functioning correctly if the user has a Windows 10 Firewall enabled.
This can prove particularly annoying if you’re trying to determine if a VPS is reachable from a local PC and vice versa, or are trying to see if your home PC is alive from work. Thankfully, in Windows 10 you can allow ping through the Windows Firewall easily and without turning it off entirely, which would pose a major security risk.
However, before we show you how to safely allow ping in Windows 10, you should be aware of a few pre-requisites:
- The Windows 10 PC you want to ping, in our case a Windows 10 VPS
- Your VPS credentials, found in your provider’s control panel
- A computer to ping from
- A method of accessing the VPS, such as Windows 10’s Remote Desktop Connection tool
 BitLaunch
How to Allow Ping through the Windows 10 Firewall
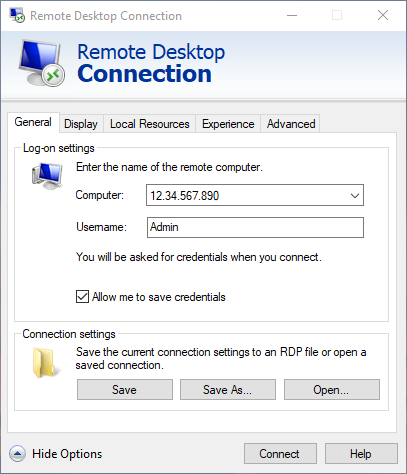
The first step is to connect to your remote Windows 10 PC, in our case a VPS. You can use RDP to connect to it by pressing Start and searching for “Remote Desktop Connection”. Then, open the app and enter the IP and username of your VPS host, which should be in your hosting control panel. Also enter the password when prompted.
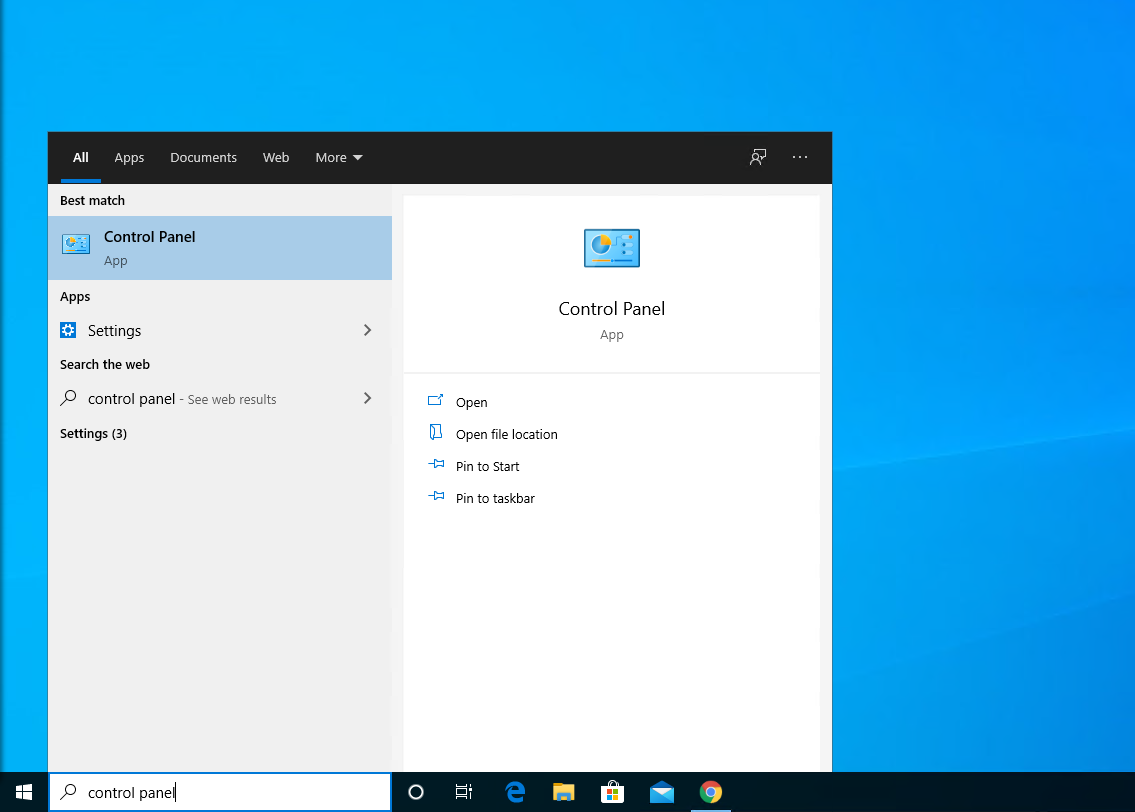
Once connected, press Start and search for “Control Panel”. Click the first result to open the legacy control panel.
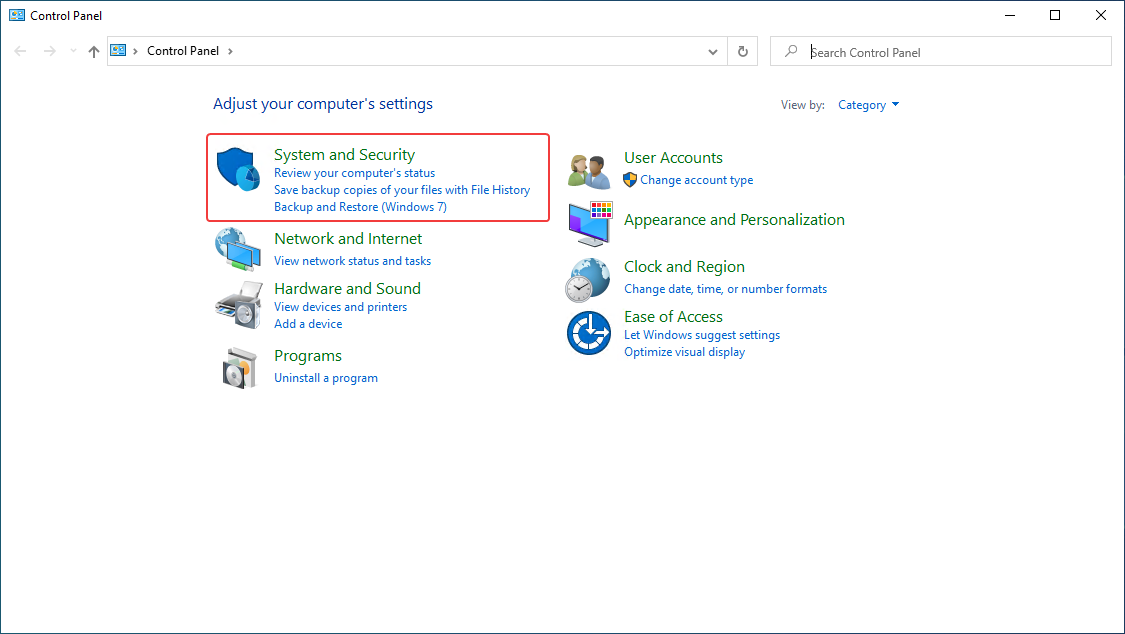
Once there, click on System and Security.
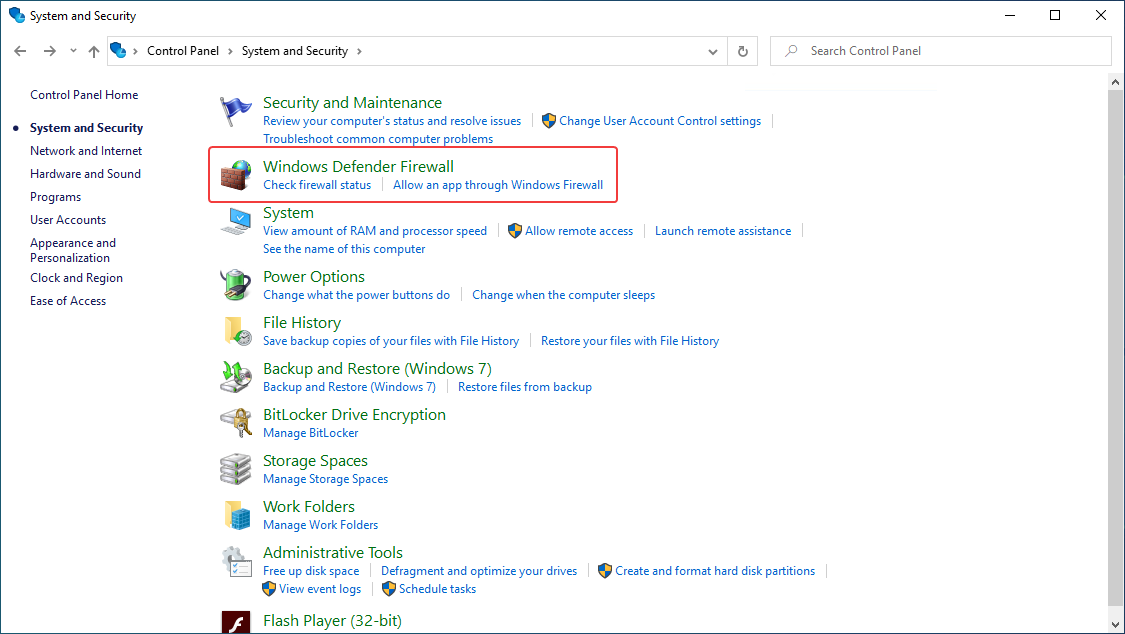
From the list, select Windows Defender Firewall.
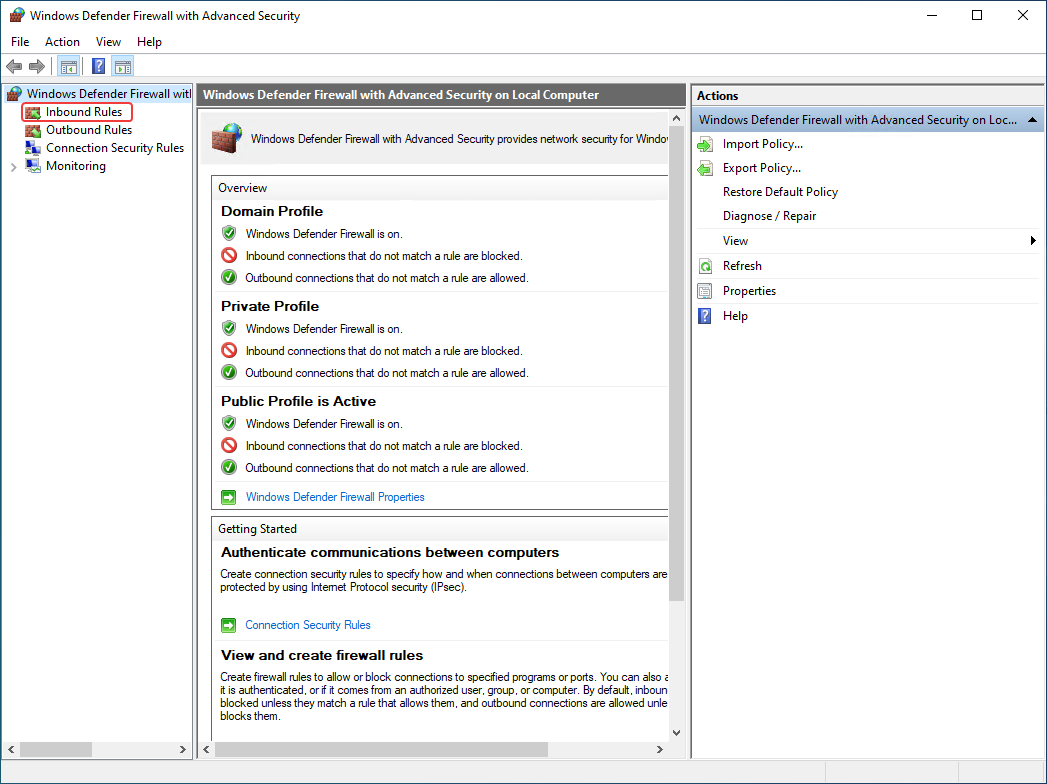
In the left-hand sidebar, choose Advanced settings and supply your administrator credentials to access them. You’ll be taken to the main ‘Windows Defender Firewall with Advanced Security’ app, where you should click Inbound Rules in the left sidebar.
Press the F key until you find ‘File and Printer Sharing (Echo Request – ICMPv4 – In)’. Click it once, then press Enable Rule in the right sidebar to allow ping in Windows 10.
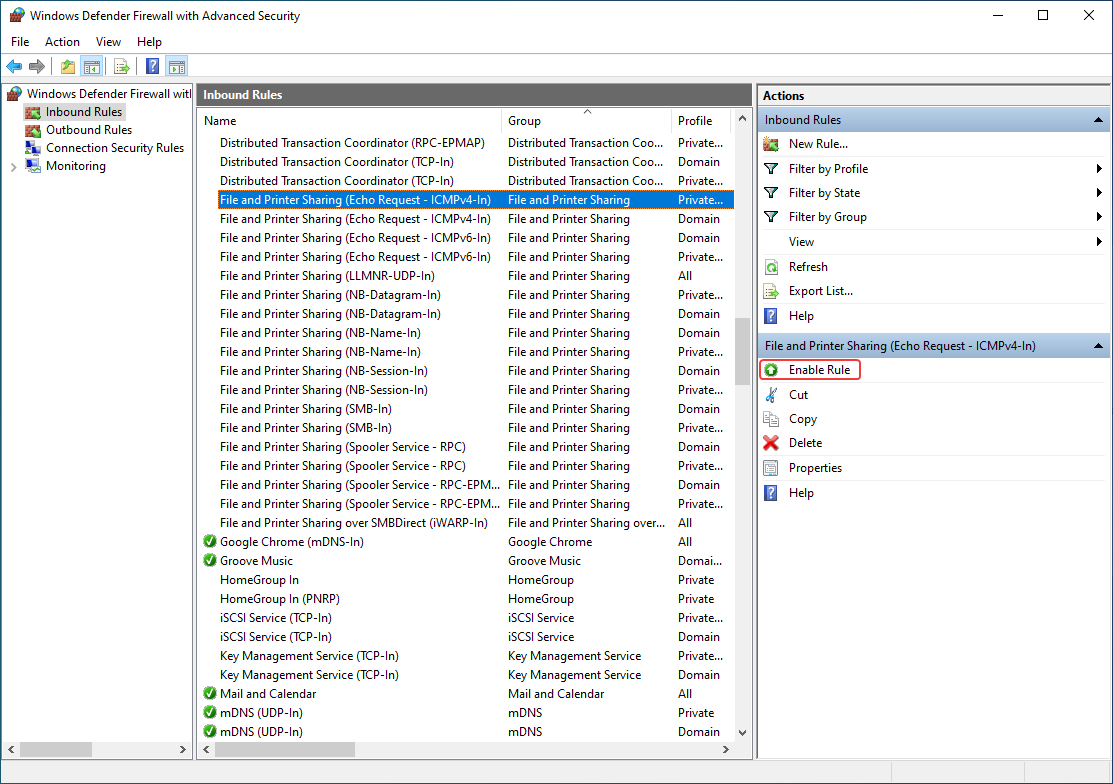
A tick will appear next to its name and you should find that Windows 10 is now pingable by PC’s on the local subnet. However, if you’d like to ping Windows 10 from a PC outside of the network, some extra configuration is required.
With the rule enabled, double-click ‘File and Printer Sharing (Echo Request – ICMPv4 – In)’ to open the properties window. Click on the ‘Scope’ tab.
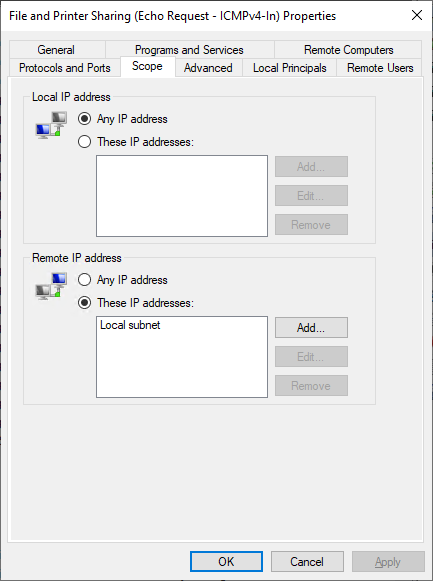
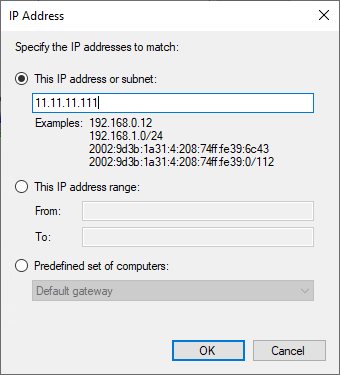
Under ‘Remote IP address’, click Add. Tick ‘This IP address or subnet:’ and enter the IP address of the computer you’re trying to ping from. If you’re unsure of your IP address, you can find it here. Press OK twice.
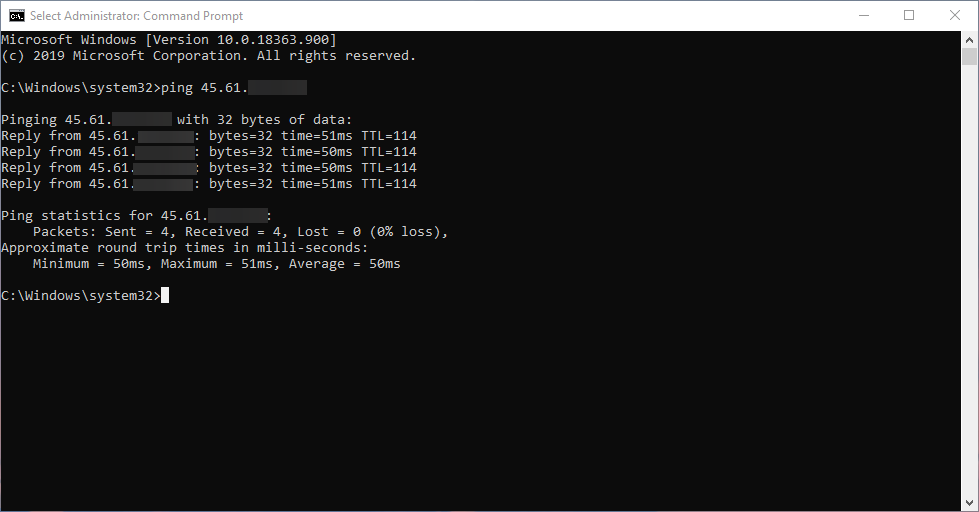
We can now test this configuration again by trying to ping Windows 10 from our local PC. If you’re using Windows 10, open Command Prompt and type ping 11.11.11.111 , replacing the 1’s with your remote PC’s IP address.
Rather than timing out it should now show replies, with information about the time to respond, TTL, bytes and finally a summary of packet loss and round-trip times.
Don't have a spare Windows 10 PC to ping? Sign up for BitLaunch today.