

Windows 10's default RDP connection port has been the same for so long that many admins know it off by heart: 3389. Unfortunately, though, they aren't the only ones. It's the first one hackers try when trying to hack a Windows RDP server, making anyone with the default setting more prone to automated attacks.
It can be well worth taking the time to change RDP port in Windows 10. It won't radically increase your server's security, but this small change can combine with other techniques to create a much safer experience on the whole.
This guide will show you how to change RDP port in Windows 10 using Regedit to give you a better chance of resisting an attack.
How to change RDP port
As mentioned, the process to change RDP port starts and ends with Regedit. This was the case for older versions of Windows, at it applies to Microsoft's latest OS, too.
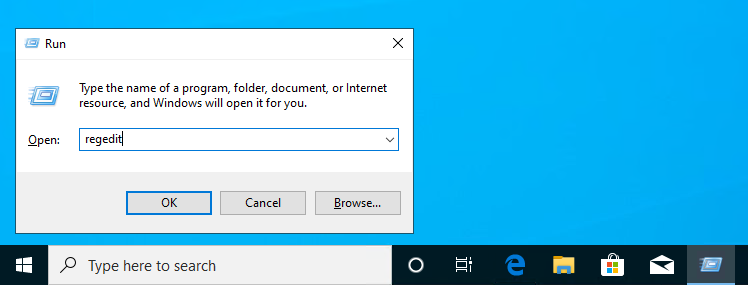
To open it, press Windows + R and type "regedit". Then, press Enter.
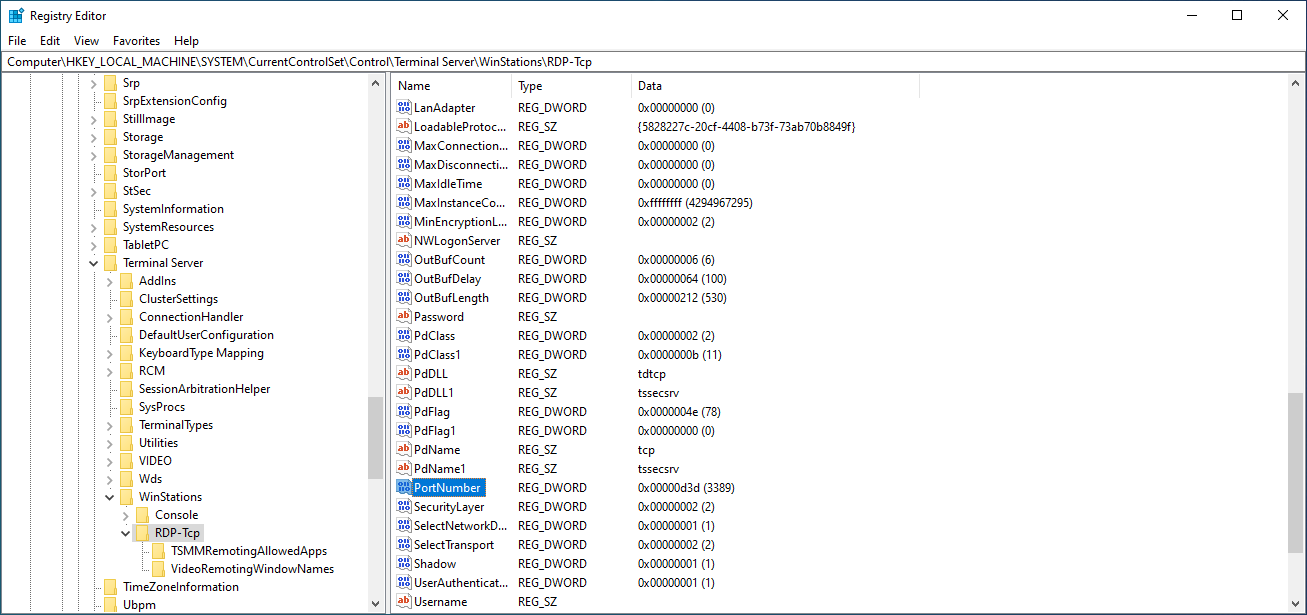
Navigate to the RDP TCP port number by pasting the following into your search bar or navigating to the sub-key manually:
Computer\HKEY_LOCAL_MACHINE\System\CurrentControlSet\Control\Terminal Server\WinStations\RDP-Tcp
Find the "PortNumber" DWORD and double-click it.
In the resulting editing dialog, change the Value data to your new port number which should be between 1025 and 65535, making sure it's set to Decimal.
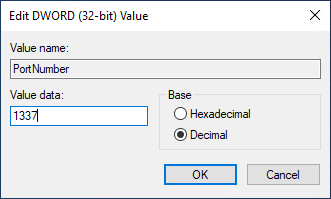
Press OK and close the registry editor.
Modifying your Firewall
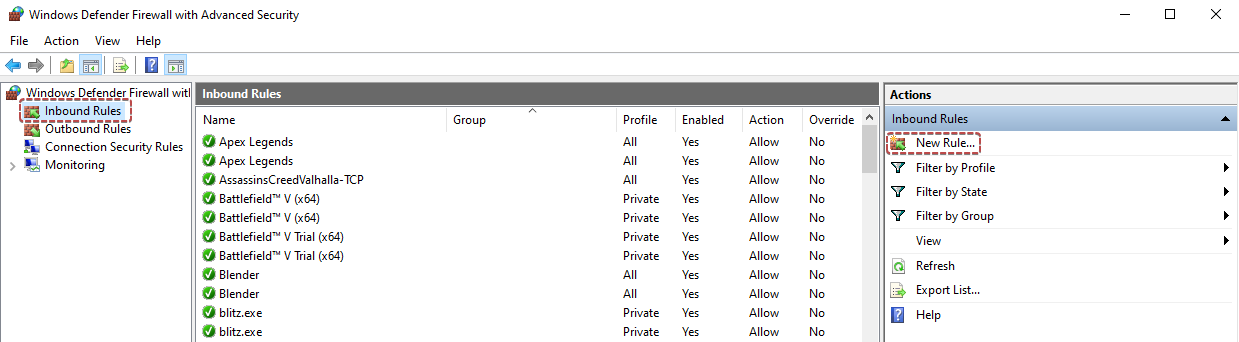
For your new RDP port to work correctly, you'll also need to set an inbound rule for it your Windows 10 Firewall. This will allow traffic to pass through.
Open Windows Defender Firewall with Advanced Security from your Start menu and select Inbound Rules on the left-hand side, then New Rule... on the right.
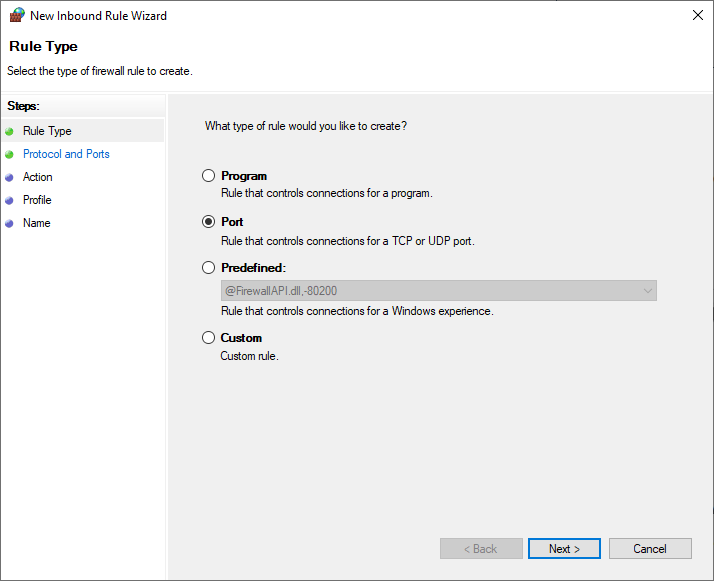
Select Port for the rule type and press Next.
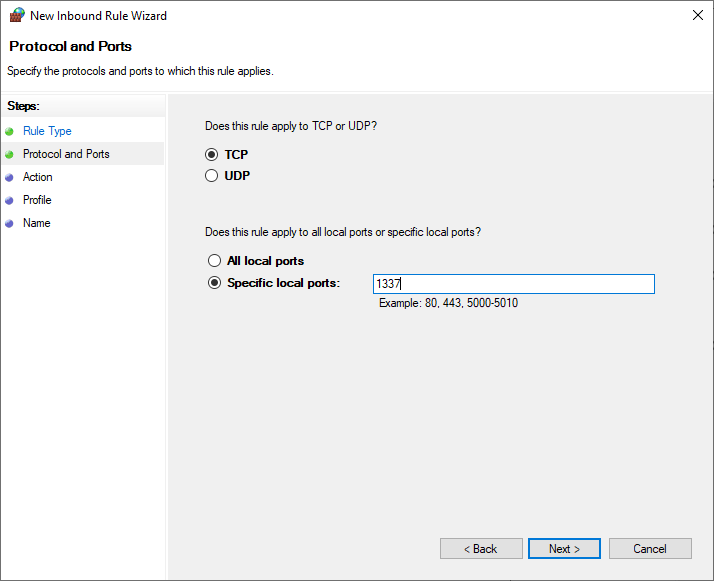
With TCP selected, enter your new RDP port in the Specific local ports box.
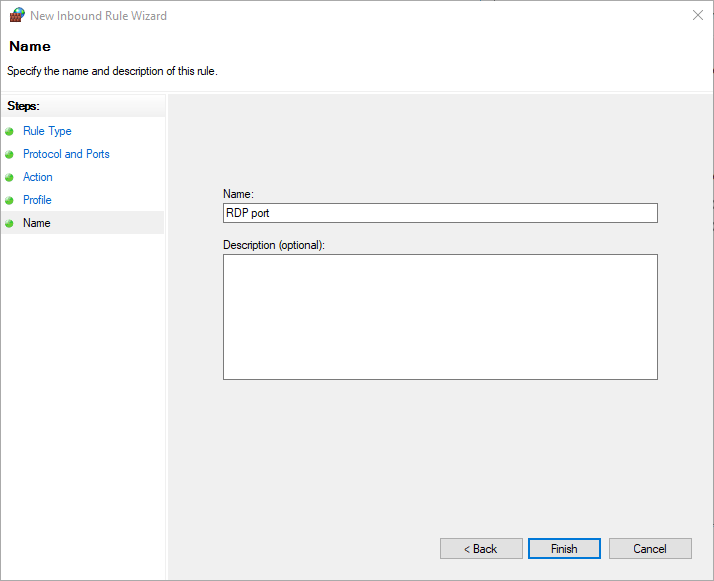
Press Next until you reach the Name section and call it "RDP port". Press Finish.
You have now successfully changed RDP port in Windows 10, but you'll need to restart your VPS for the changes to take. You can do so via your VPS control panel, but this is not recommended as it performs a full power cycle and can cause data corruption.
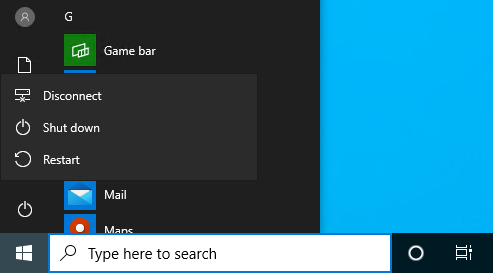
Instead, press Start and then the power button, or type shutdown /s in Command Prompt.