
A VPN can hold numerous benefits for the privacy-conscious or those just looking to access geo-restricted content. Unfortunately, though, many are starting to realize that they can't fully trust commercial VPN providers to have their best interests at heart.
With high-profile hacks of companies like NordVPN and revelations that some VPN providers are lying about their logging policies, users are increasingly turning to DIY VPN solutions. However, setting up a DIY VPN can be intimidating, whether it's through AlgoVPN, OpenVPN, or WireGuard.
In this guide, we'll be showing you the fastest and easiest way to create your own VPN on a VPS, using one-click apps from BitLaunch and its partners.
Step 1: Sign up to BitLaunch
Regardless of whether you're creating a which VPN app you're launching, the starting step is identical: signing up for BitLaunch. If you already have an account, you can of course skip this step.
For the unfamiliar, BitLaunch lets you pay with Bitcoin, Litecoin, and Ethereum. As a result, it's also a good idea to have your favorite coin ready to speed up the process.
You can sign up for BitLaunch here and enter an email address to create a new account. For maximum privacy, you may want an email that isn't linked to your personal identity. Once you've signed up, check your email and confirm your account by clicking the link in it. You can then head to the login page and enter your credentials.
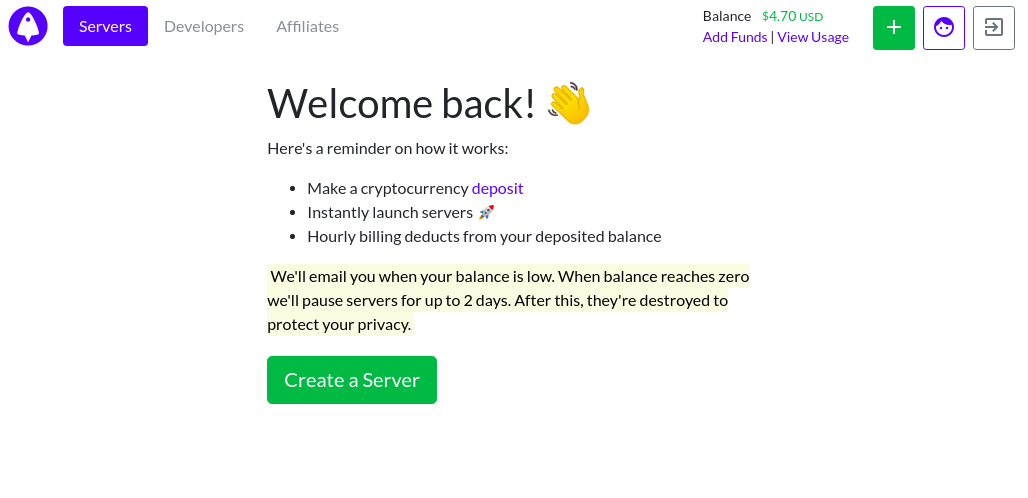
You can now press the green '+' in the top-right corner to add to your BitLaunch balance, or chat to our support for some free credit.
Step 2: Launch the Vultr VPN app
Once you're logged into your new account you'll see a welcome page. Click Create a server to get started.
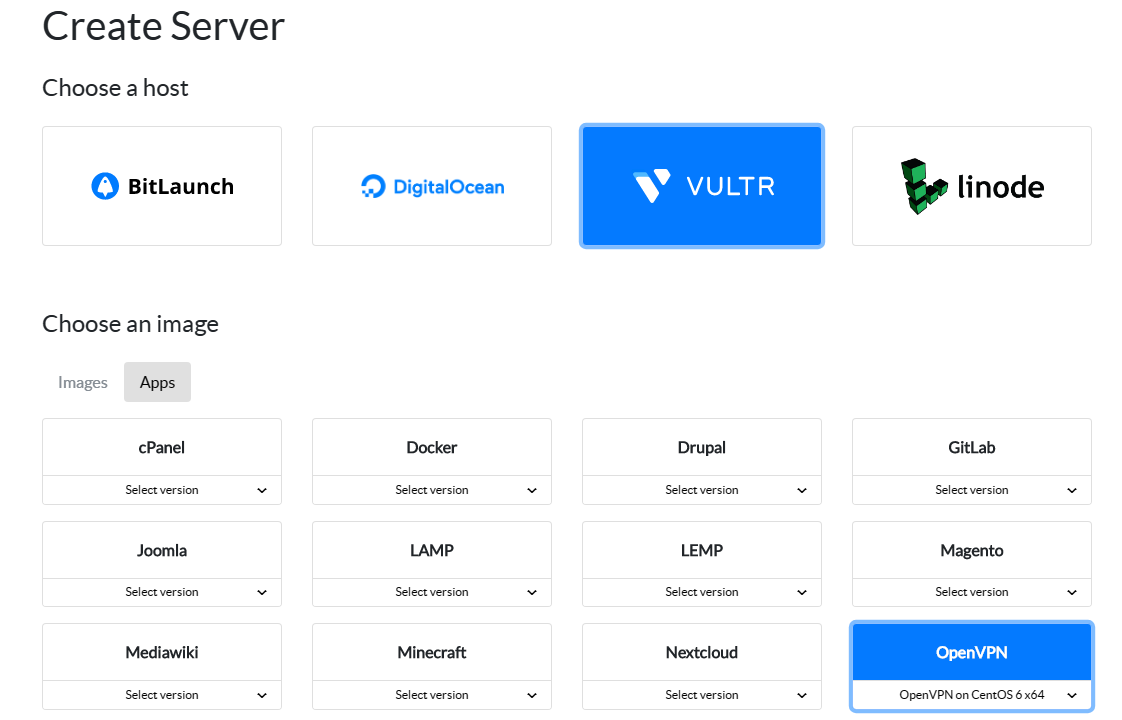
Choose Vultr in the host menu, then click Apps > OpenVPN. You can also install a WireGuard or OpenVPN app with BitLaunch in a similar fashion.
Please note that there isn't a one-click setup for Digital Ocean and Linode VPNs at this time. If you'd still like to use their services, you can follow our AlgoVPN guide to create one manually.
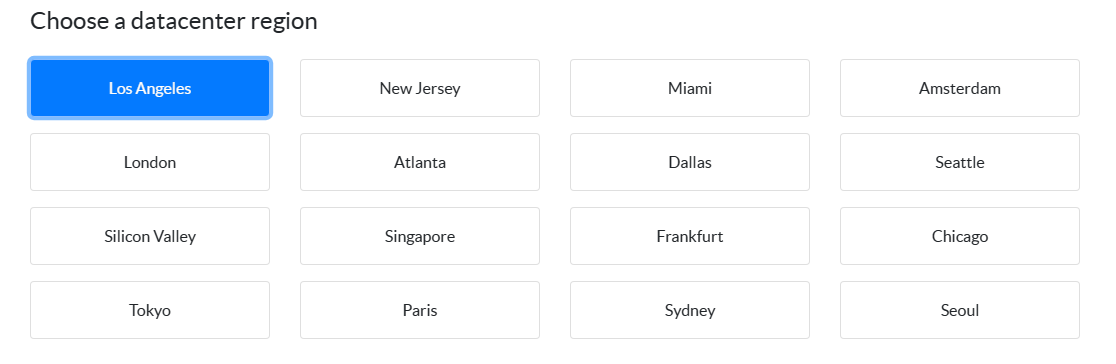
After choosing the app, select your server location. This will determine where the IP of your VPN is located, and therefore where websites will think you're from. With BitLaunch, you have the option of Amsterdam, London, or Los Angeles. A Vultr VPN has more options, including various U.S. states, Frankfurt, Sydney, Singapore, Paris, Tokyo, and Seoul.
Choose your server size/specifications. A 1 GB/1CPU server should be just fine for our purposes. Give your server a name and password and click Launch Server.
Step 3: Set the VPN password
Once your Vultr VPN has launched it'll appear in your server overview.

Copy the IP address and log into your VPS with PuTTy by following our tutorial.
The Vultr VPN app will come with a user by default, called "openvpn". Set a password for the account with:
passwd openvpn
You can also make a user of your own, by following our secure your VPS guide, and take some additional steps to harden it while you're at it.
Step 4: Connecting to your Bitcoin VPN
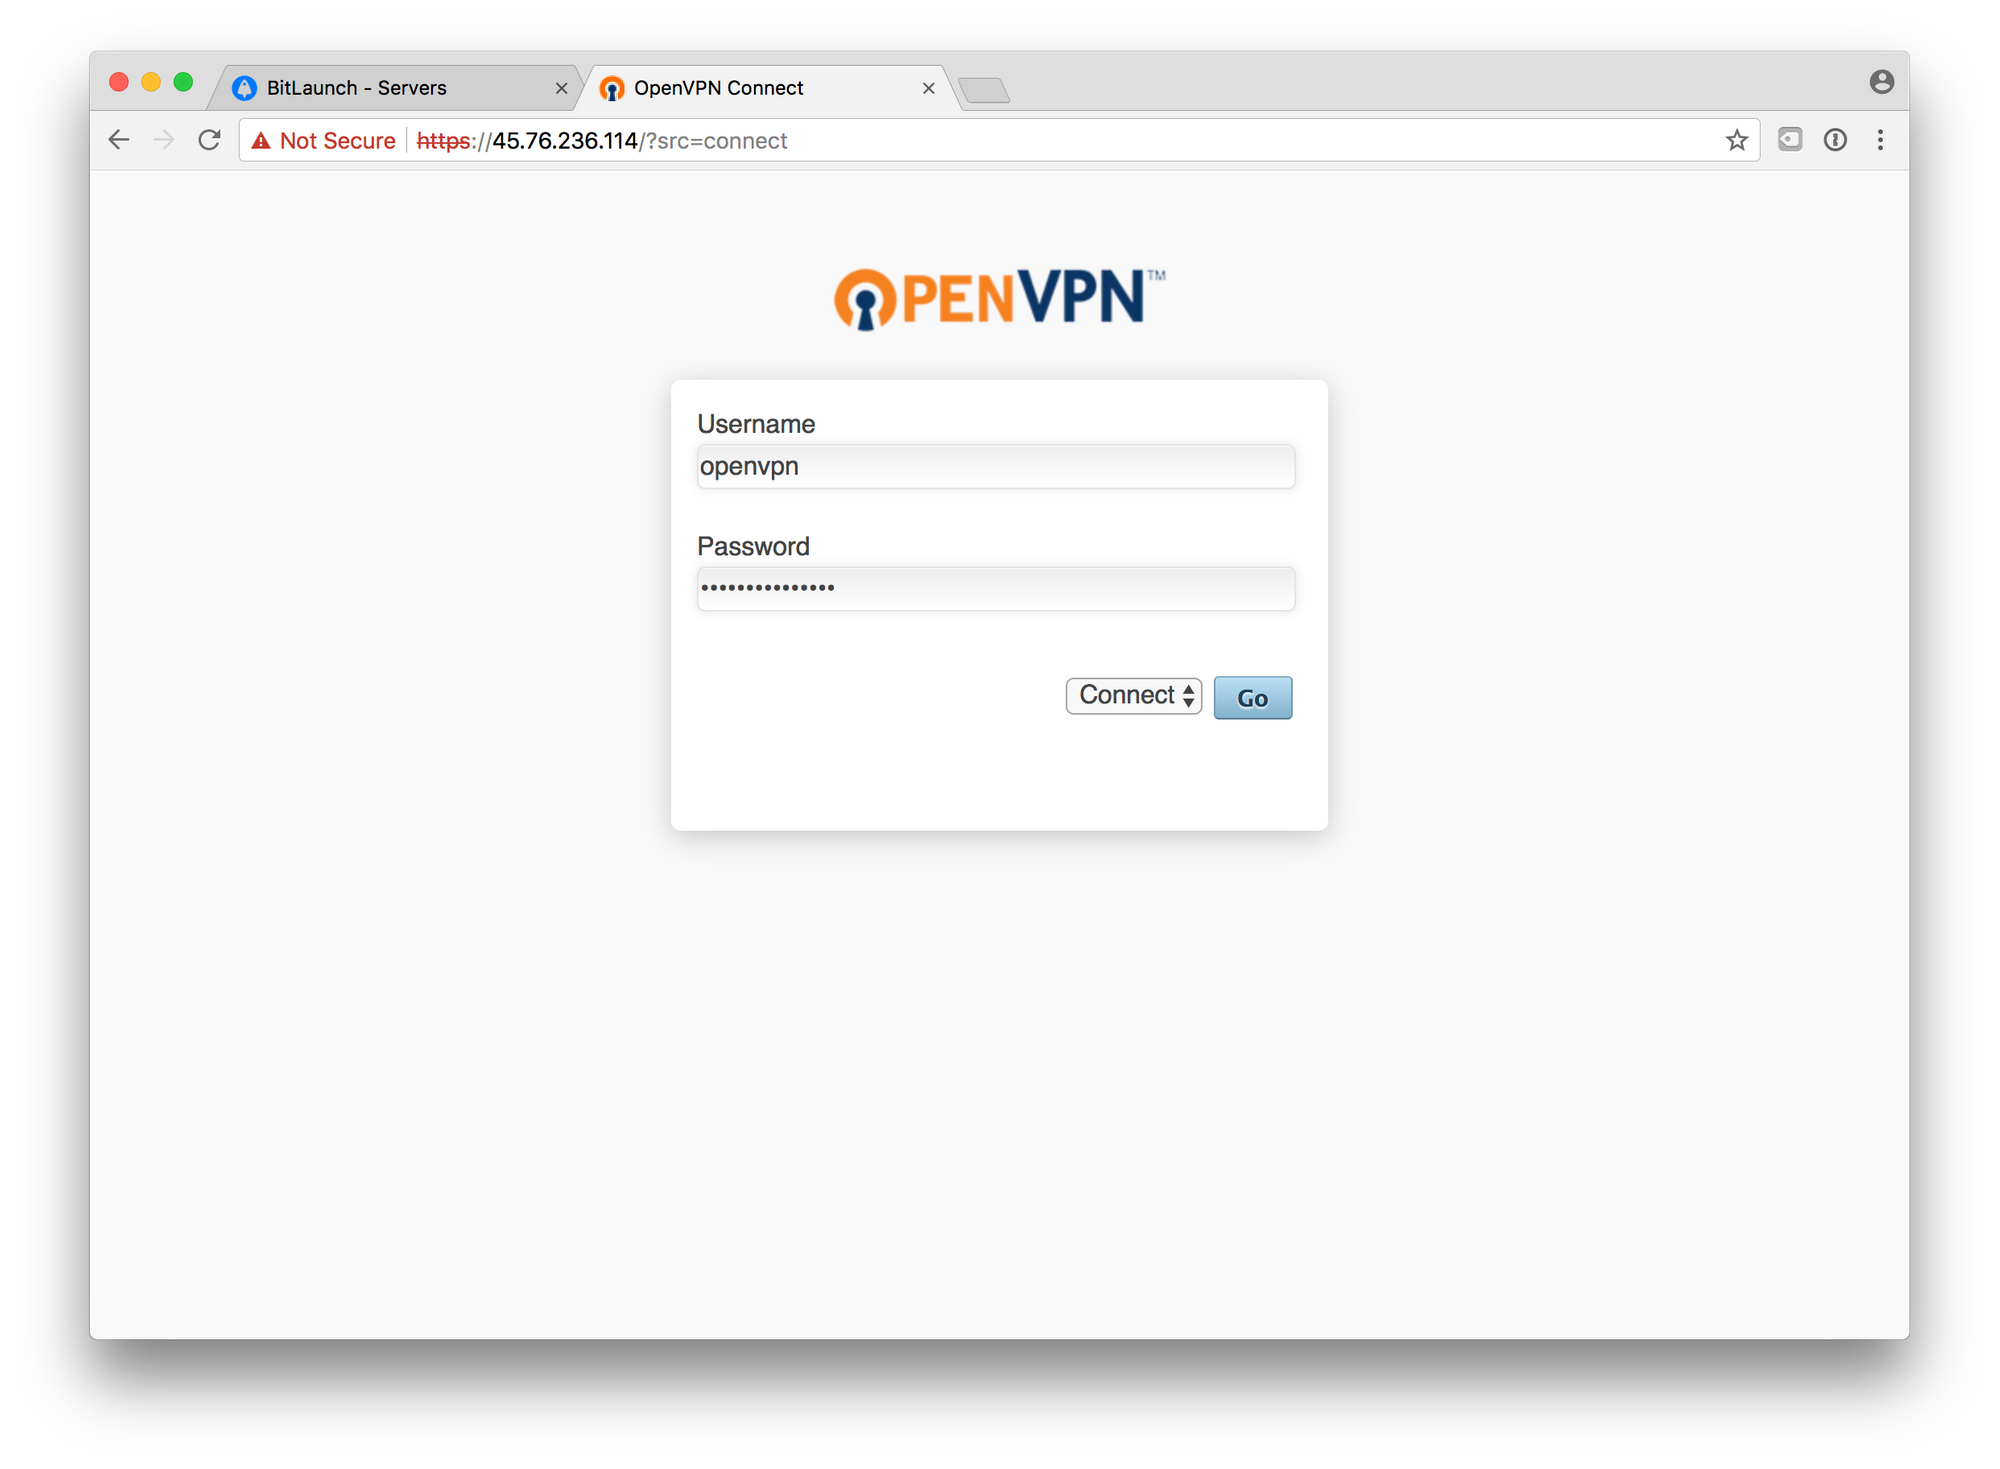
You can access your VPN by visiting its IP address in your favorite web browser. This will be the same as the server IP you used to log in earlier, for example:
You'll likely get a certificate error, and will have to choose Procceed to continue. You can then log into the OpenVPN web interface with the username and password you configured earlier.
Follow the instructions on-screen to download and install the OpenVPN client for your device.