
If you want to start a blog or website, WordPress is one of the easiest, most customizable ways to get there. However, the ways to pay for traditional WordPress hosting aren't particularly private. You will have to divulge payment information, your address, and in some cases even an ID. As a result, you may want to pay for WordPress with bitcoin instead.
Step 1: Sign up to BitLaunch
If you have a BitLaunch account, you can skip this step.
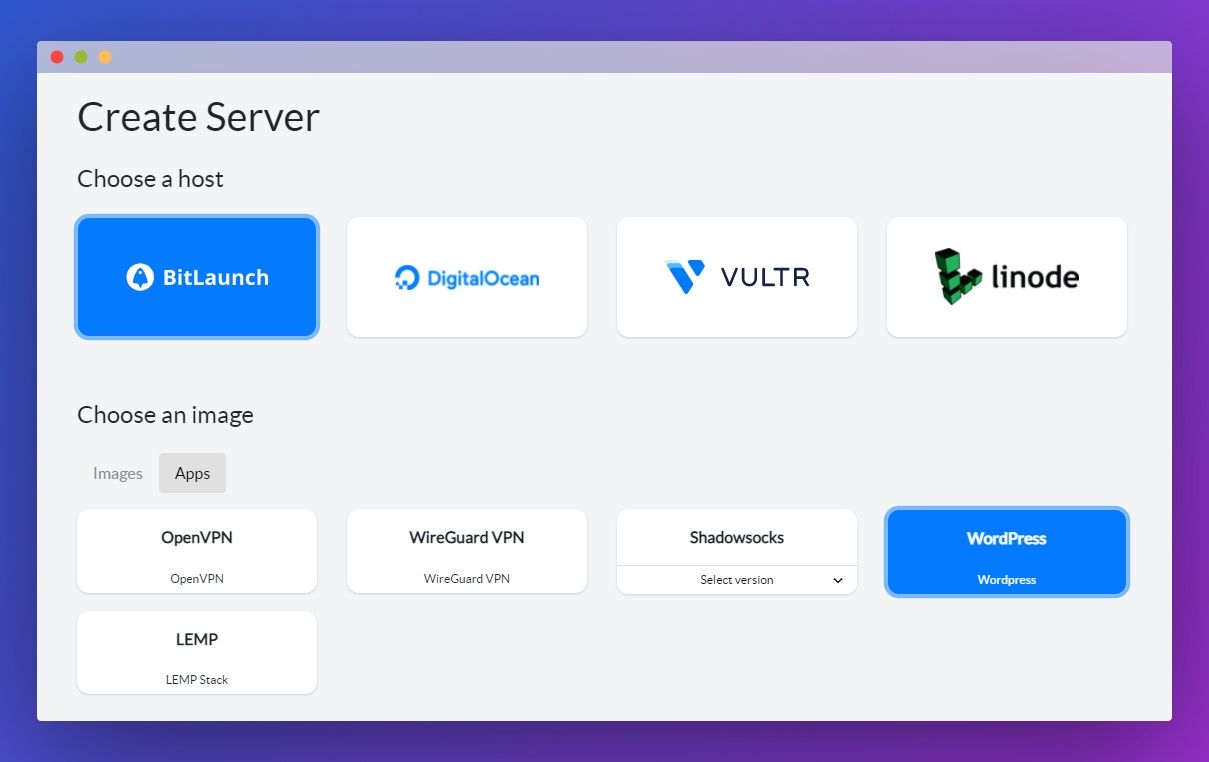
For the unfamiliar, BitLaunch allows you to create a VPS from its own servers, as well as the services of Digital Ocean, Vultr, and Linode. With BitLaunch, you can pay for your WordPress hosting with Bitcoin, Ethereum, or Litecoin using our in-house payment system, BLPay.
First, though, you'll need to sign up to BitLaunch . We only ask for an email address so that you can stay anonymous. You can talk to support to get some free credit, or top of your account using your crypto balance in just a few minutes.
Once you have signed up, make sure to check your email so you can confirm your account.
Step 2: Create your WordPress Bitcoin Server
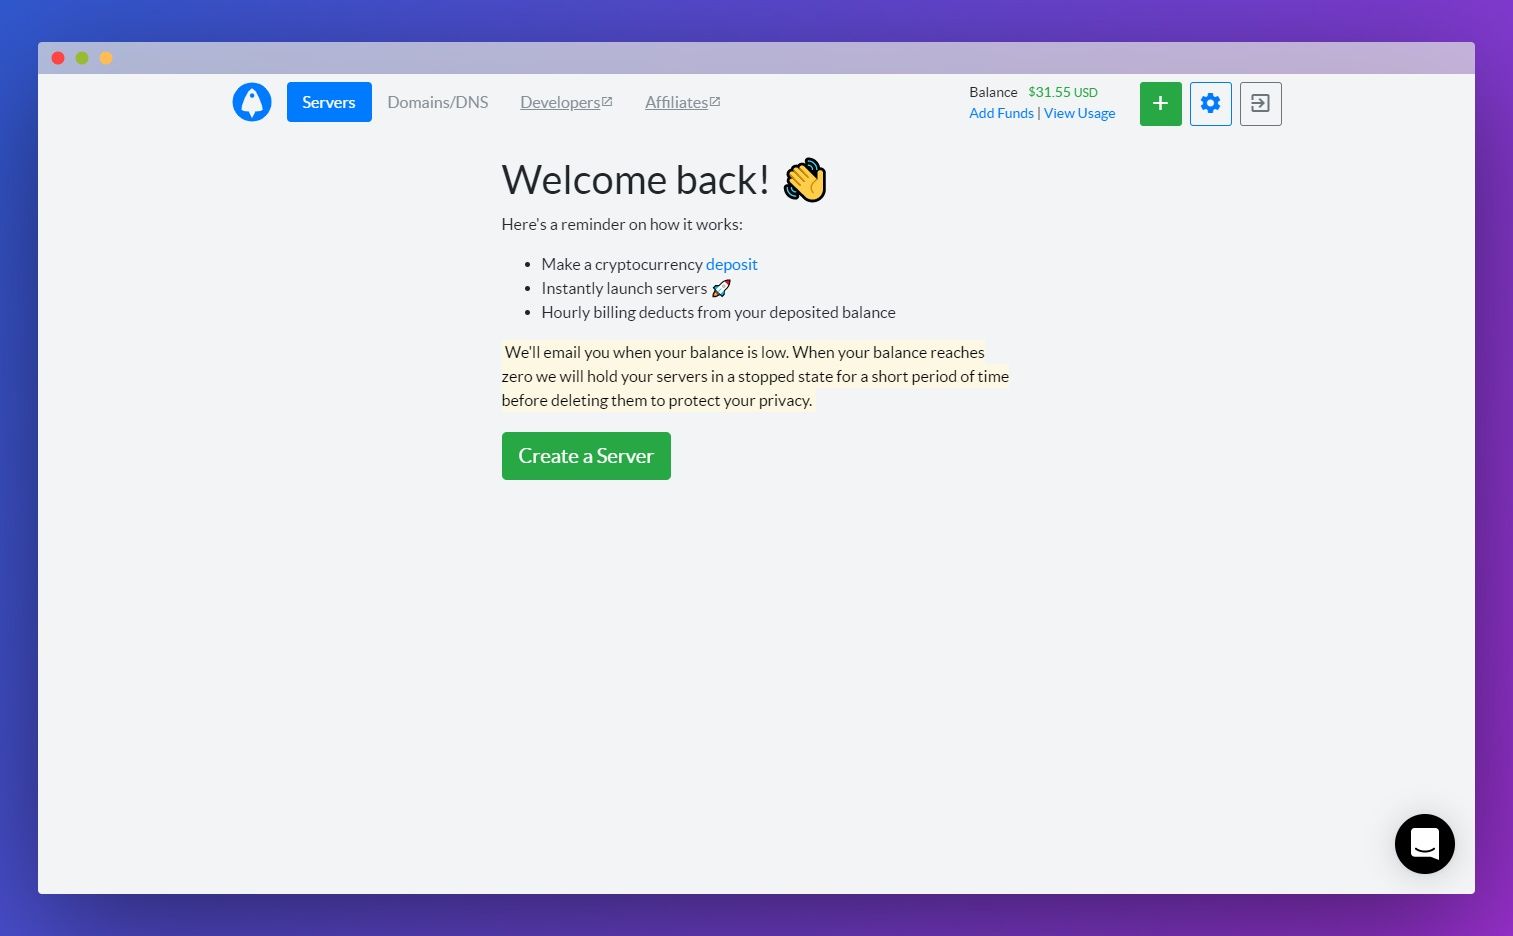
Back in your BitLaunch control panel, click the big green Create button to start choosing the options for your server:
Choose an operating system, then switch to the Apps tab and click on WordPress. Also choose the datacenter region, which should be as close as possible to your target audience.
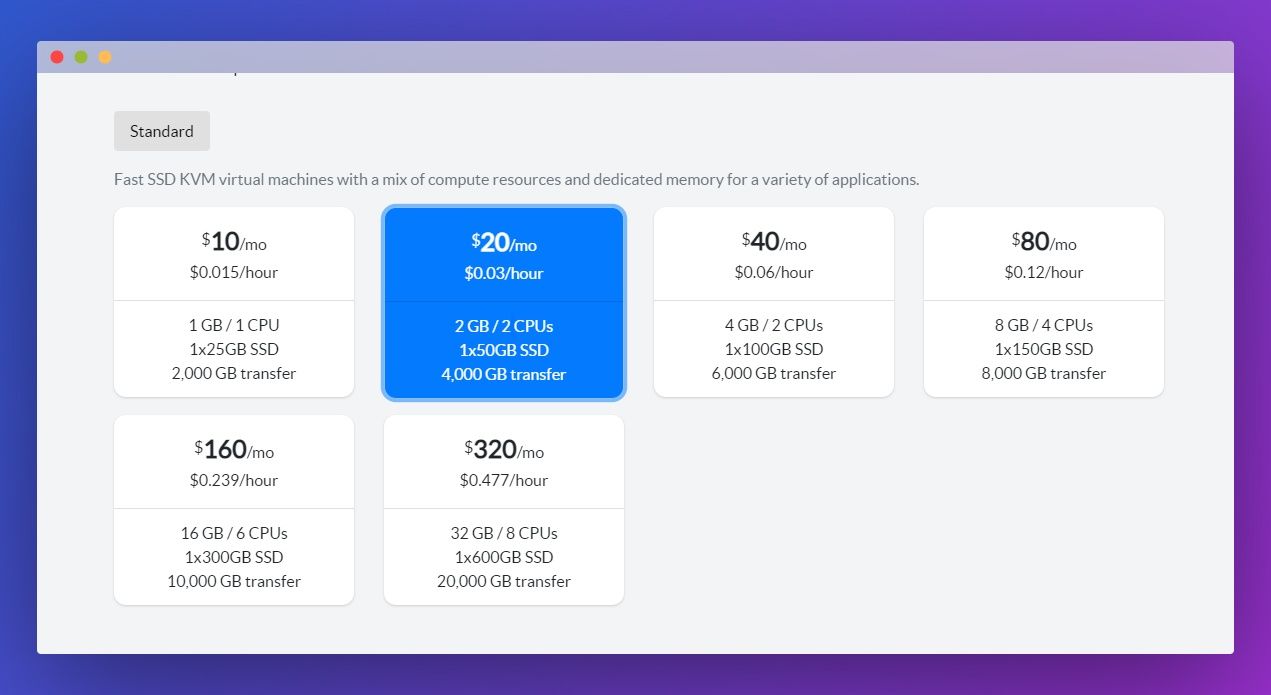
The specifications of your server are something you'll want to think carefully about. WordPress does not publish minimum hardware requirements, but we can verify that it will run on any BitLaunch server.
That doesn't, however, guarantee that your blog viewers will receive an ideal experience. If you're running anything other than a tiny personal site, we could recommend upgrading. The more traffic you get, the more load the server will experience, and the more degraded the experience will get. You're also likely to run out of space quickly with just a 50GB SSD.
Do remember, however, that you can upgrade your server at any point in your BitLaunch control panel. As a result, it may be worthwhile to start off small and upgrade when needed.
Type a password for your server or create an SSH key and press Launch Server.
Install WordPress on your VPS
Connect to your VPS with PuTTy or another SSH tool. On first login, you'll see instructions on how to set up your WordPress installation. On a BitLaunch server, you can find your mySQL root and WordPress details at /root/.wordpress_credentials, then log in by pasting the IP address of your VPS into your browser.
WordPress will walk you through the installation process. This is very straightforward, so we won't bore you with the details. Once you have selected your language and filled out your user details, press Install WordPress. Log in with your recently chosen credentials to access your bitcoin-powered WordPress dashboard.

While it's tempting to start customizing your site immediately, we highly recommend you secure your WordPress installation first. Once that's done, following best practices should be enough to keep your site secure as you modify it to your heart's content.